About Us
About Our Board
Committees
Strategic Plan 2021-2023
2019 Annual Meeting Recording
Membership
Join Today
Renew Membership
Student Membership
News
Policy
New York State
Federal Policy
Advocacy Toolkit
Events
2024 Public Health Partnership Conference
2023 Rural Health Symposium
2023 Rural Health Symposium Recordings
2023 Public Health Partnership Conference
Register
Sponsor/Exhibitor Information
2022 Rural Health Symposium Recordings
2022 Rural Health Symposium
2021 Rural Health Symposium (Recordings)
Conference Archive
2022 Public Health Partnership Conference
Initiatives
Explore the Diversity in Your Region
Awards
Internships
Webinars
Rural Health Webinars
Opioid Response Webinars
Publications
NYSARH Briefs
NYSARH Newsletters & Other Publications
NYSARH Newsletter Spring 2024
NYSARH Newsletter Winter 2024
NYSARH Newsletter Fall 2023
NYSARH Newsletter – Summer 2023
Rural Health Resources
Dispatches from the Road to Value
2018 Annual Report
2019 Annual Report
2020 Annual Report
2021 Annual Report
2022 Annual Report
For Members
Login
Request to Volunteer/Serve
Board Portal
Donate
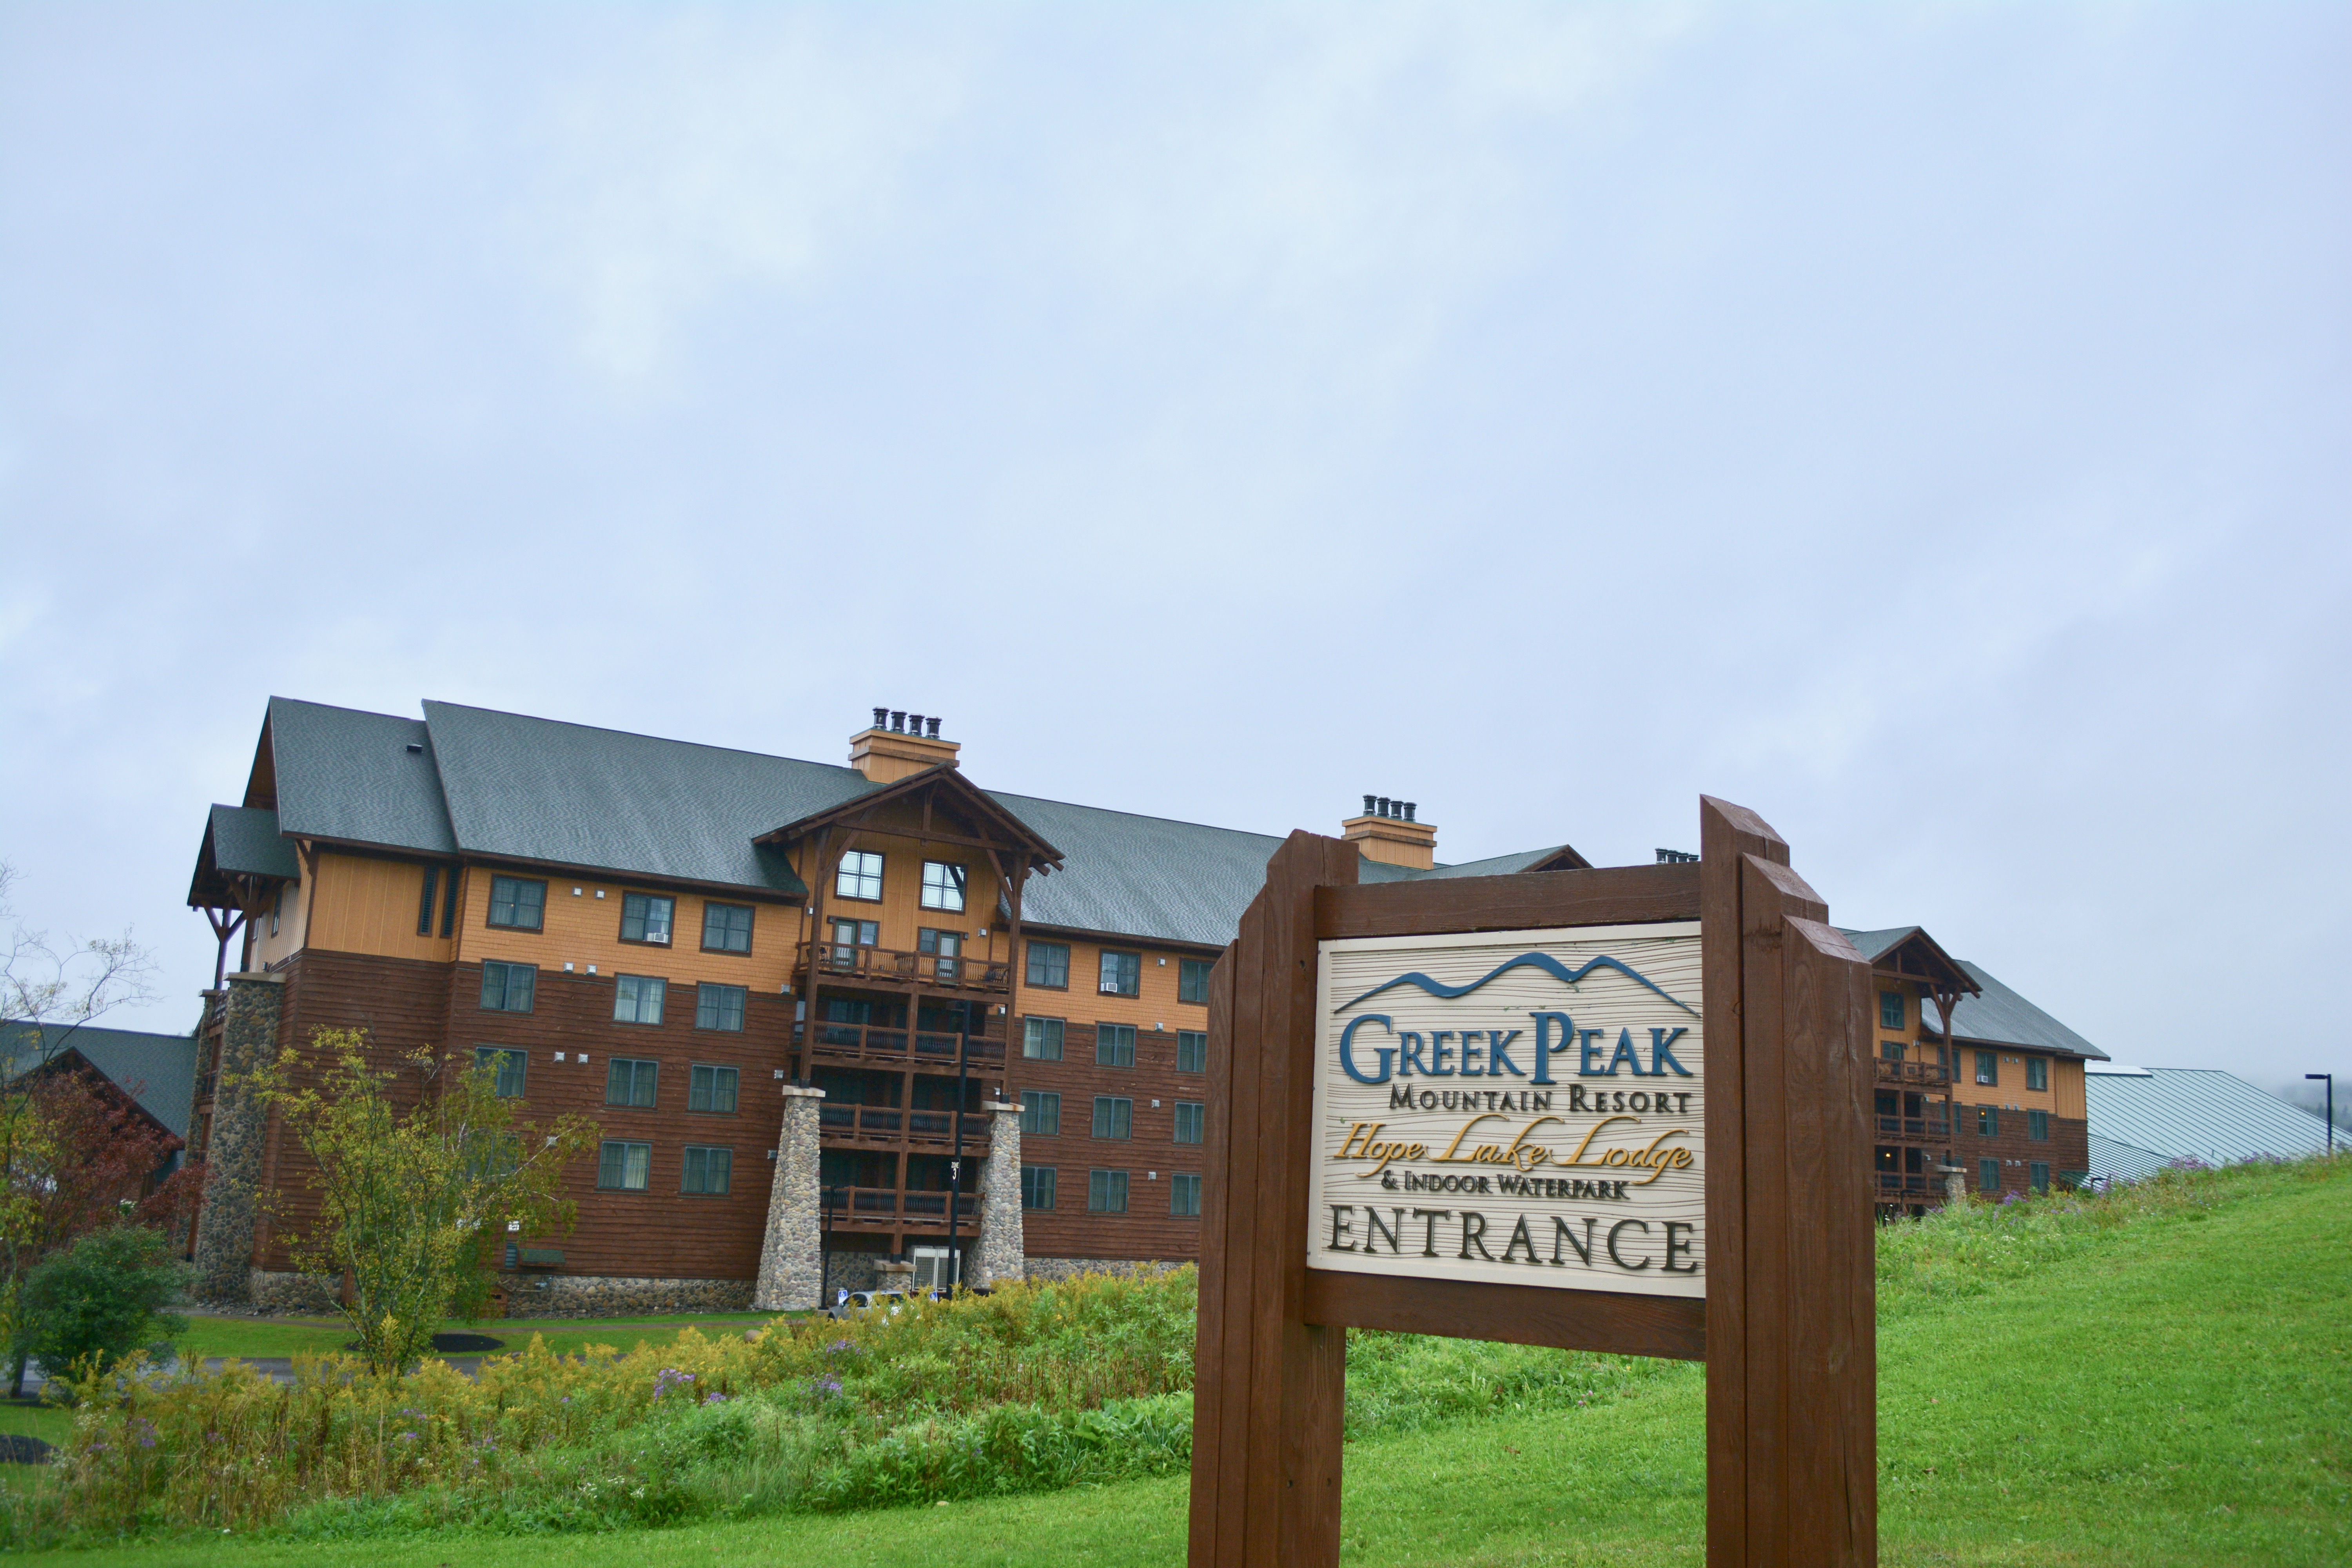
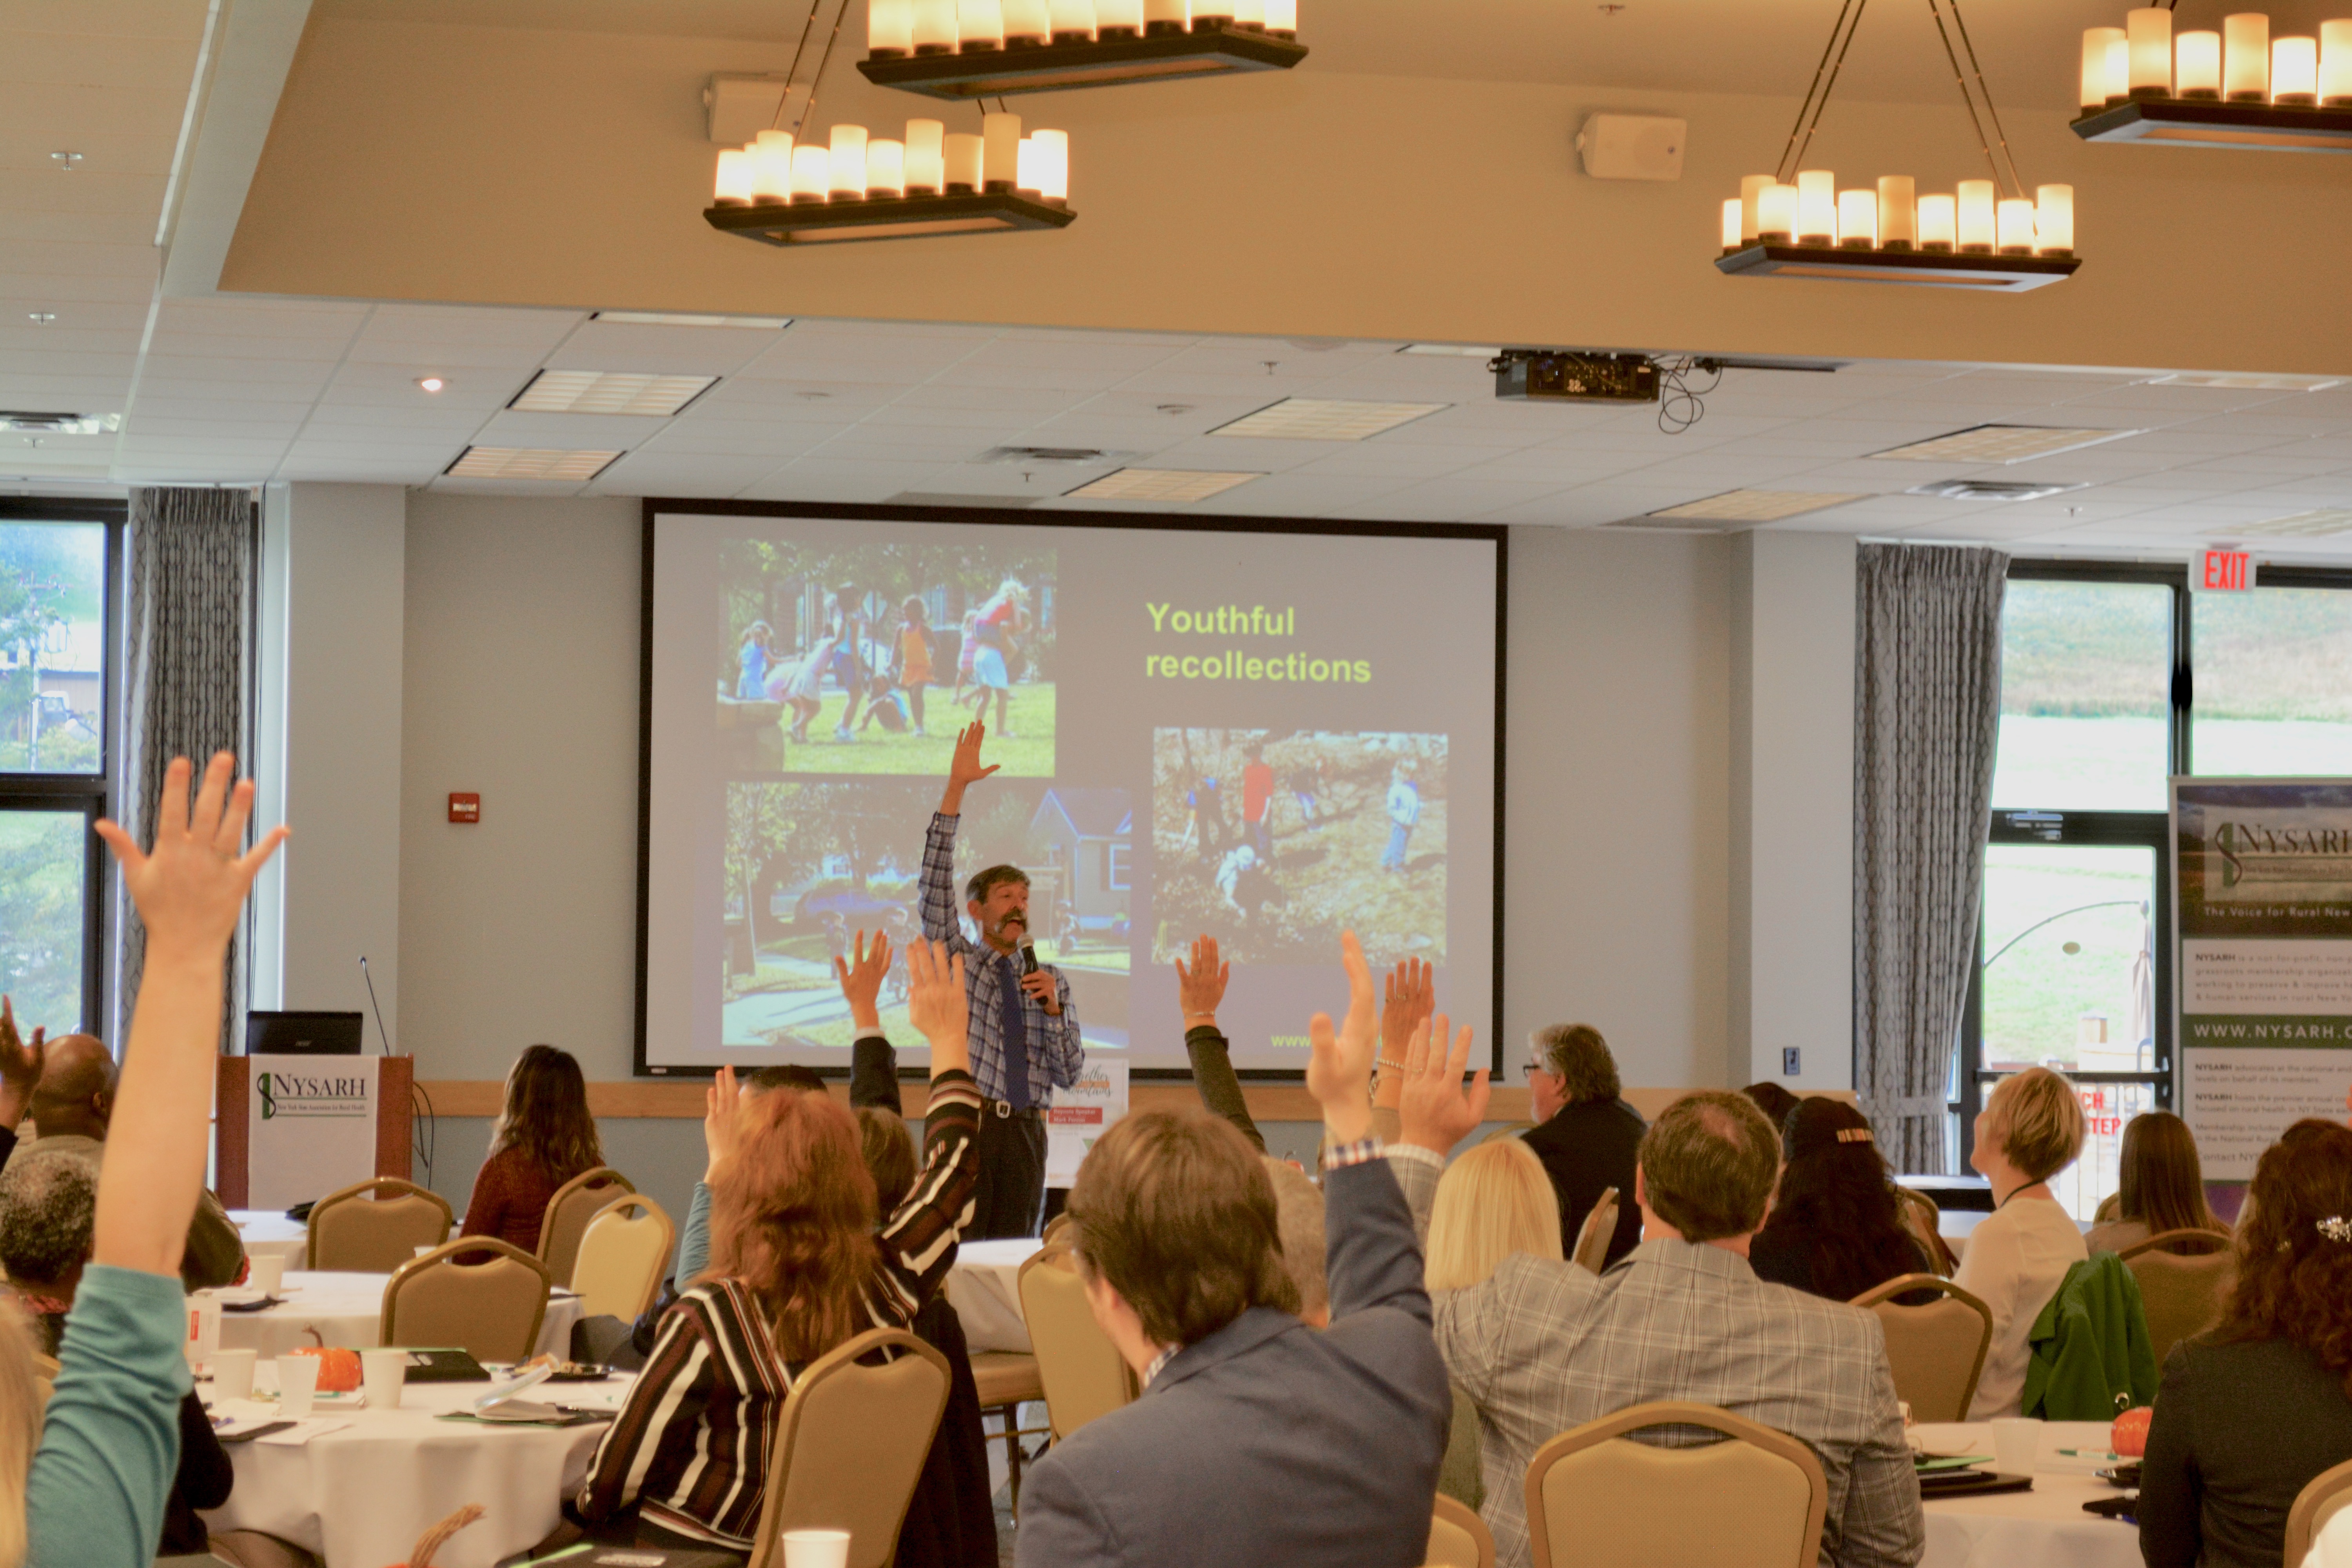
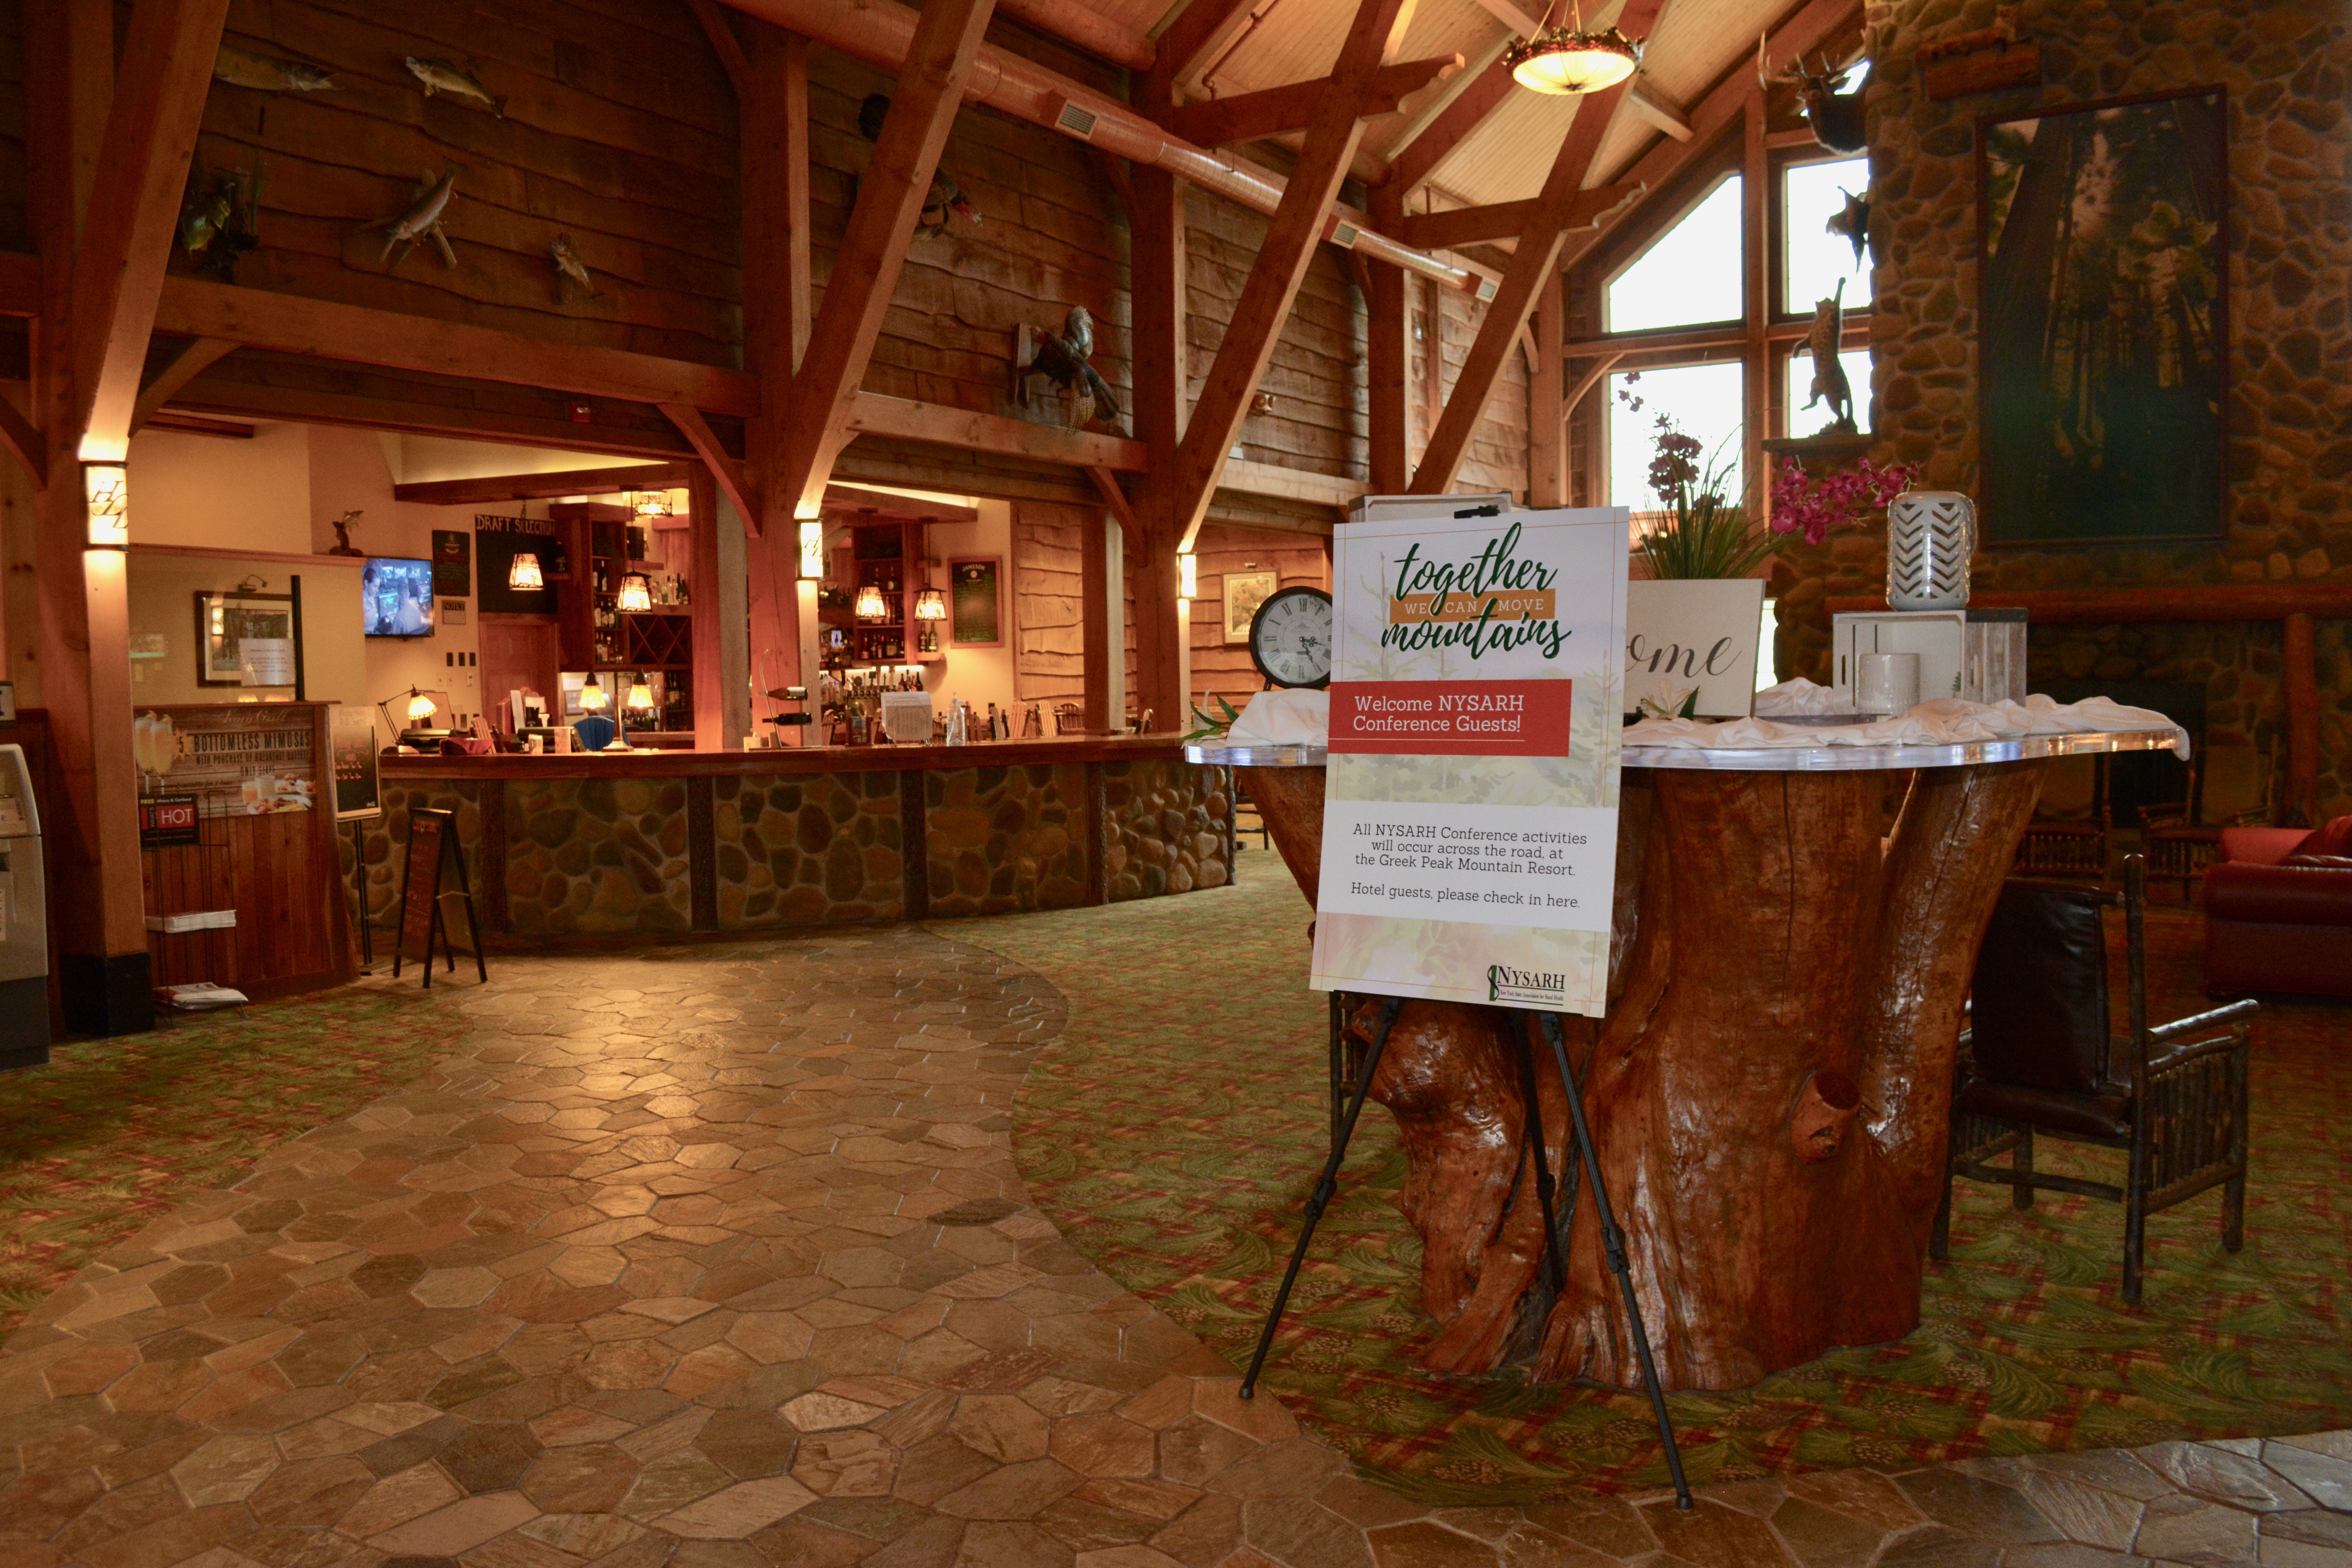
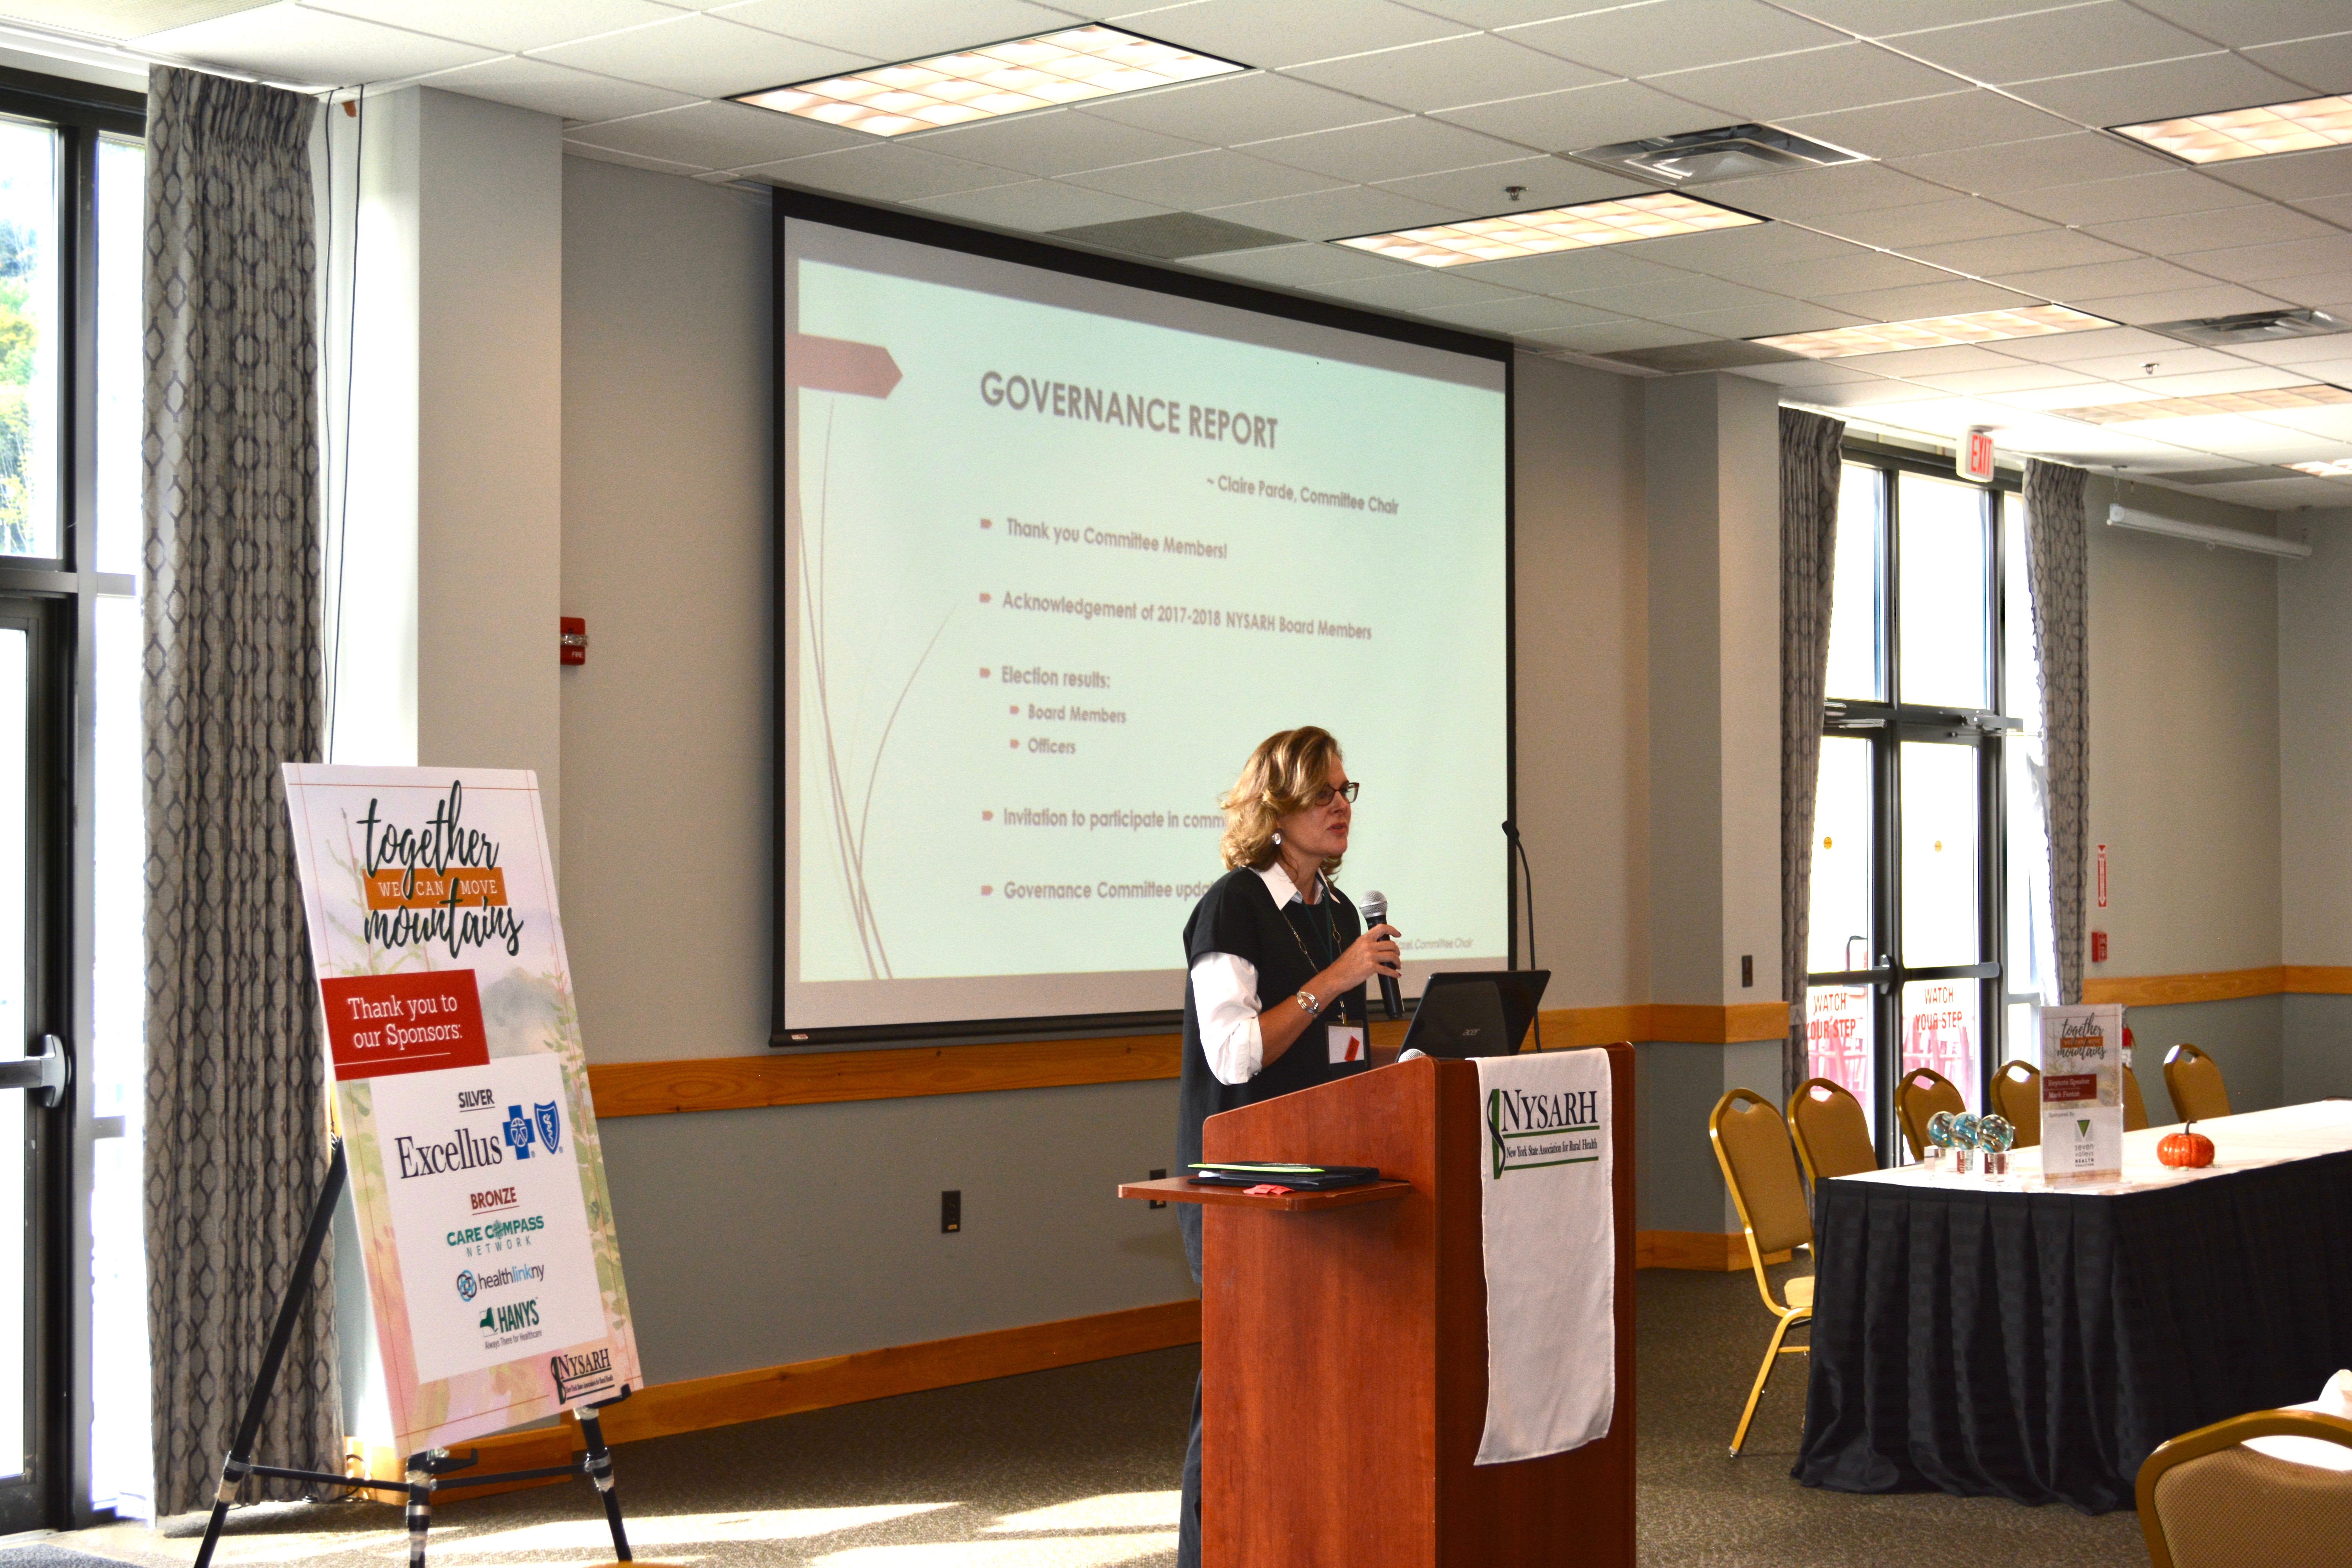
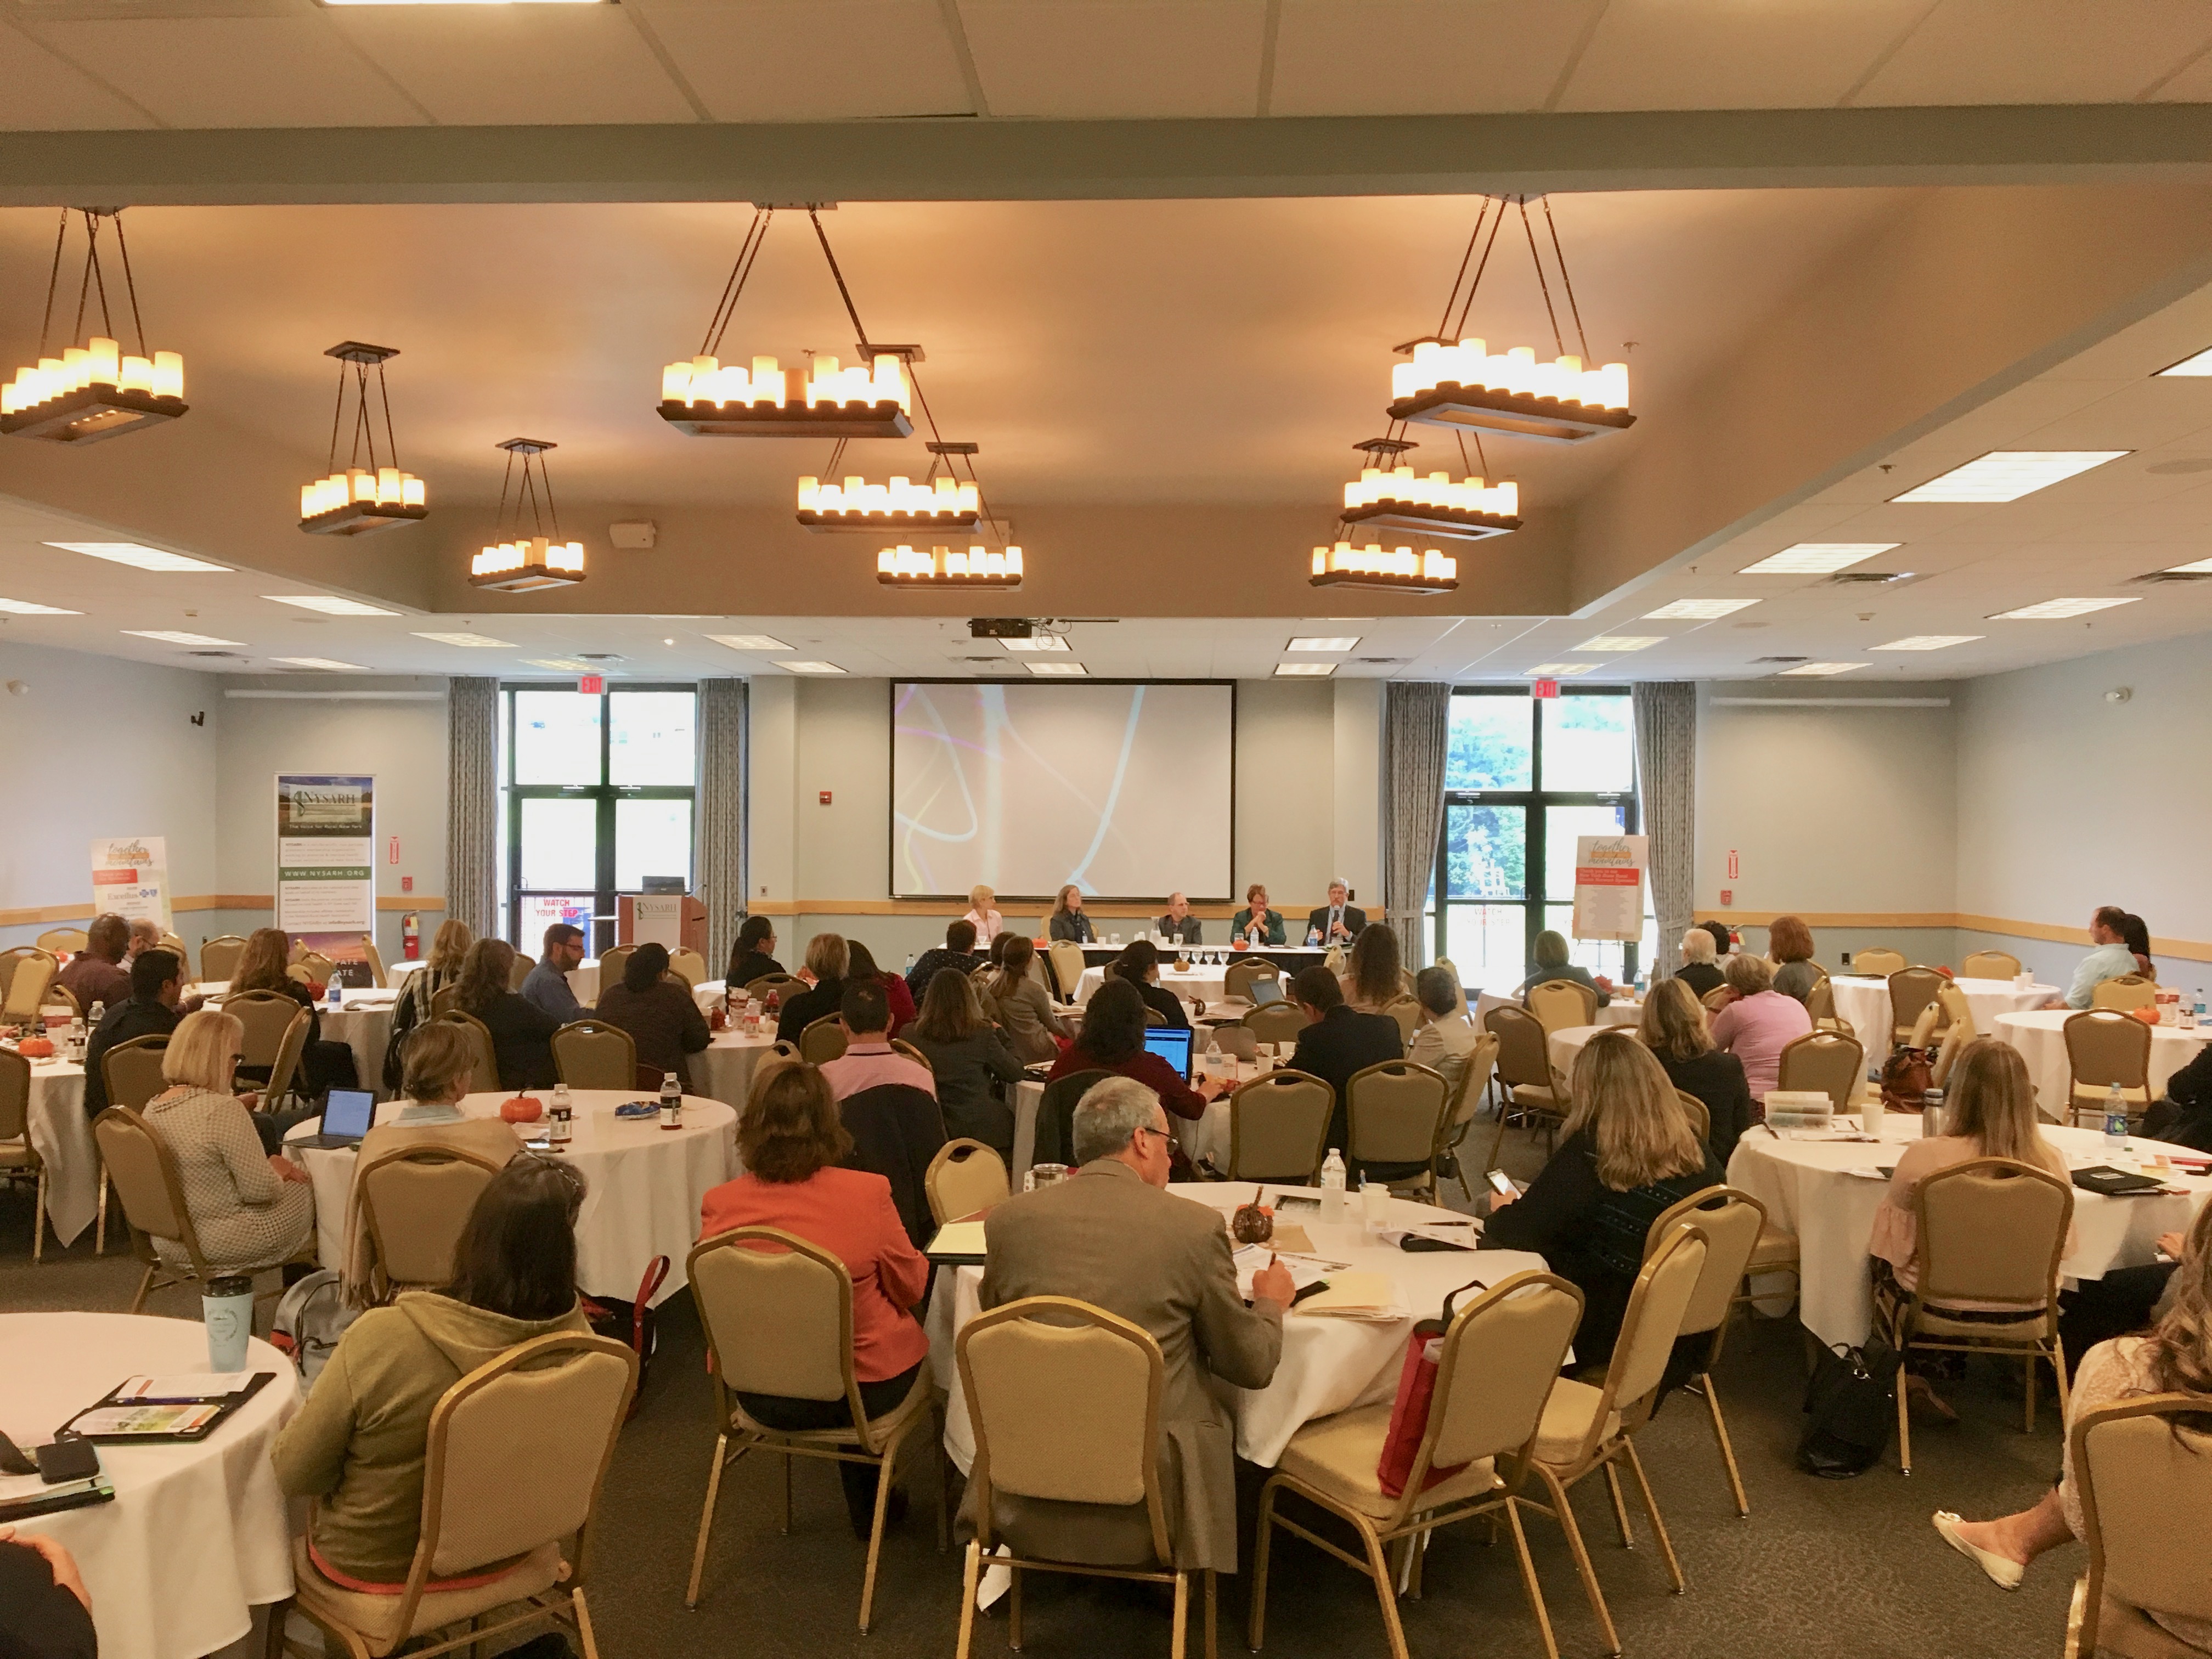
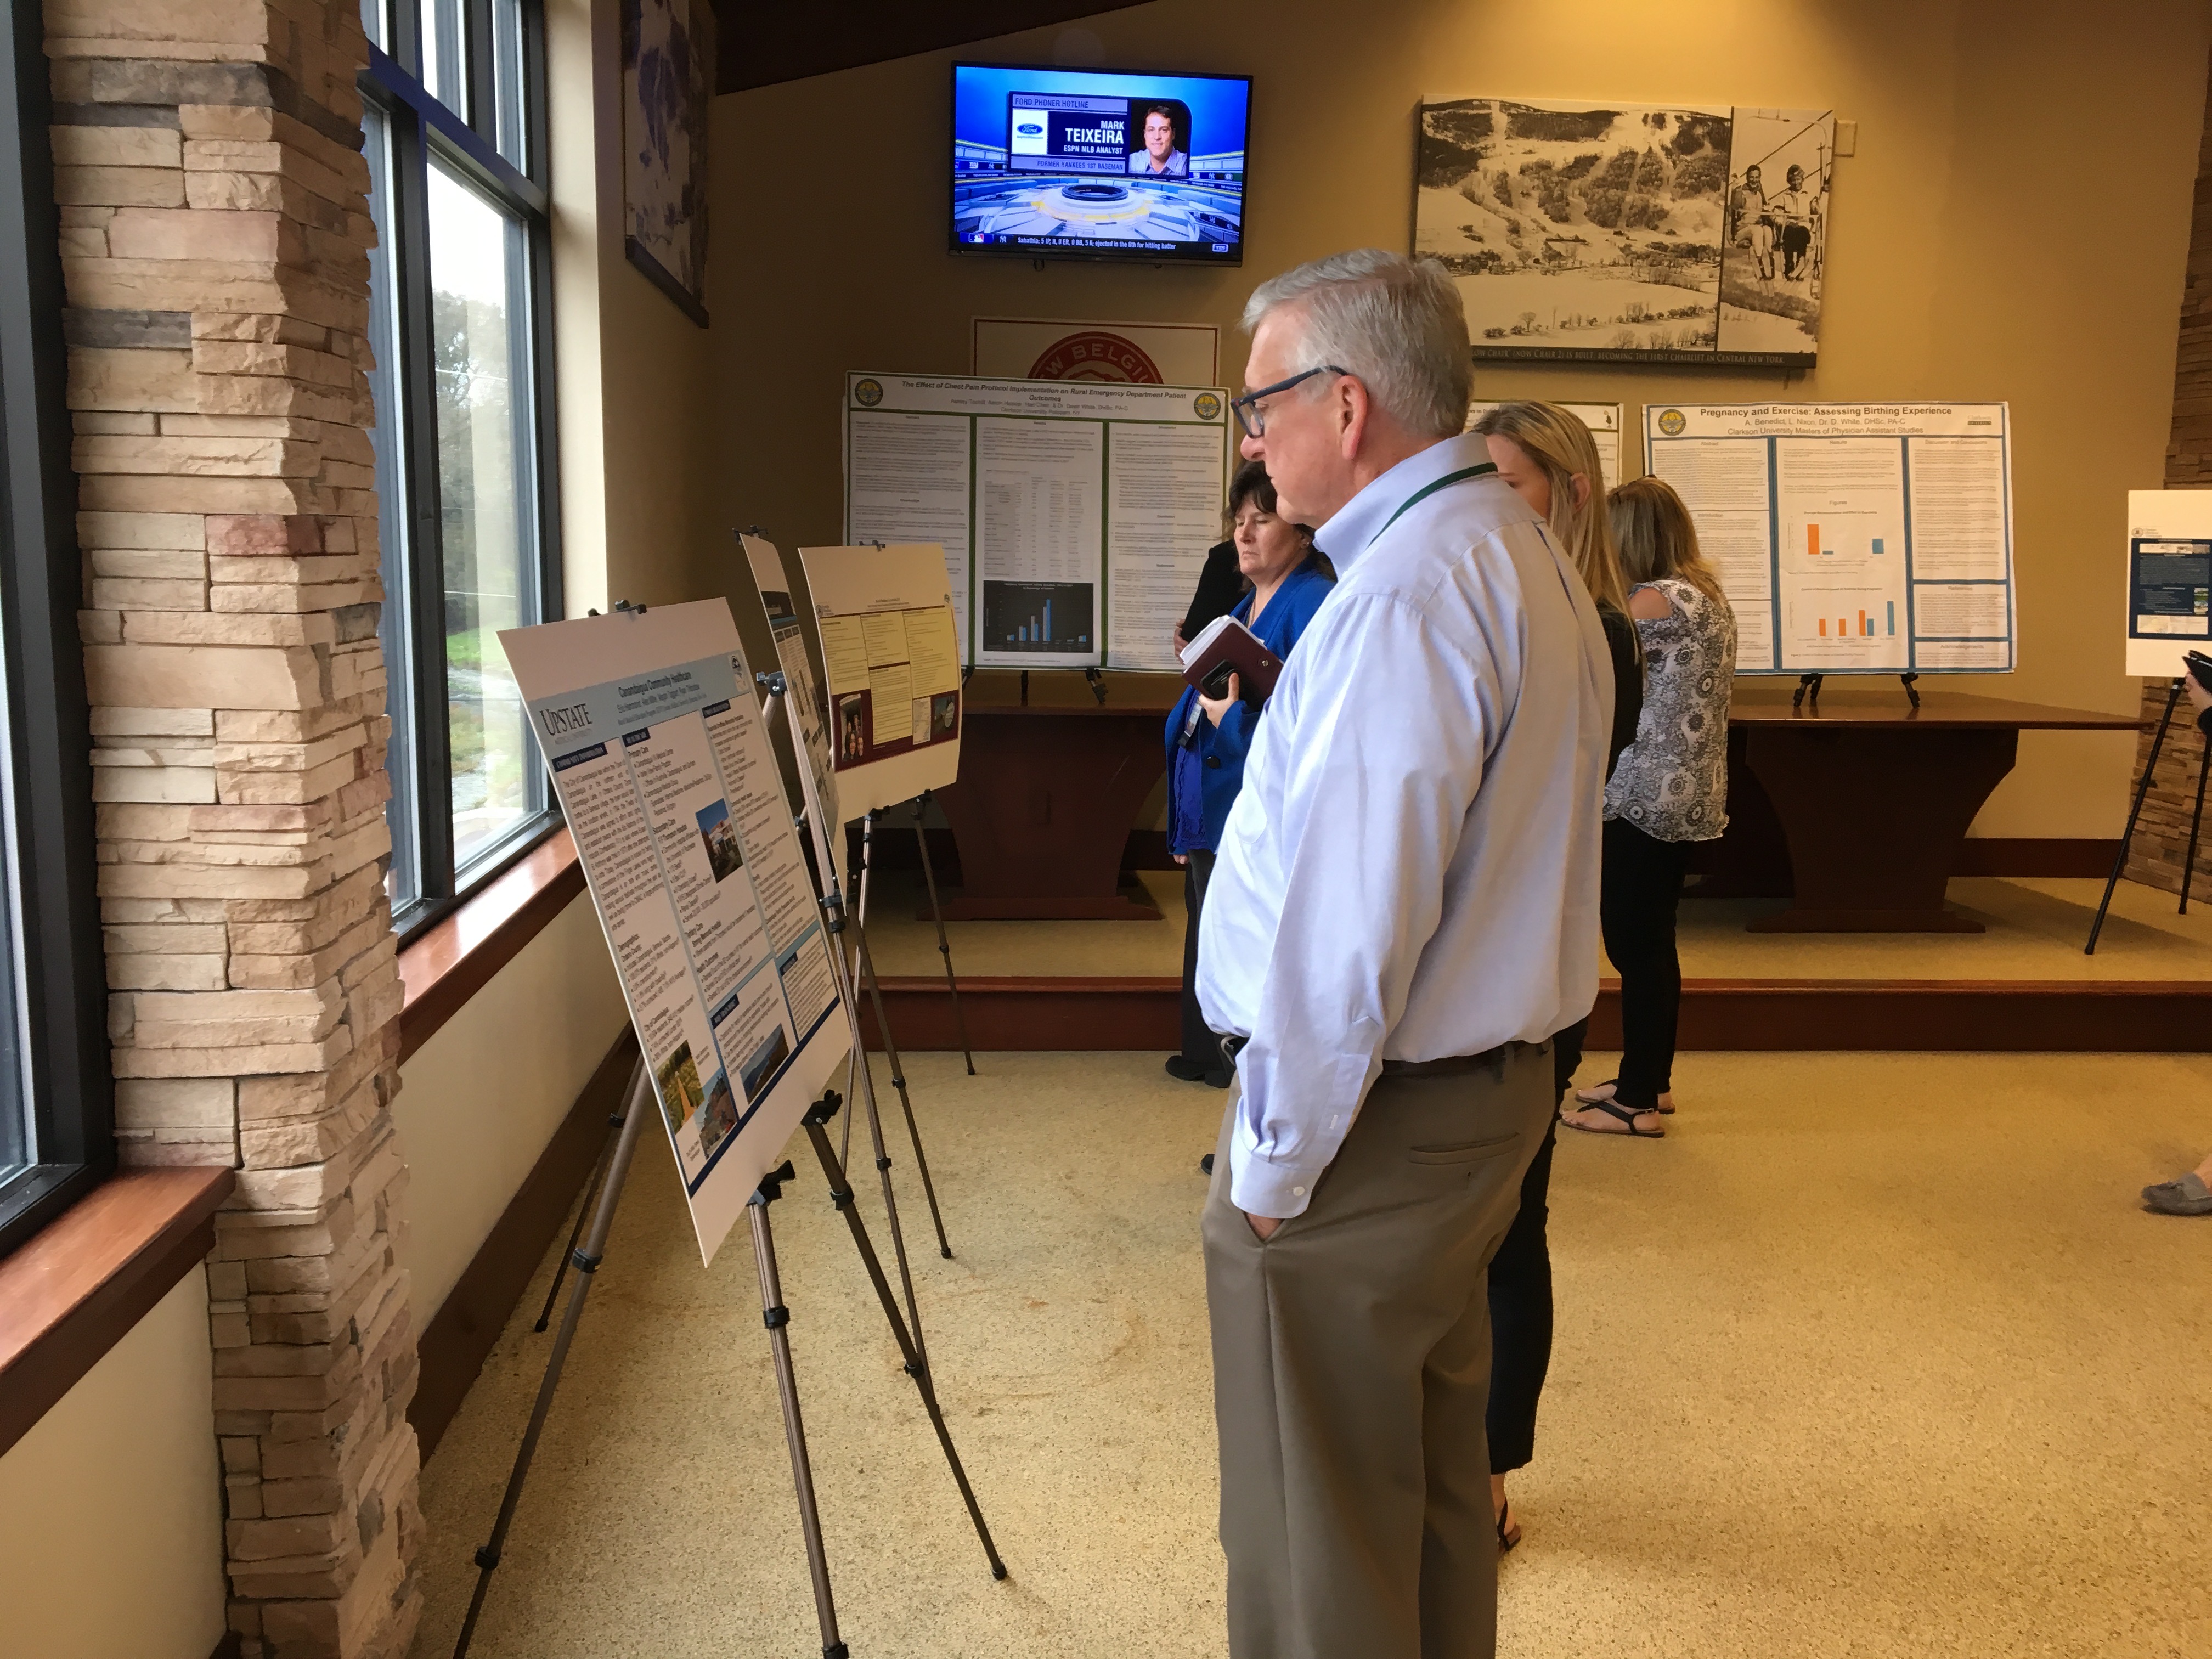
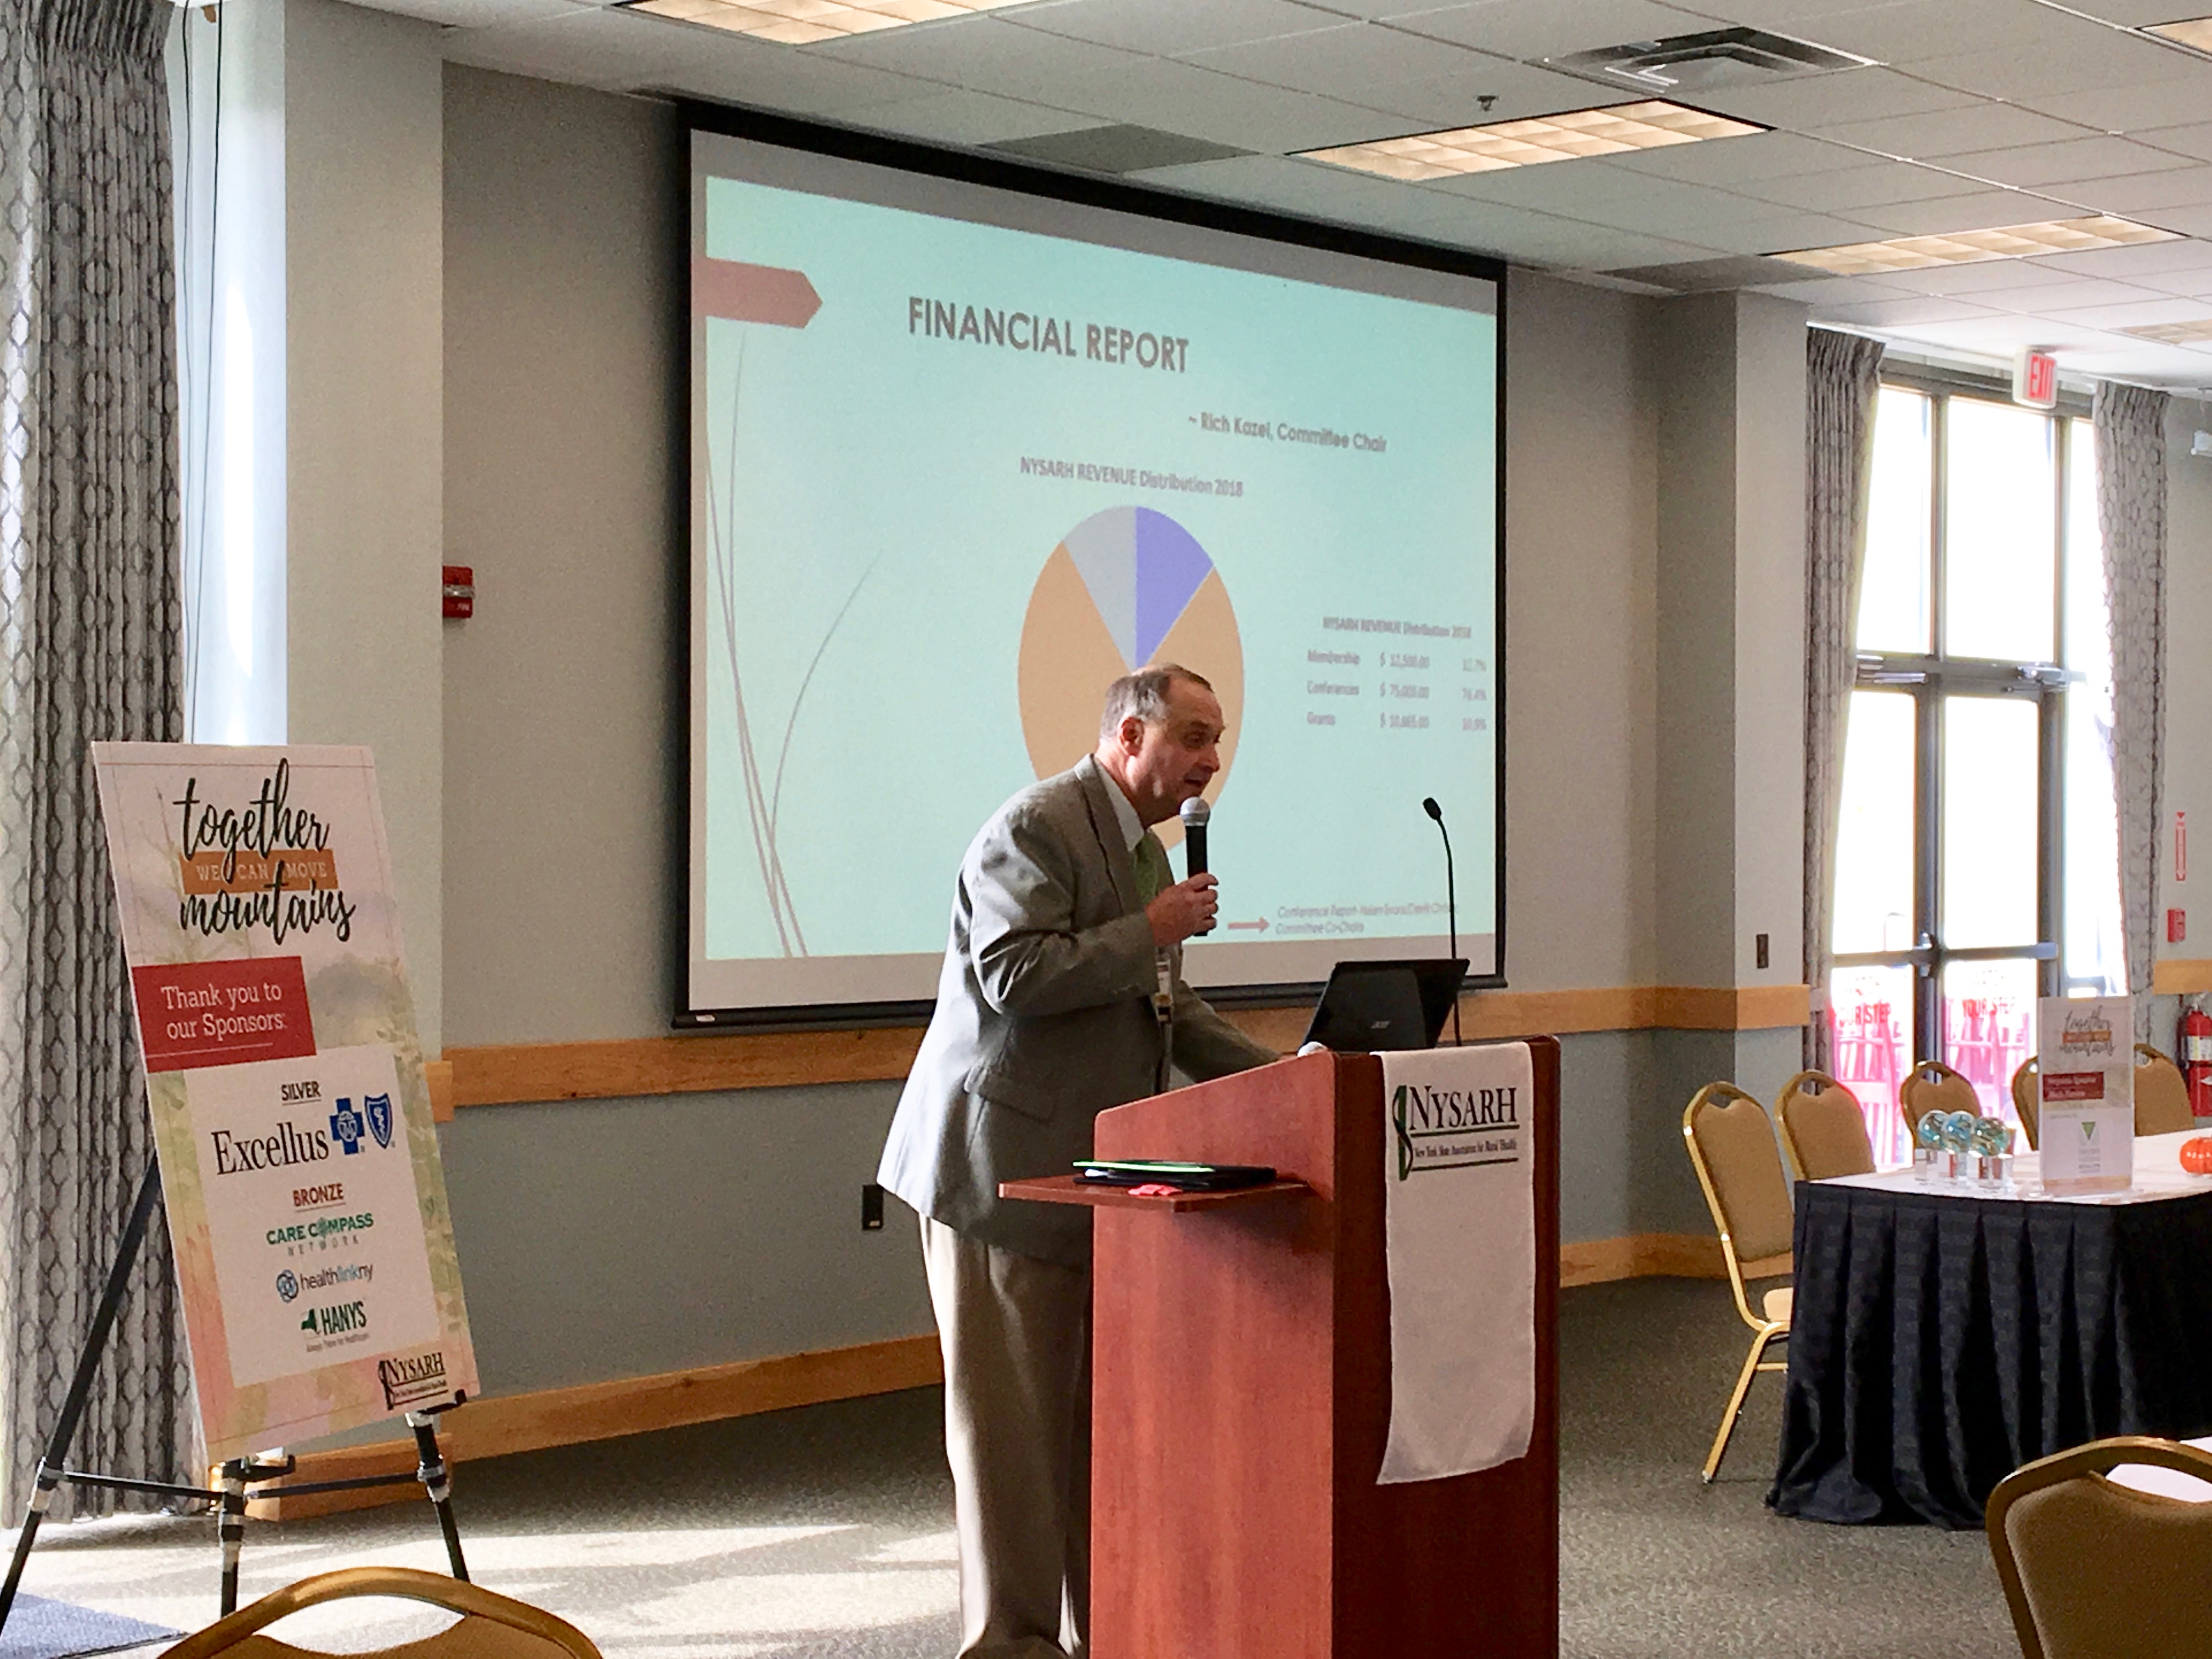
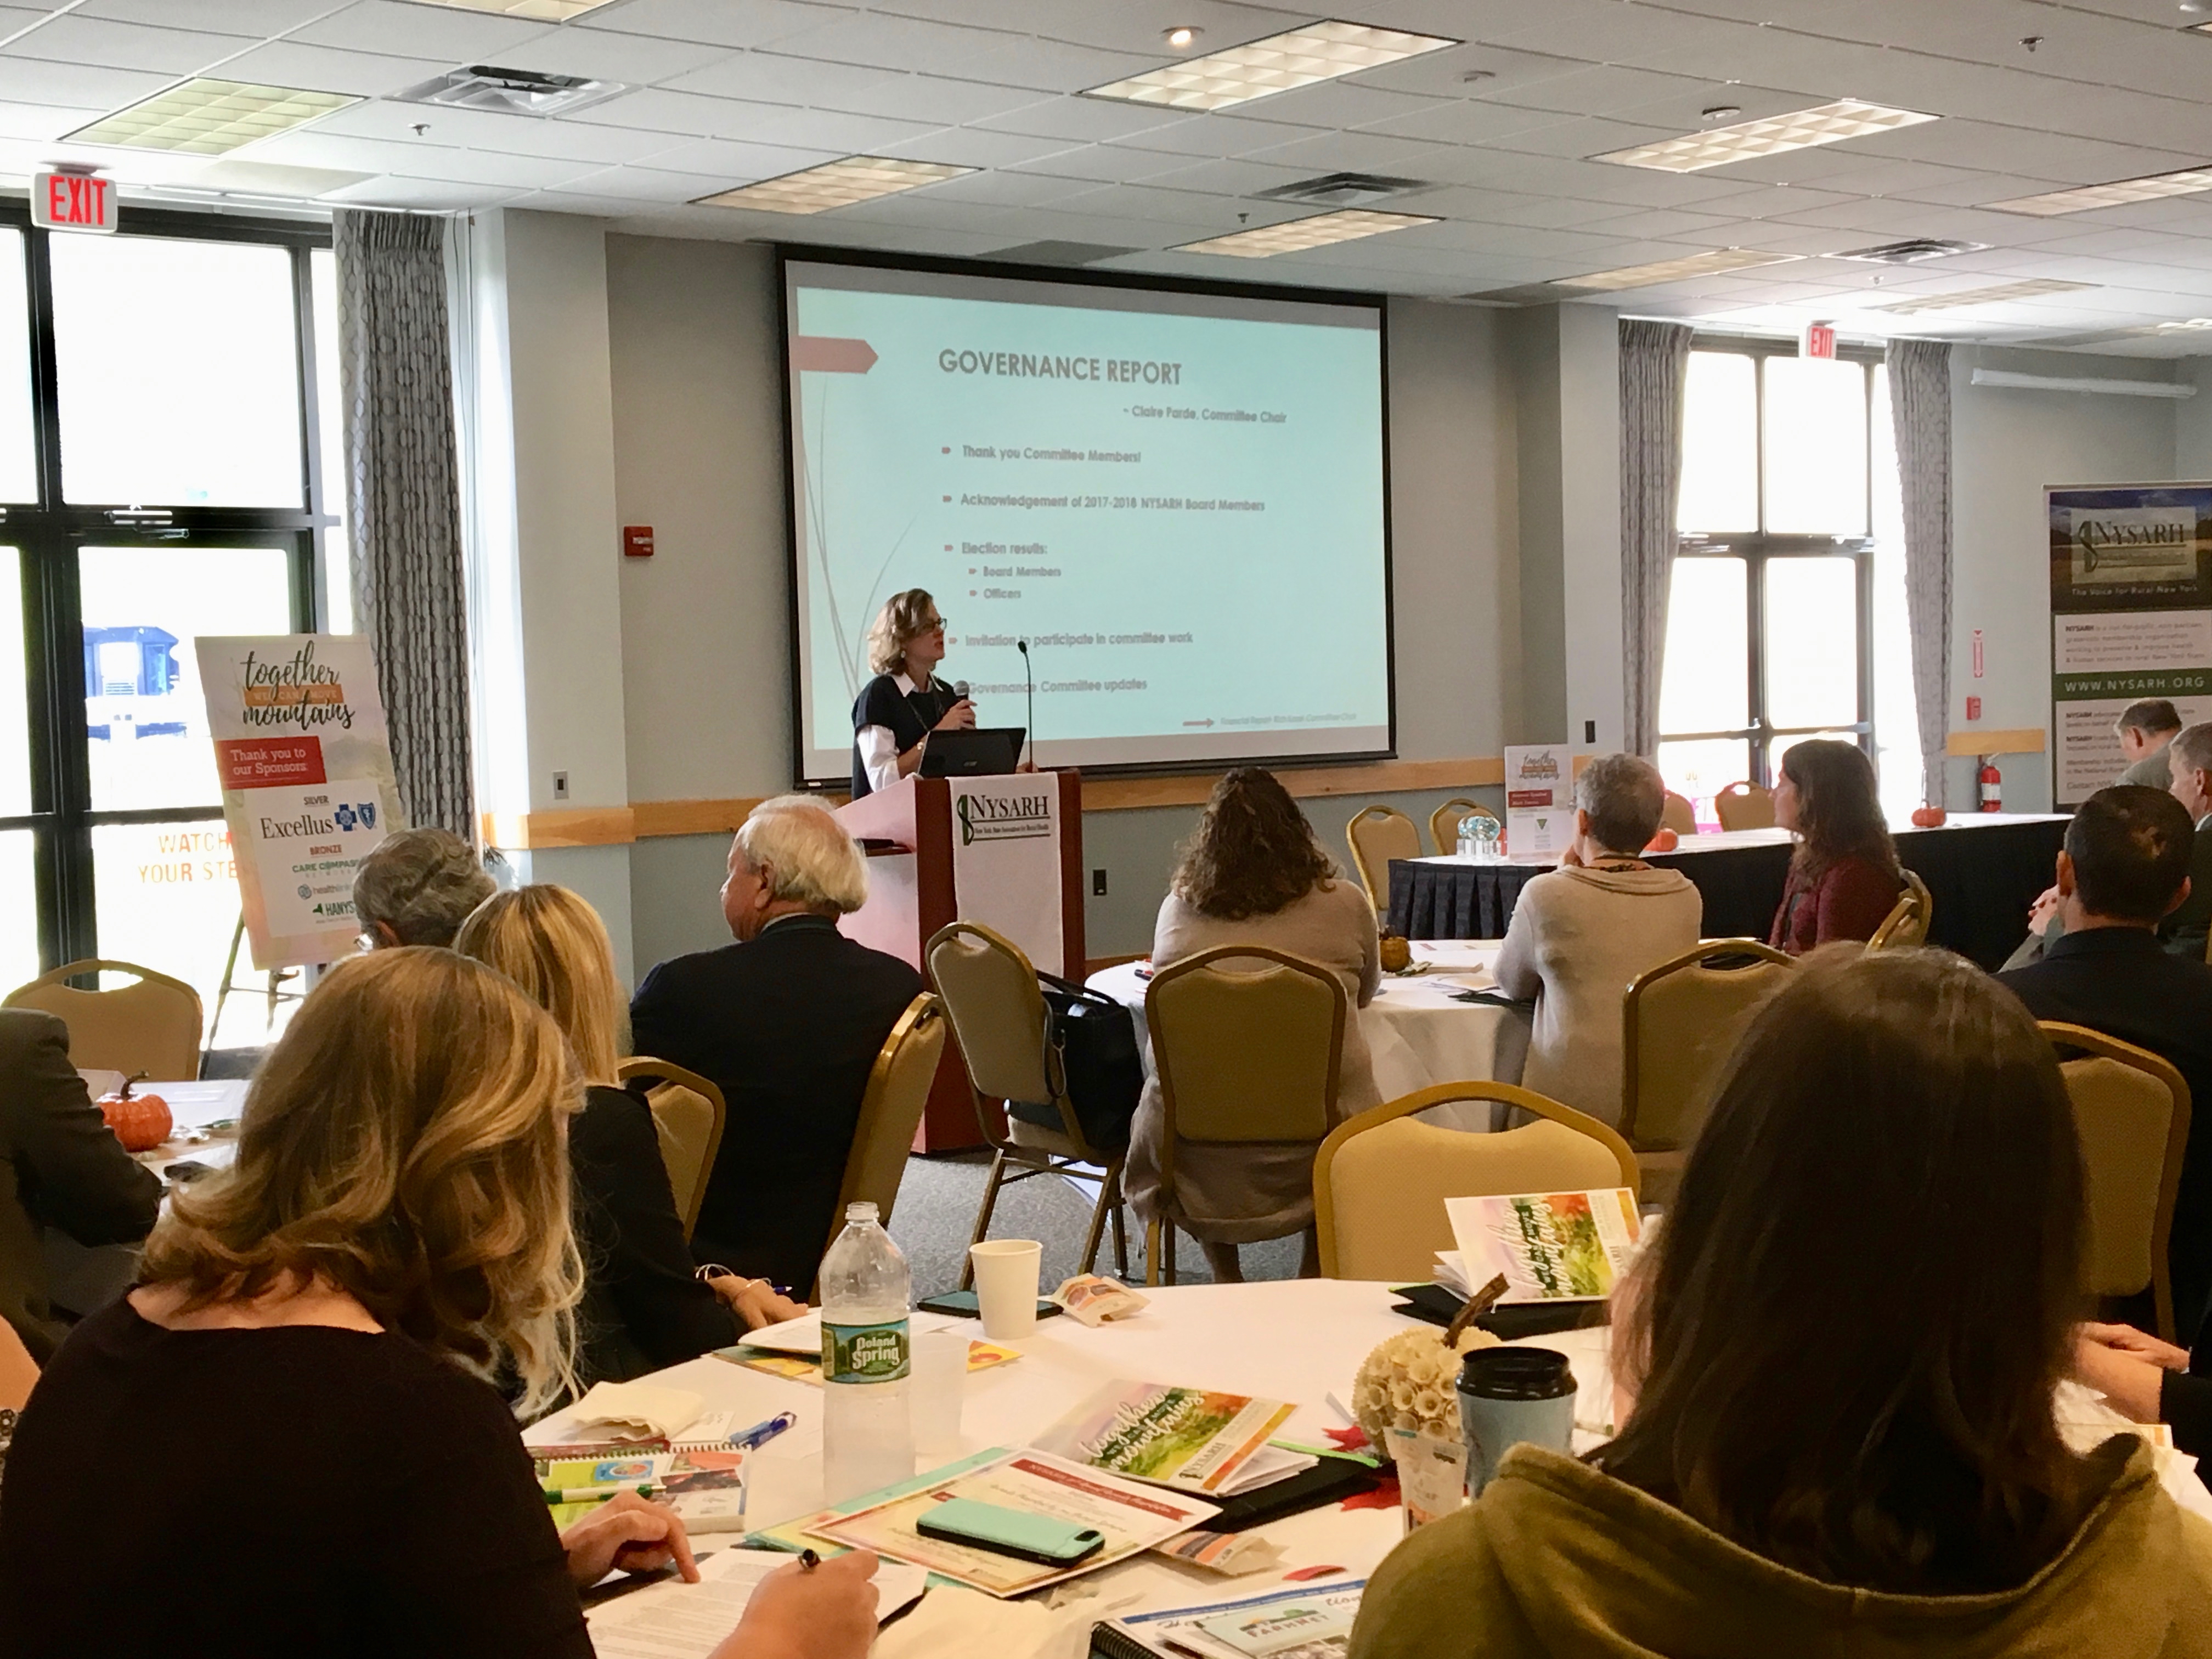
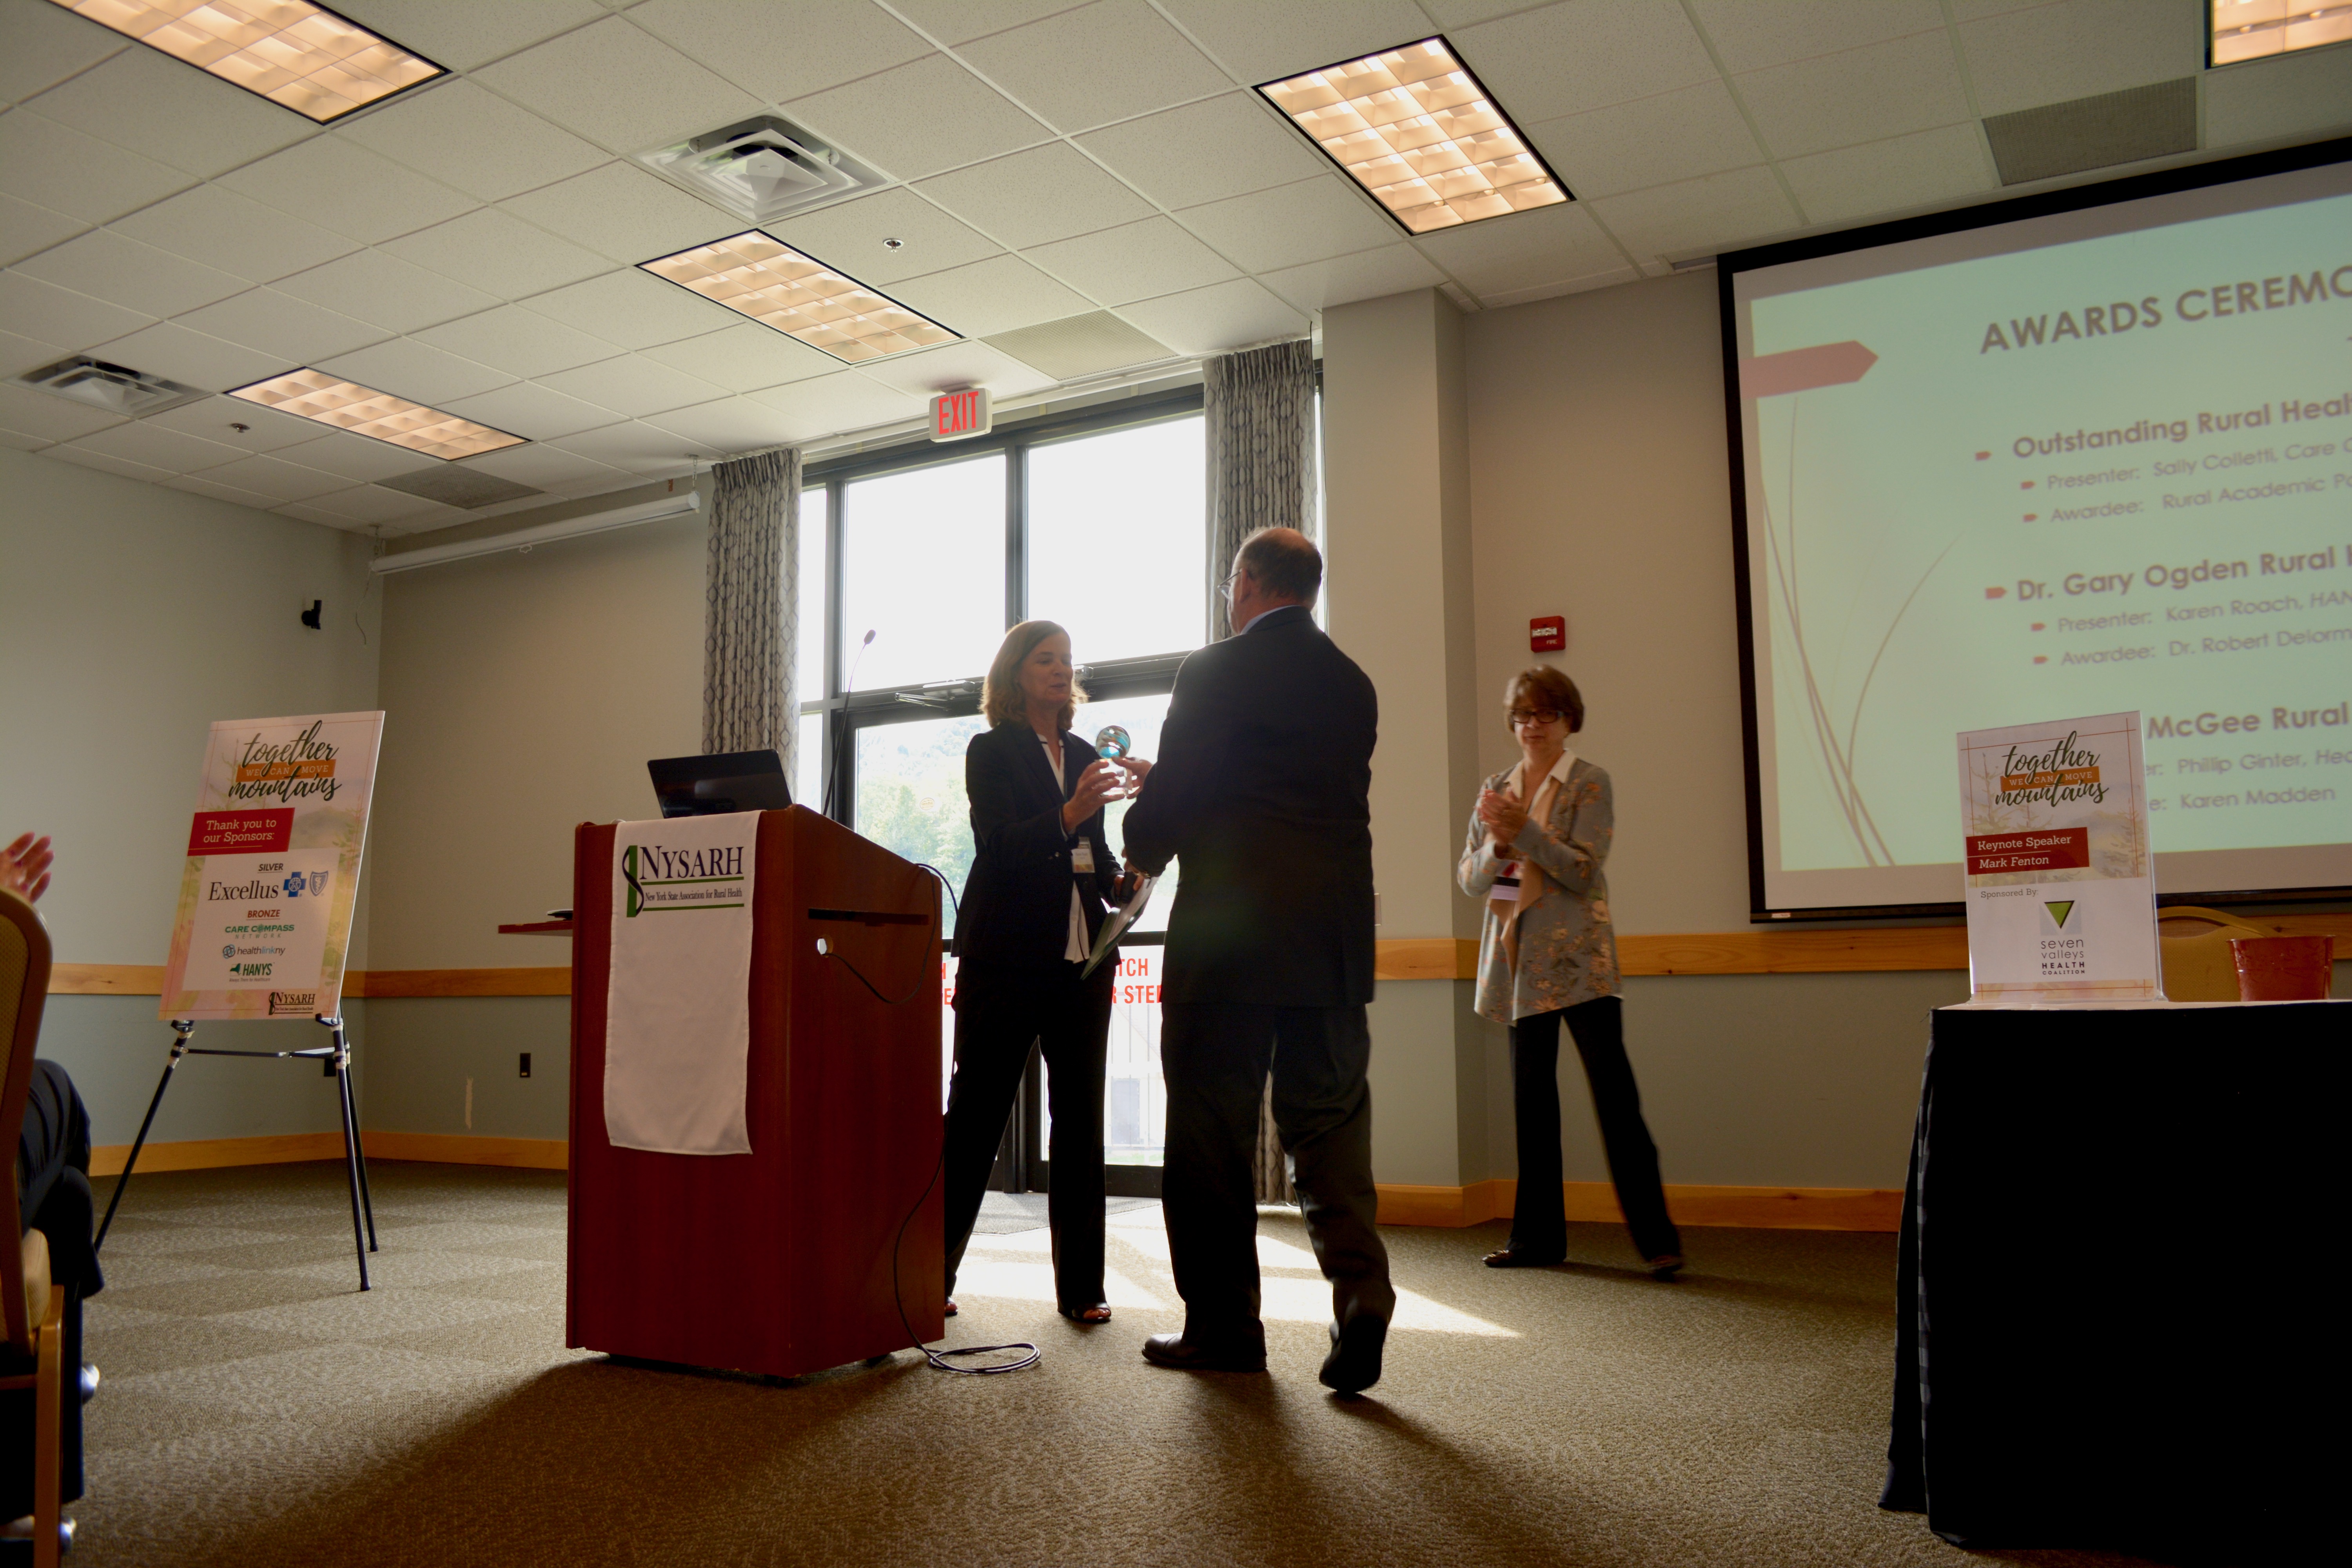
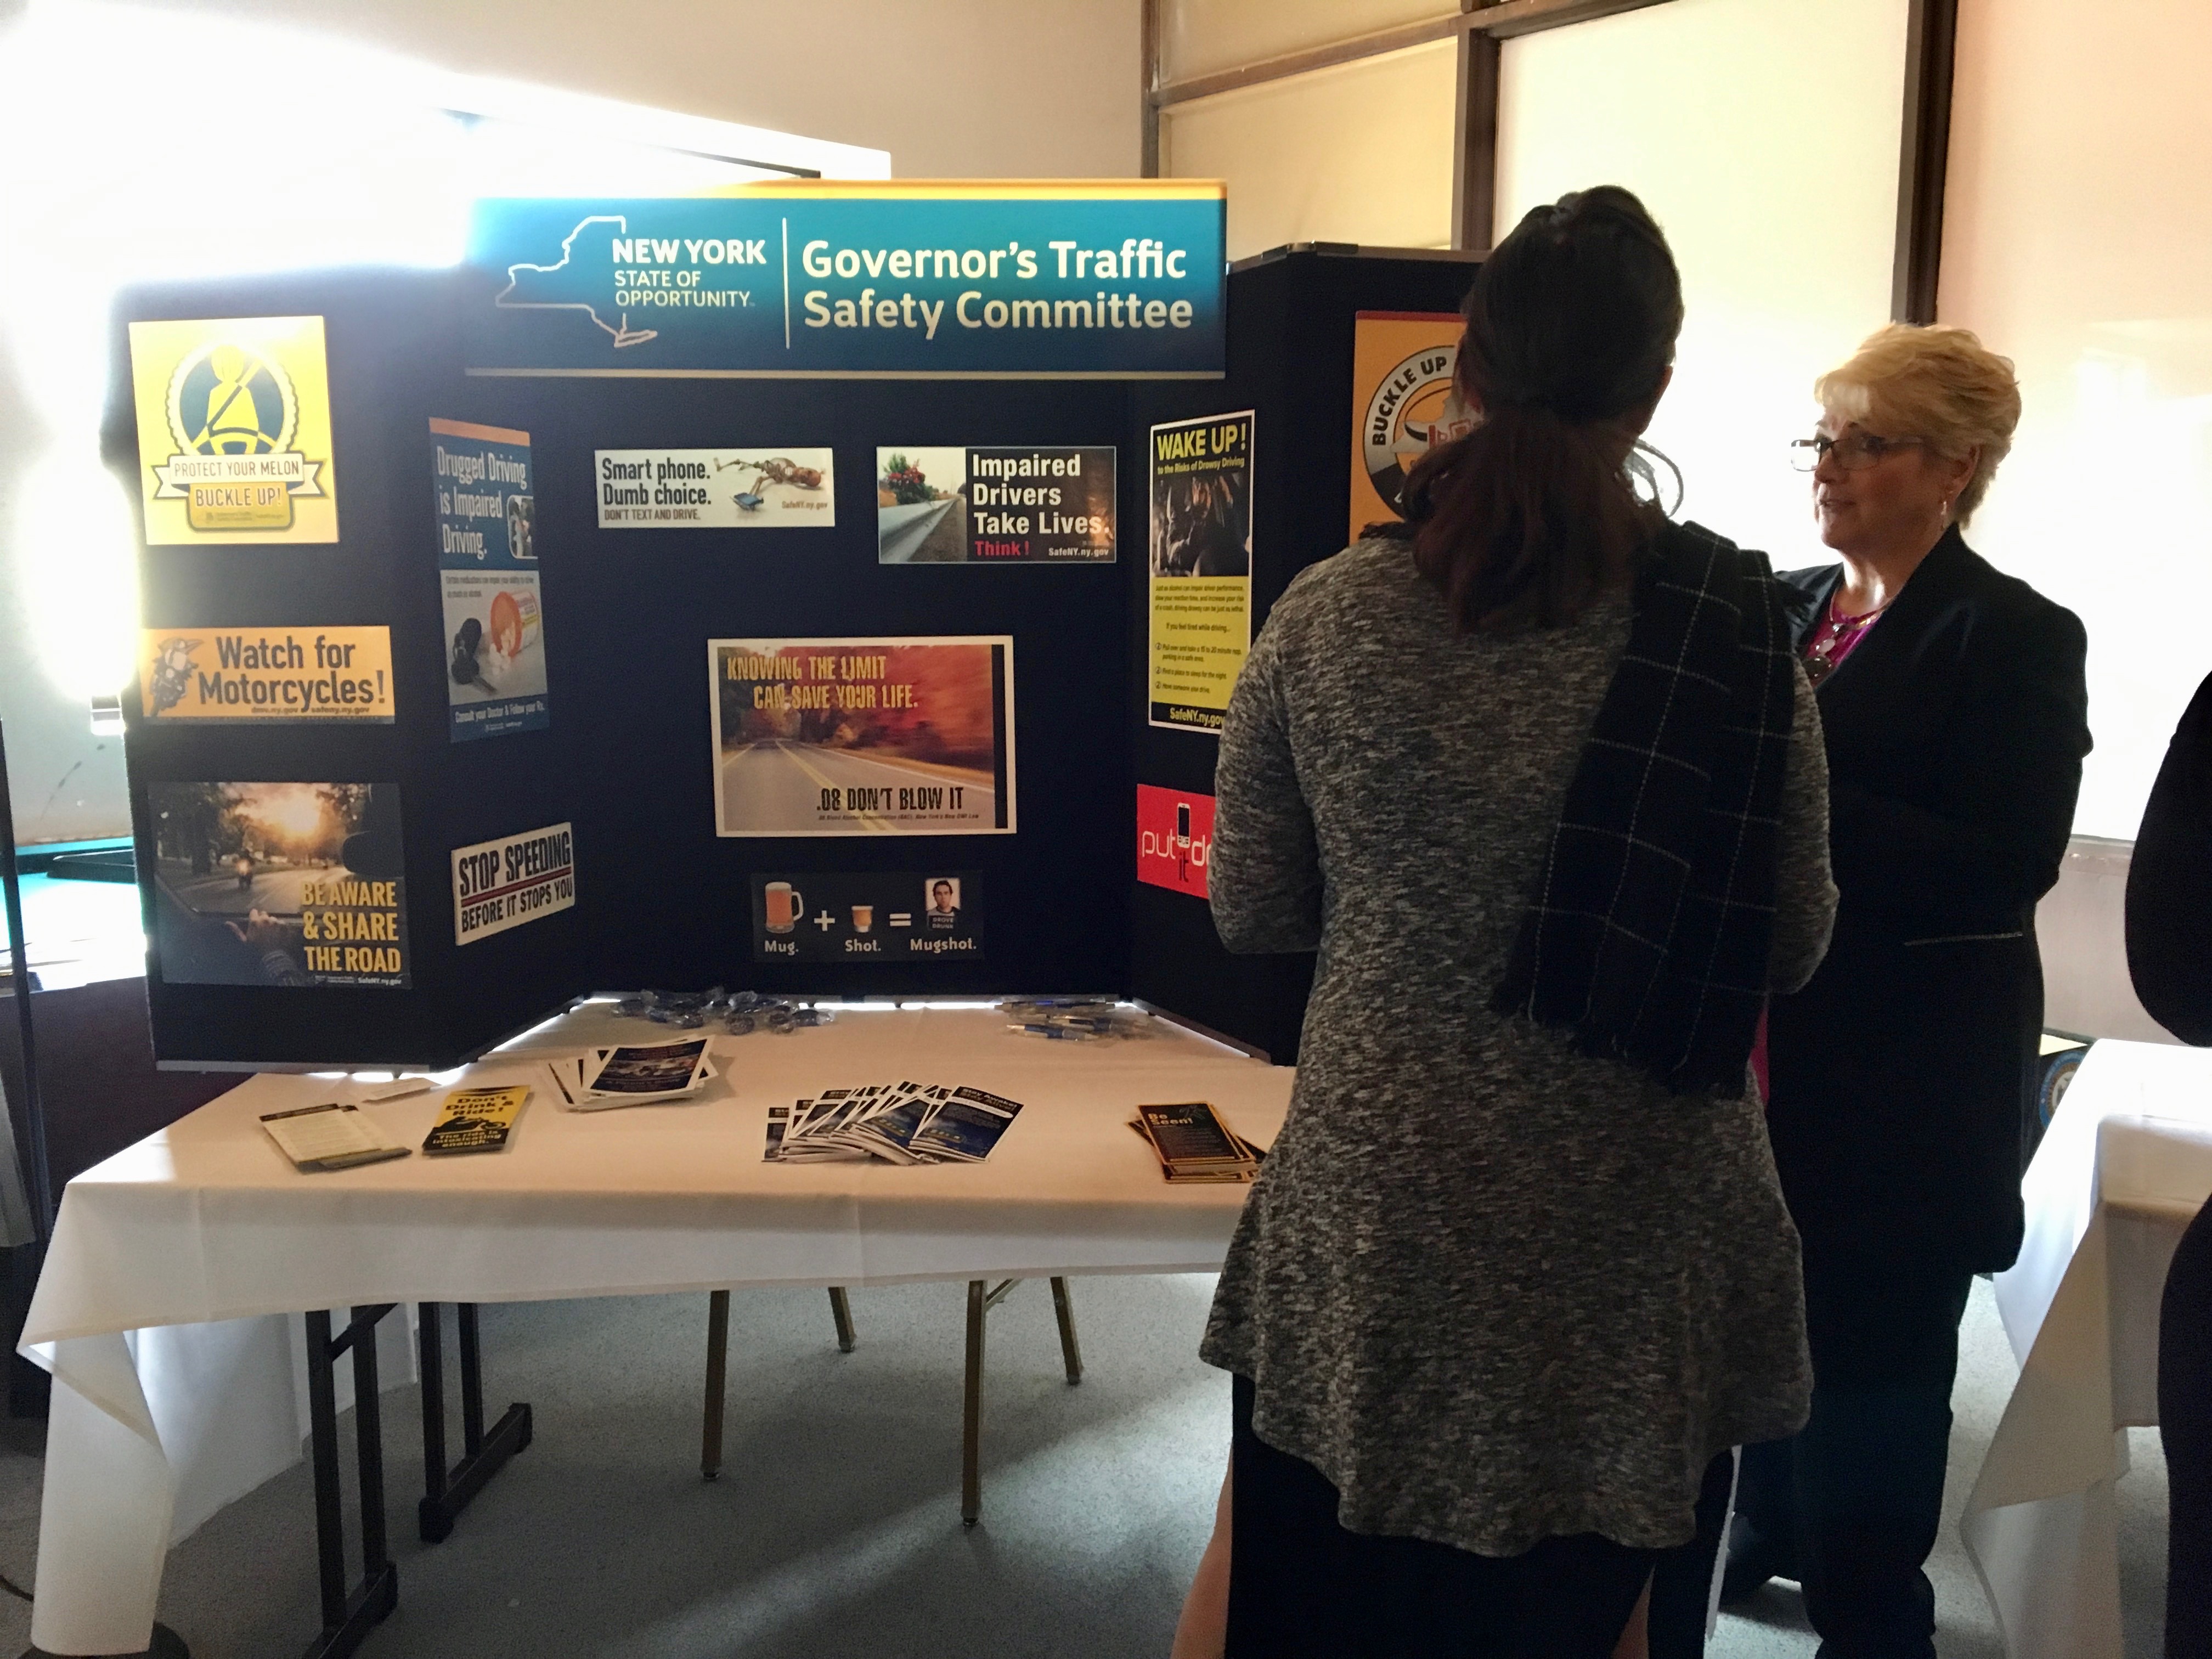
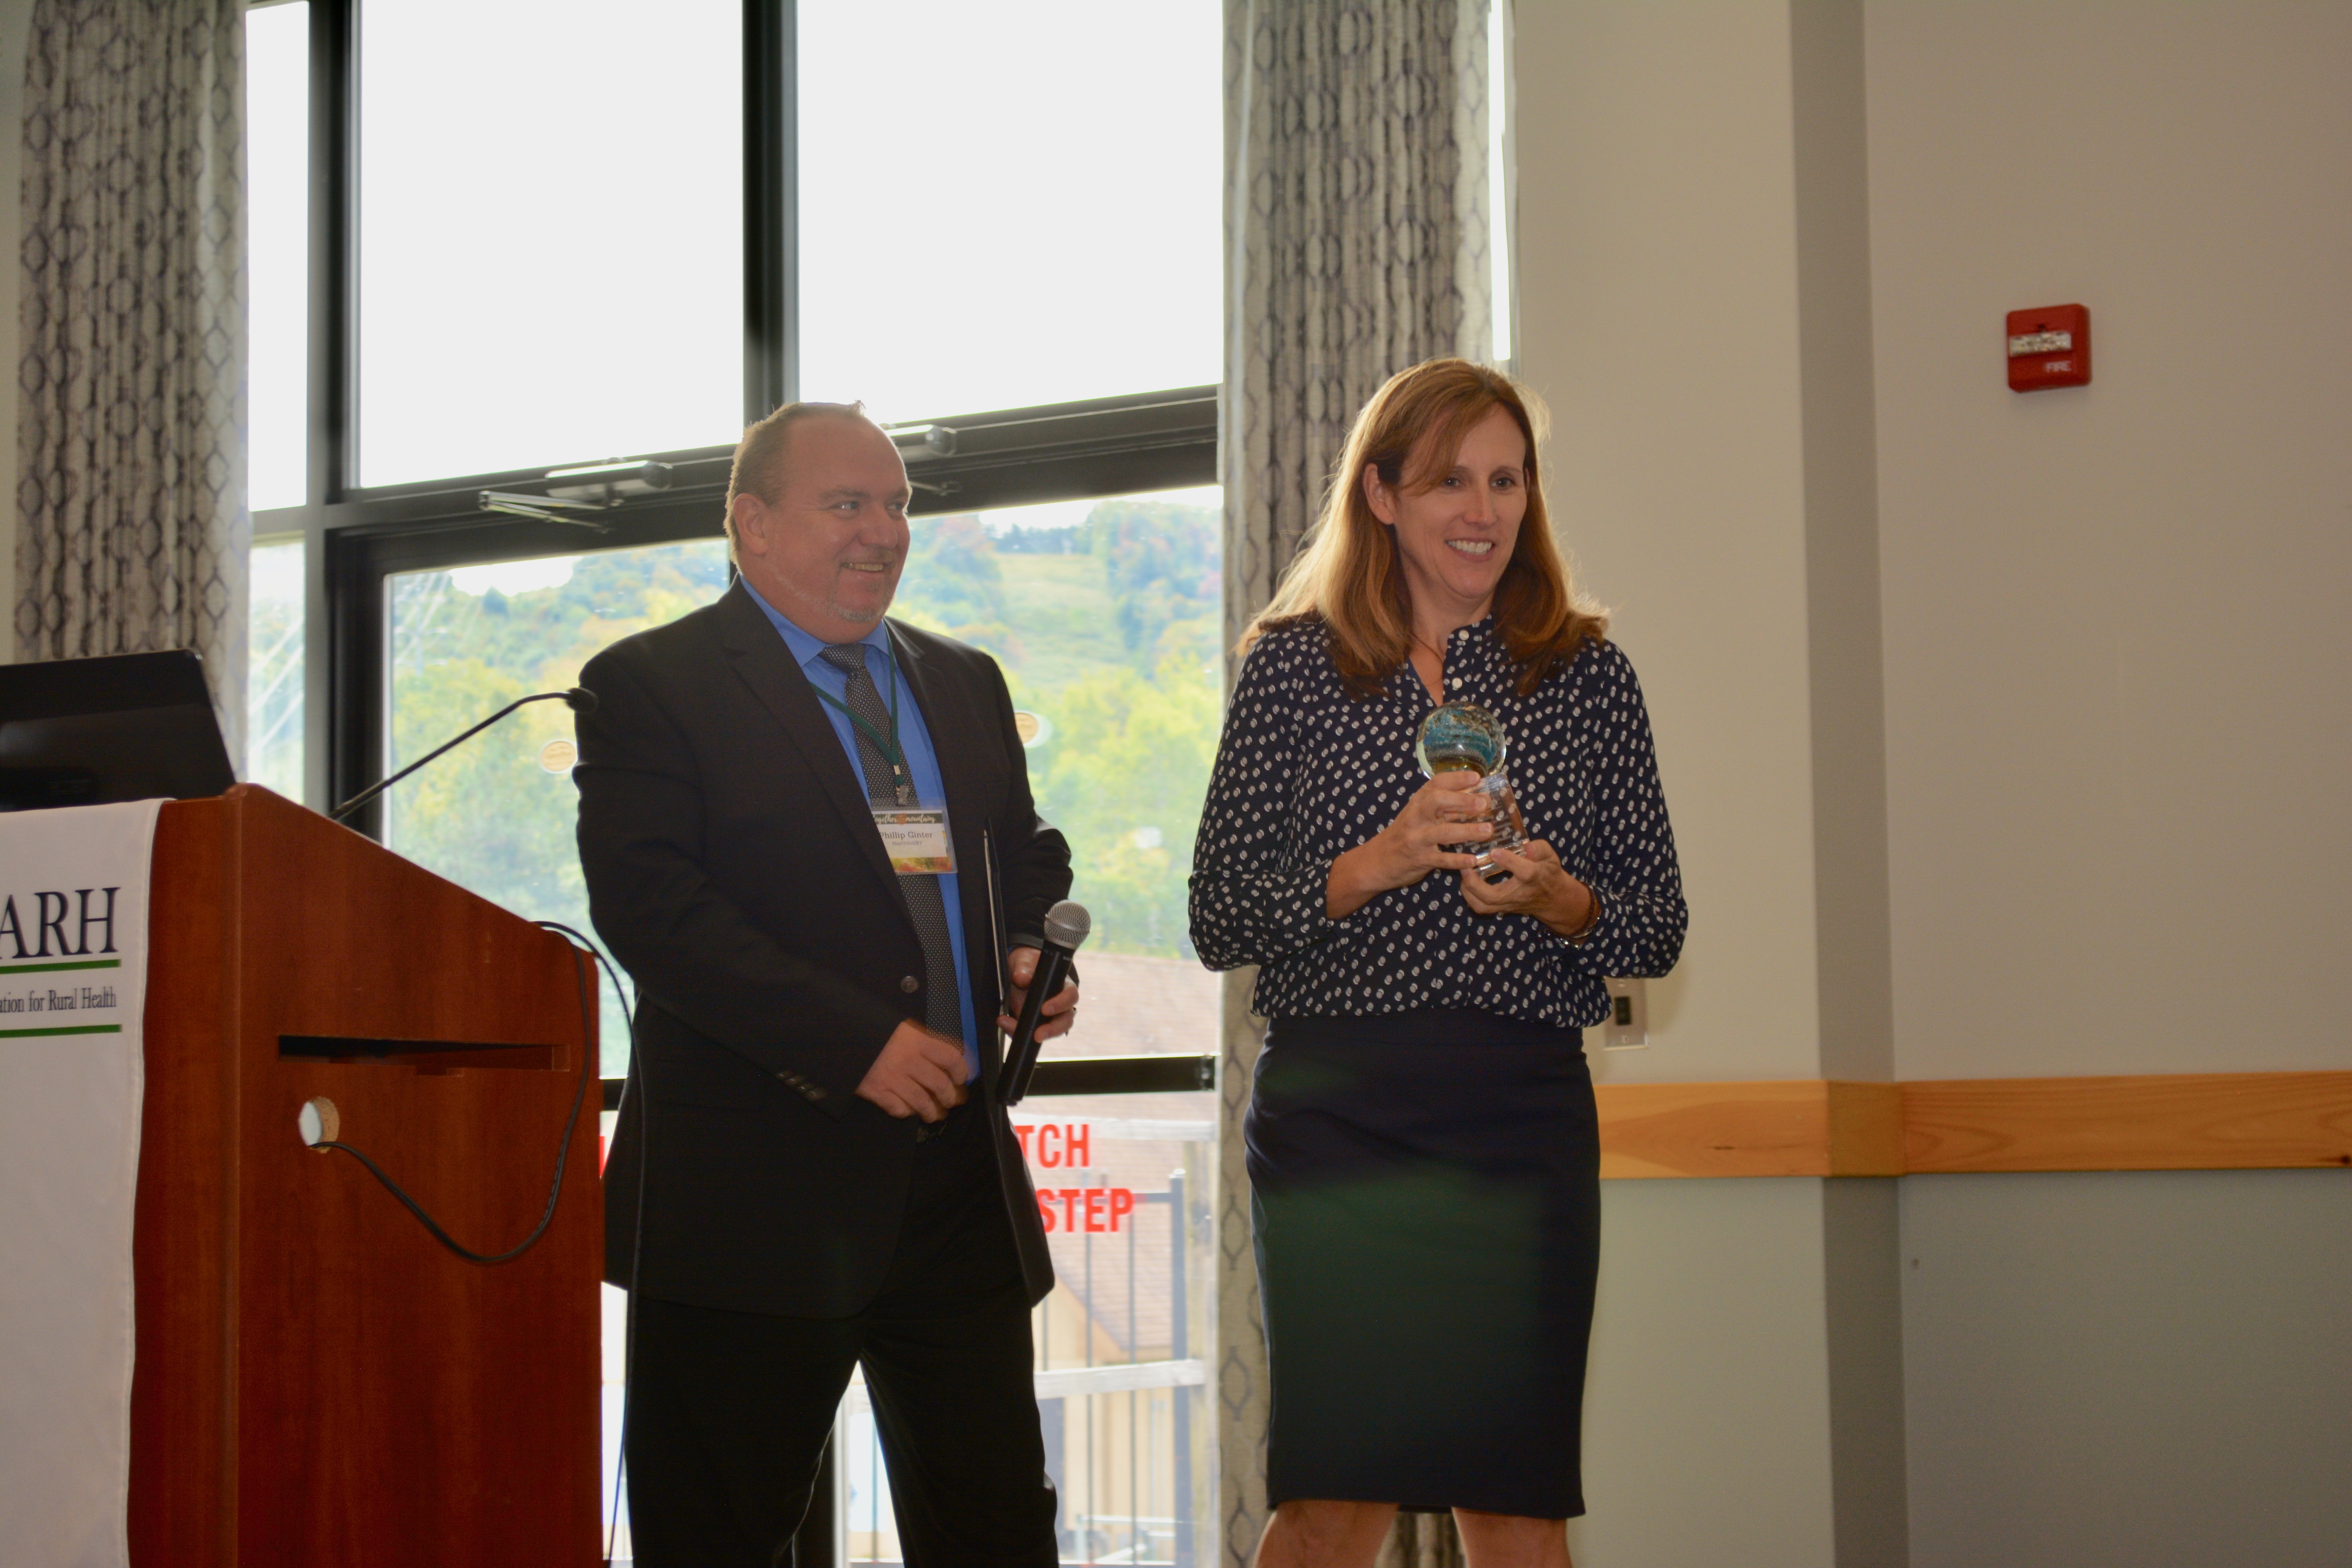
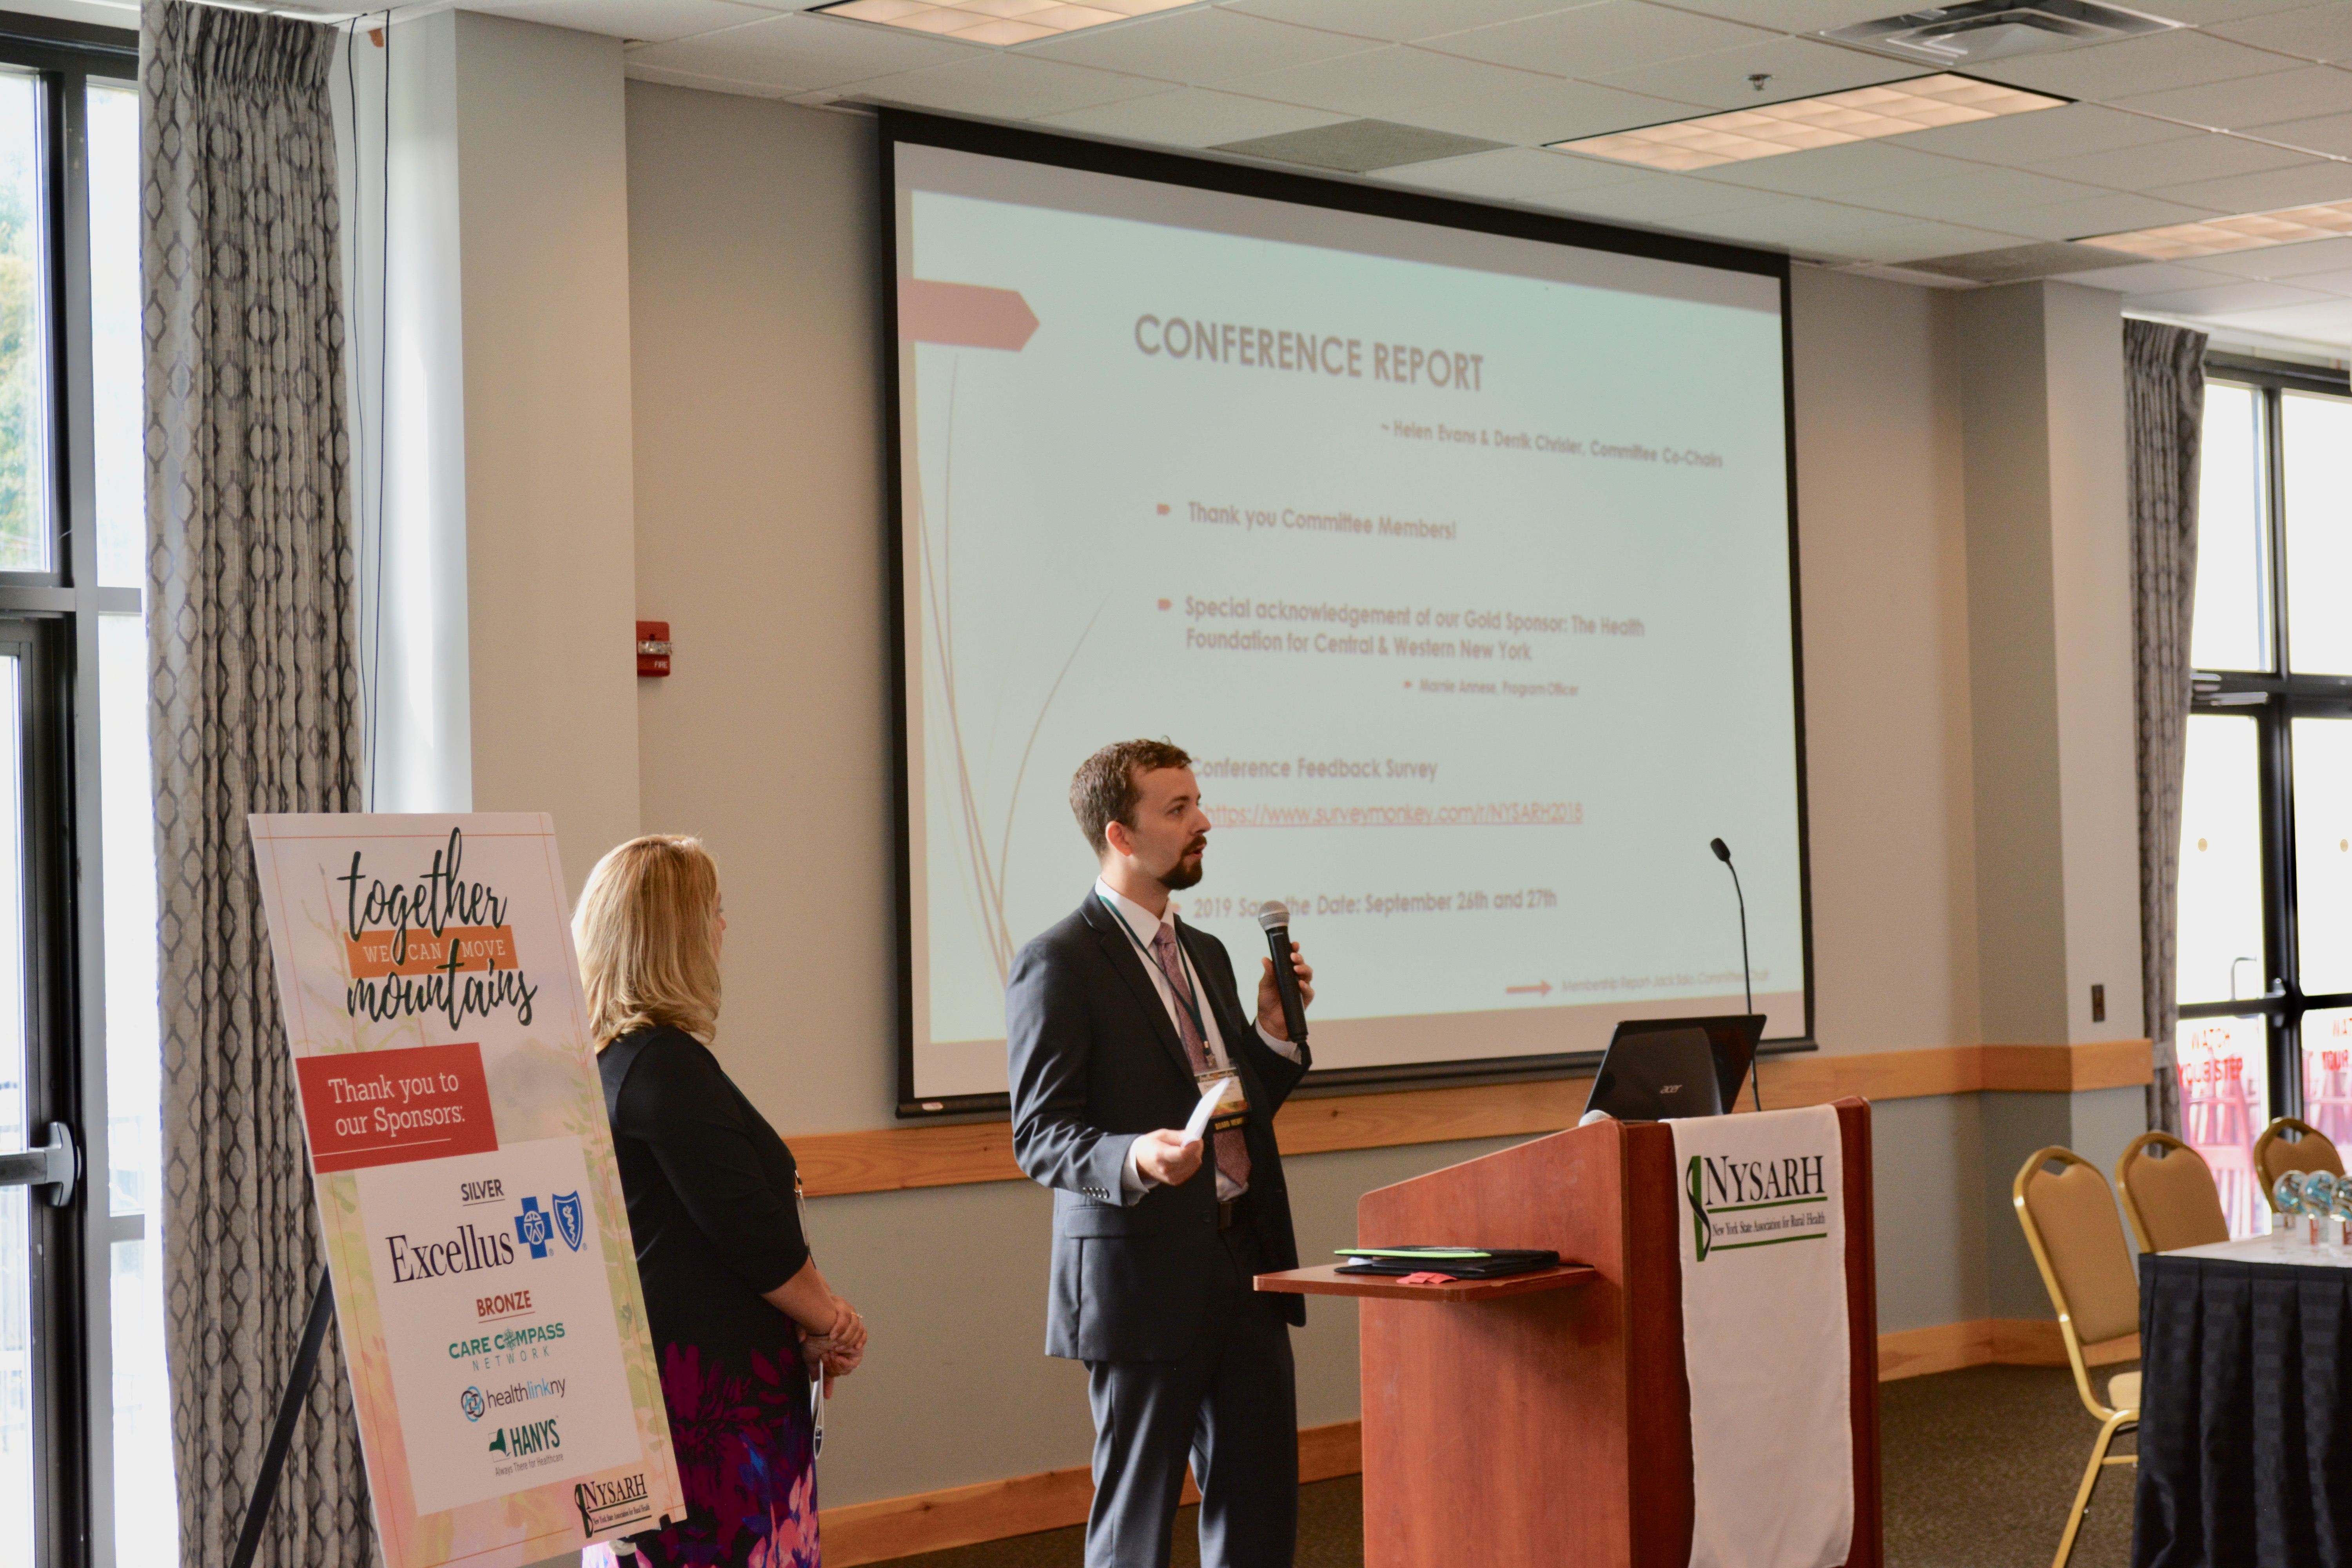
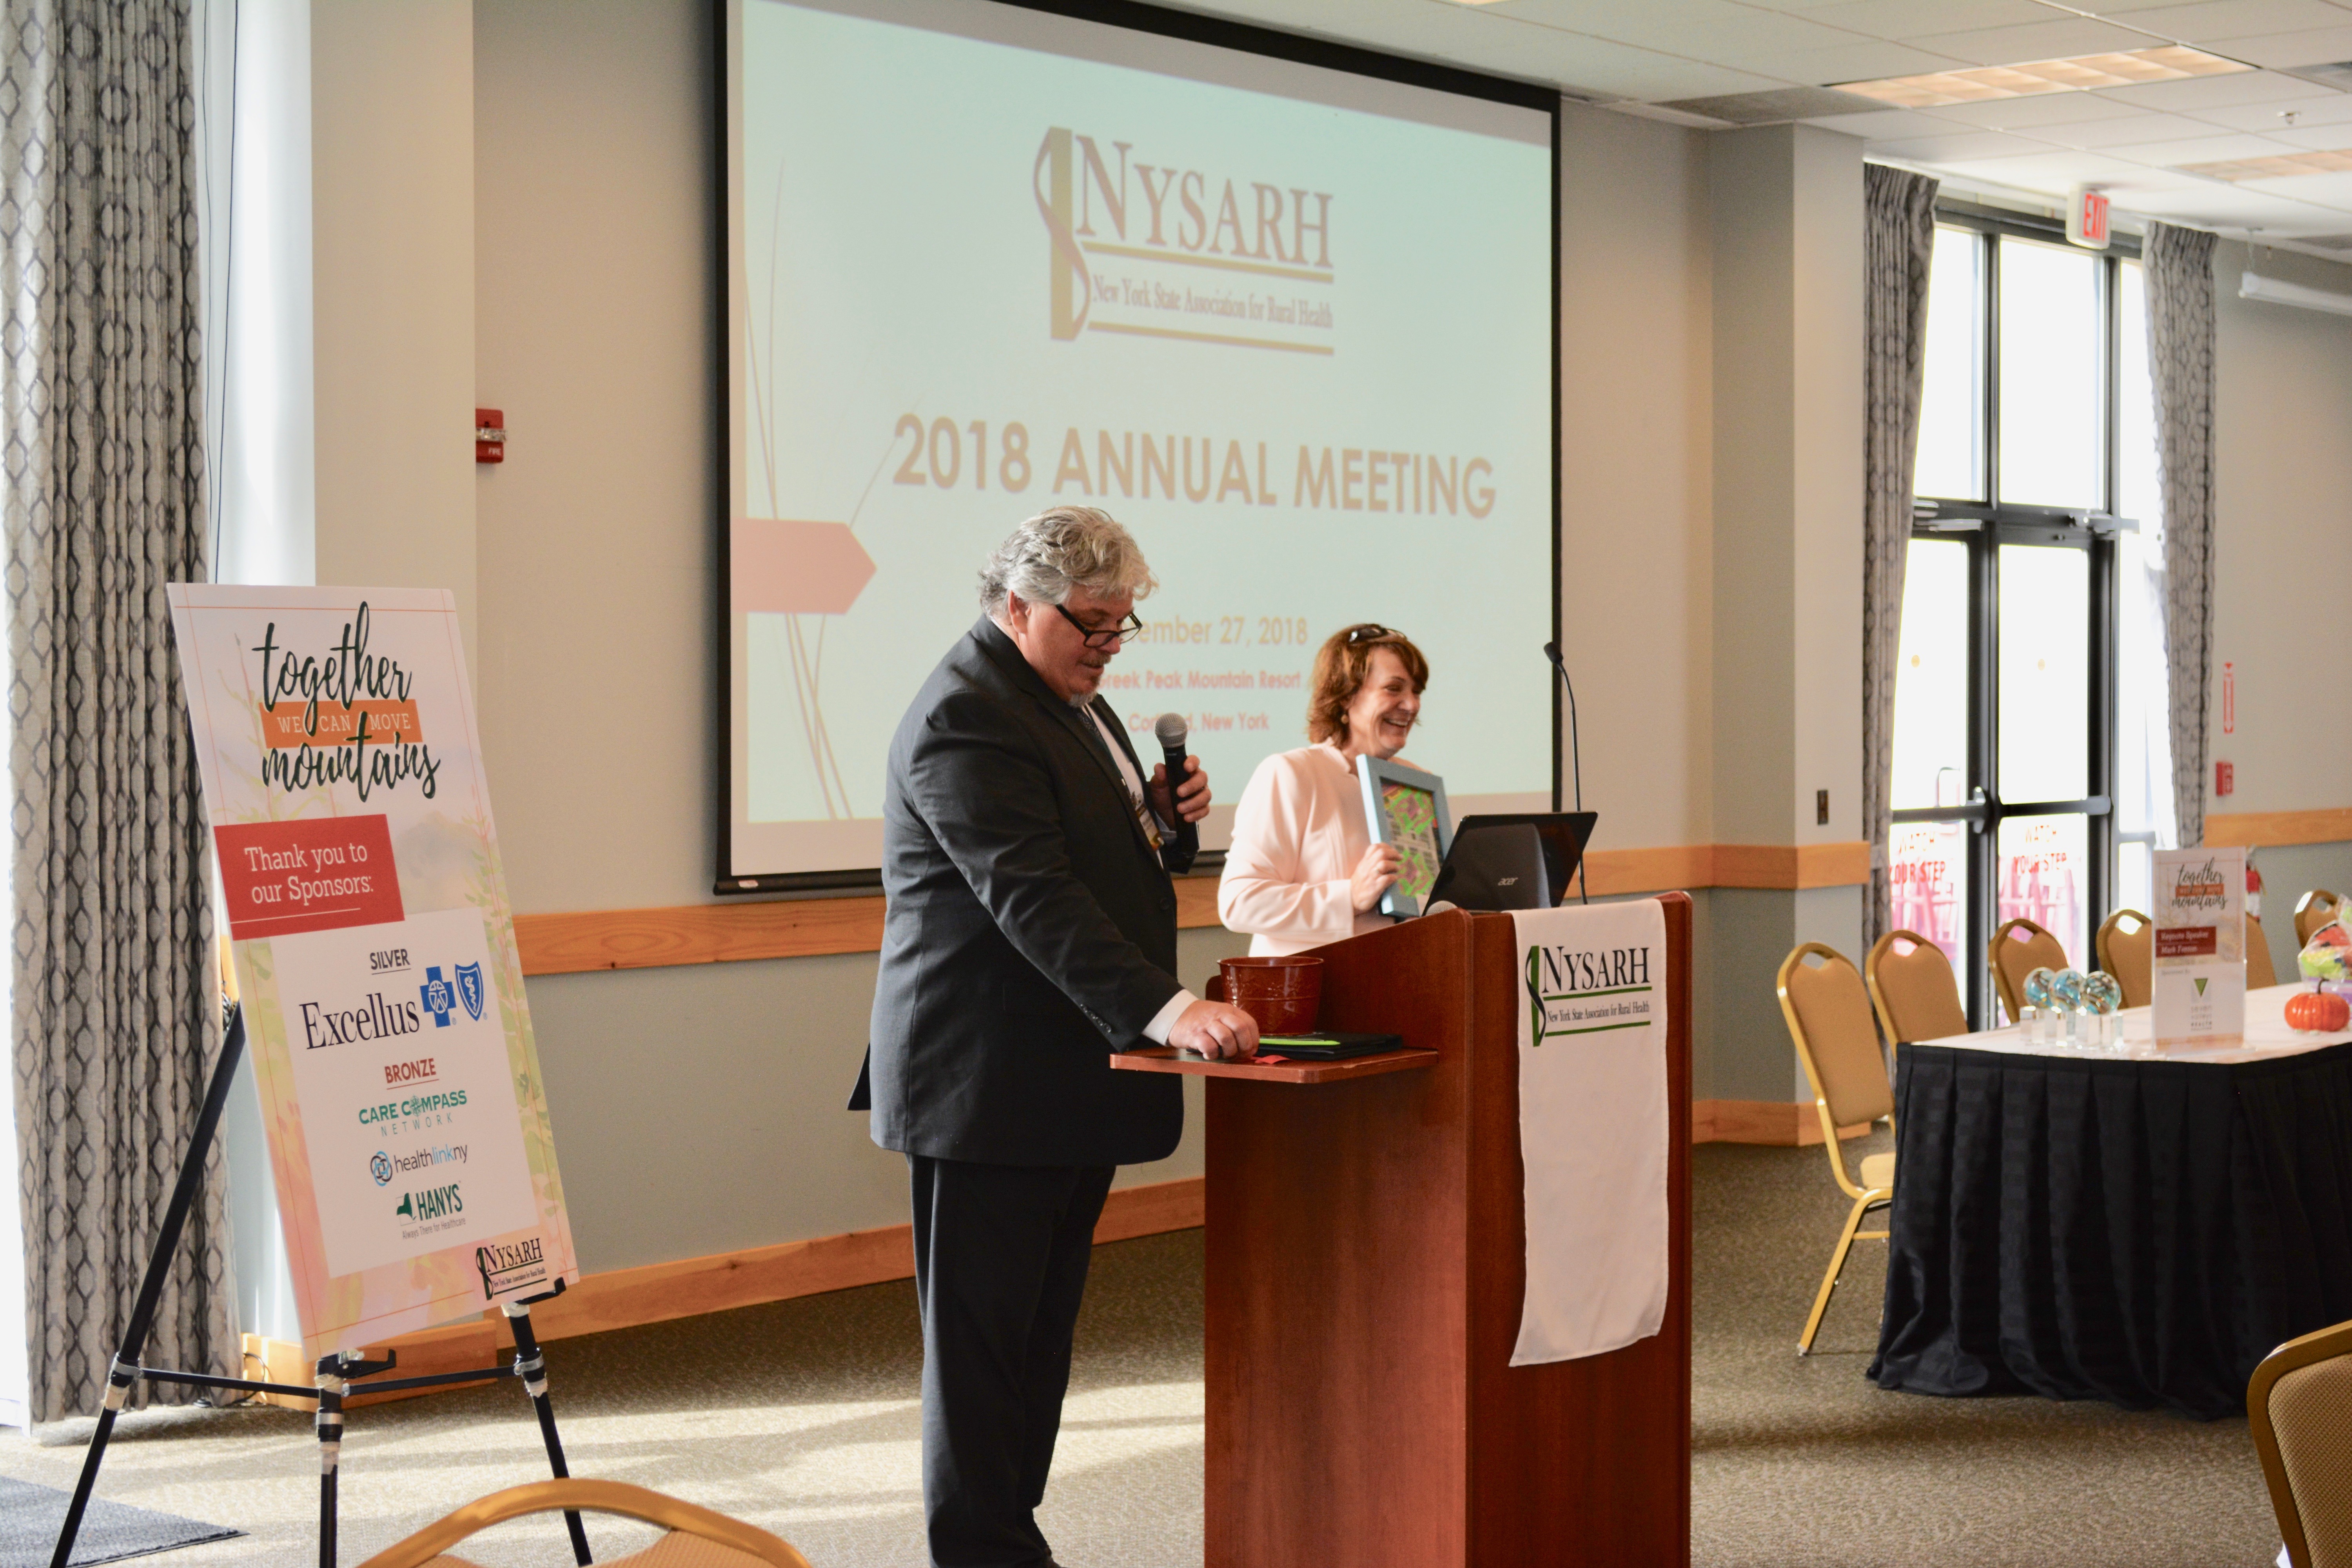
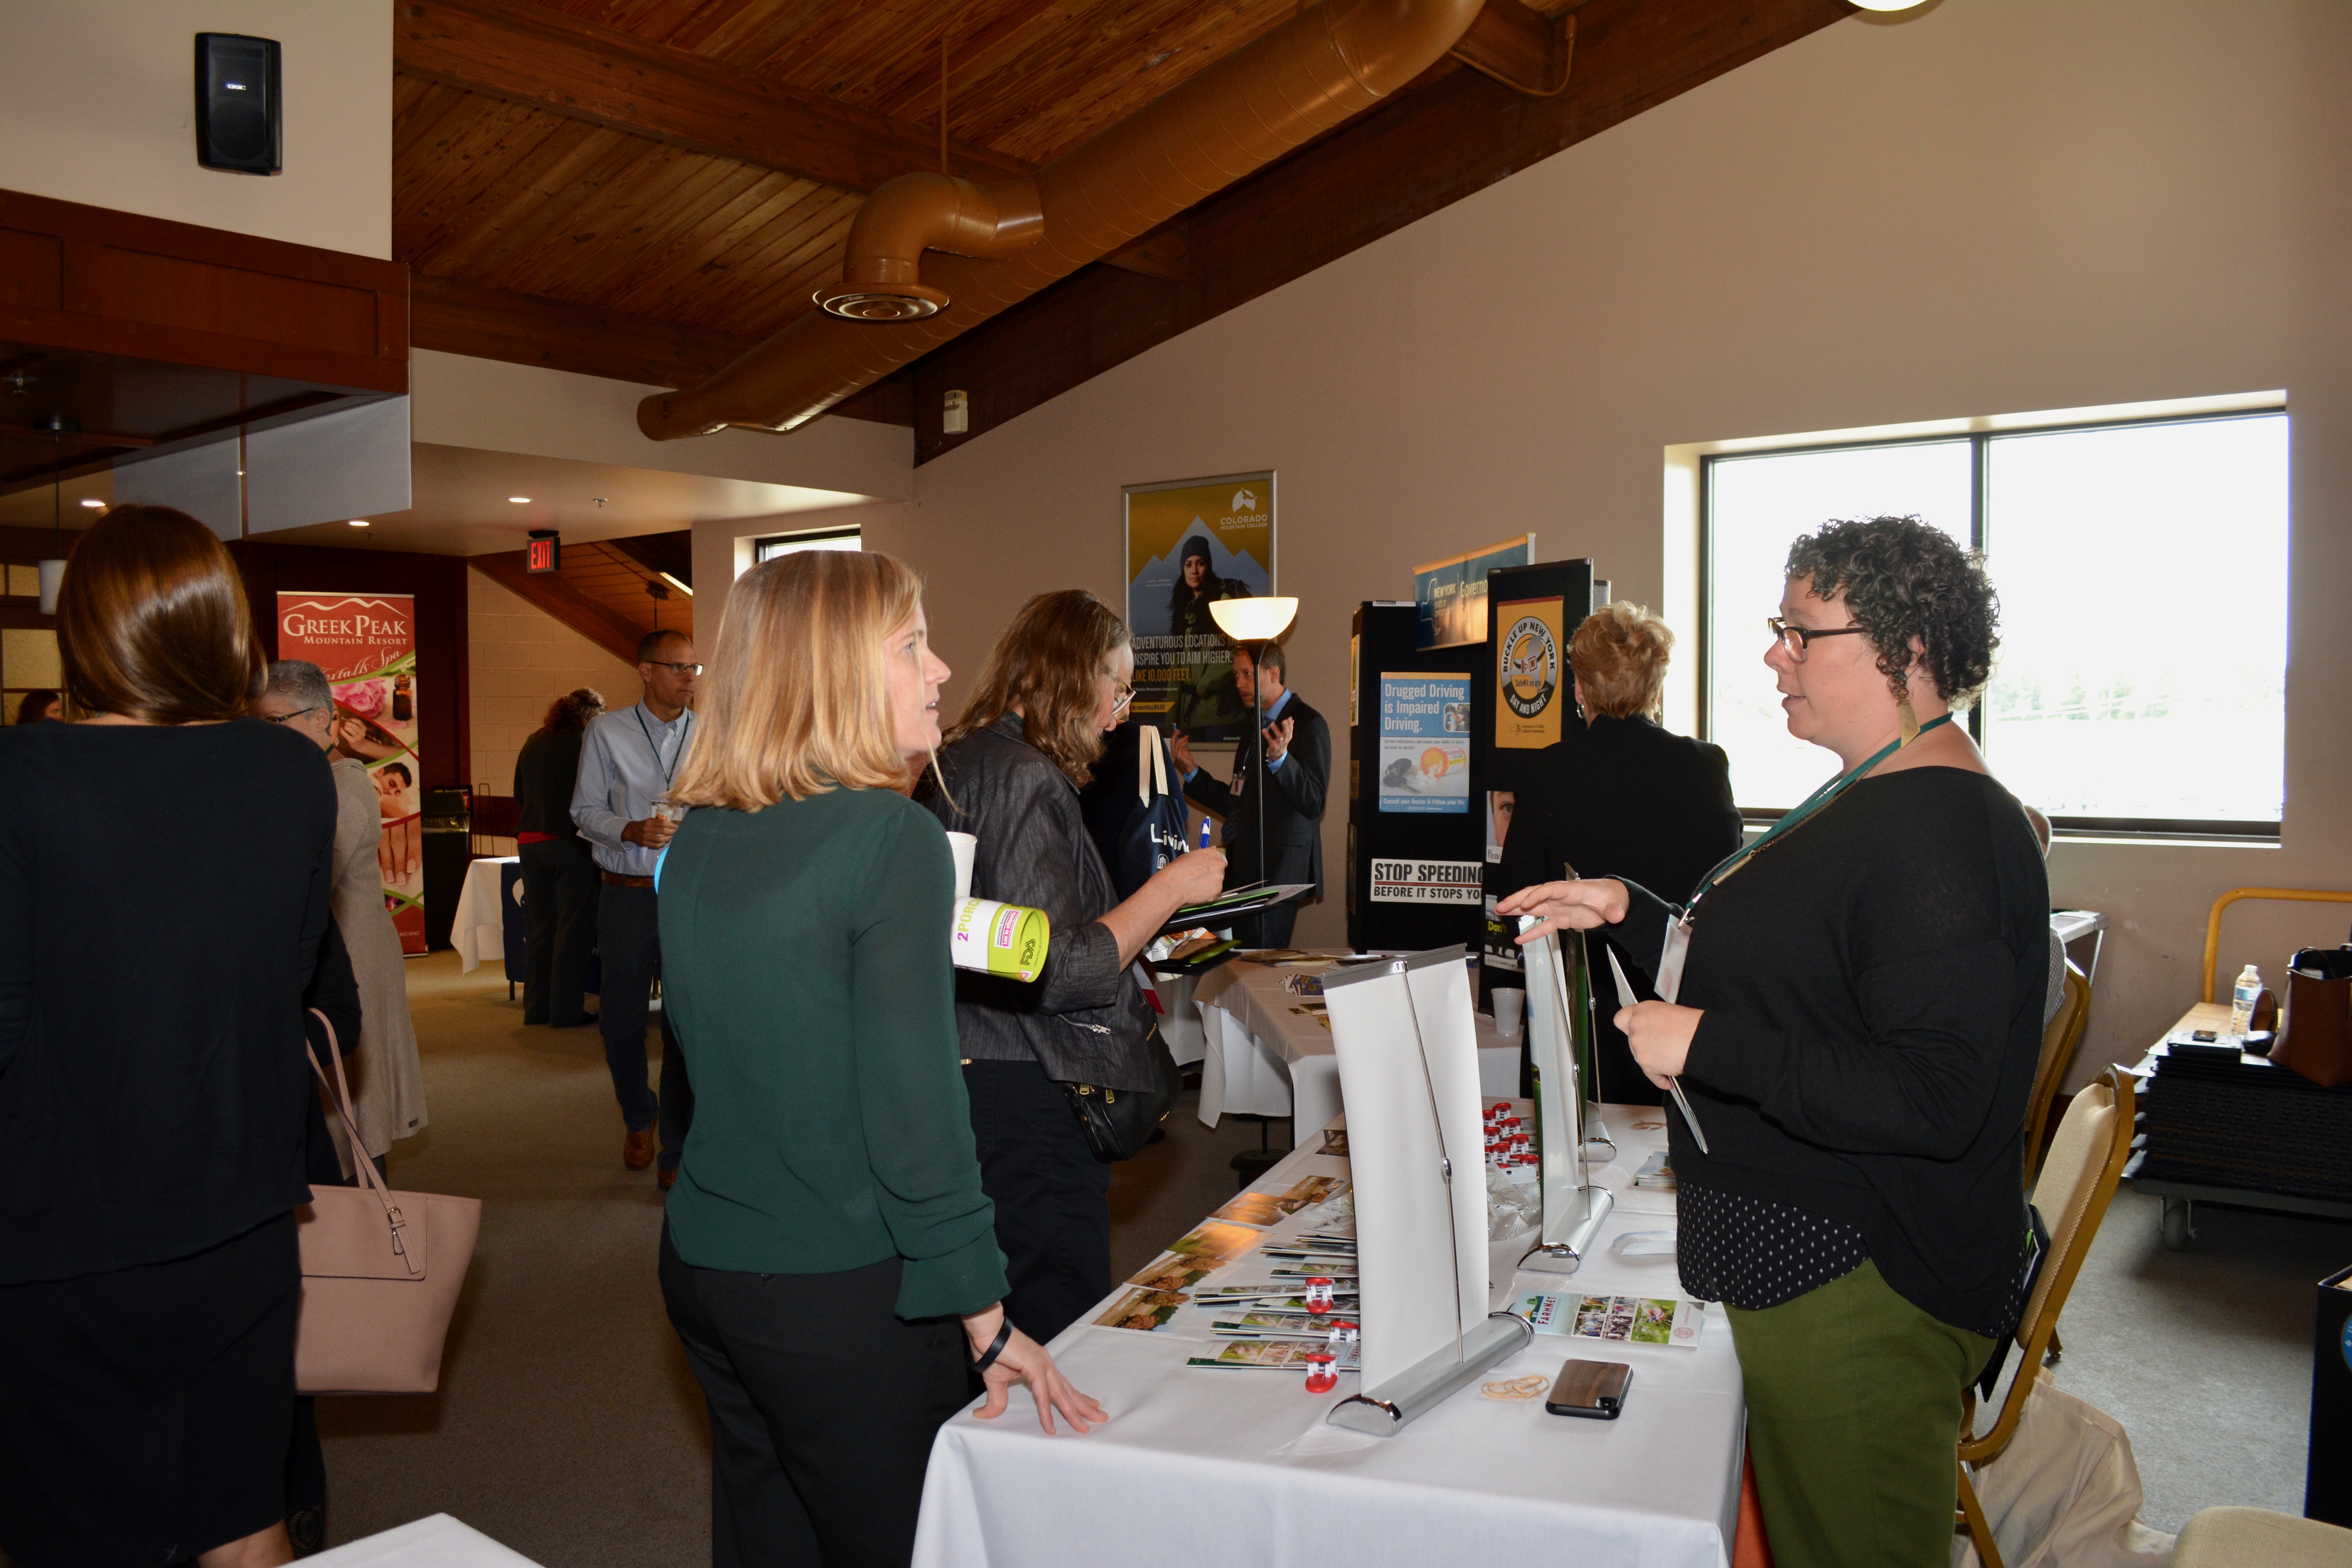
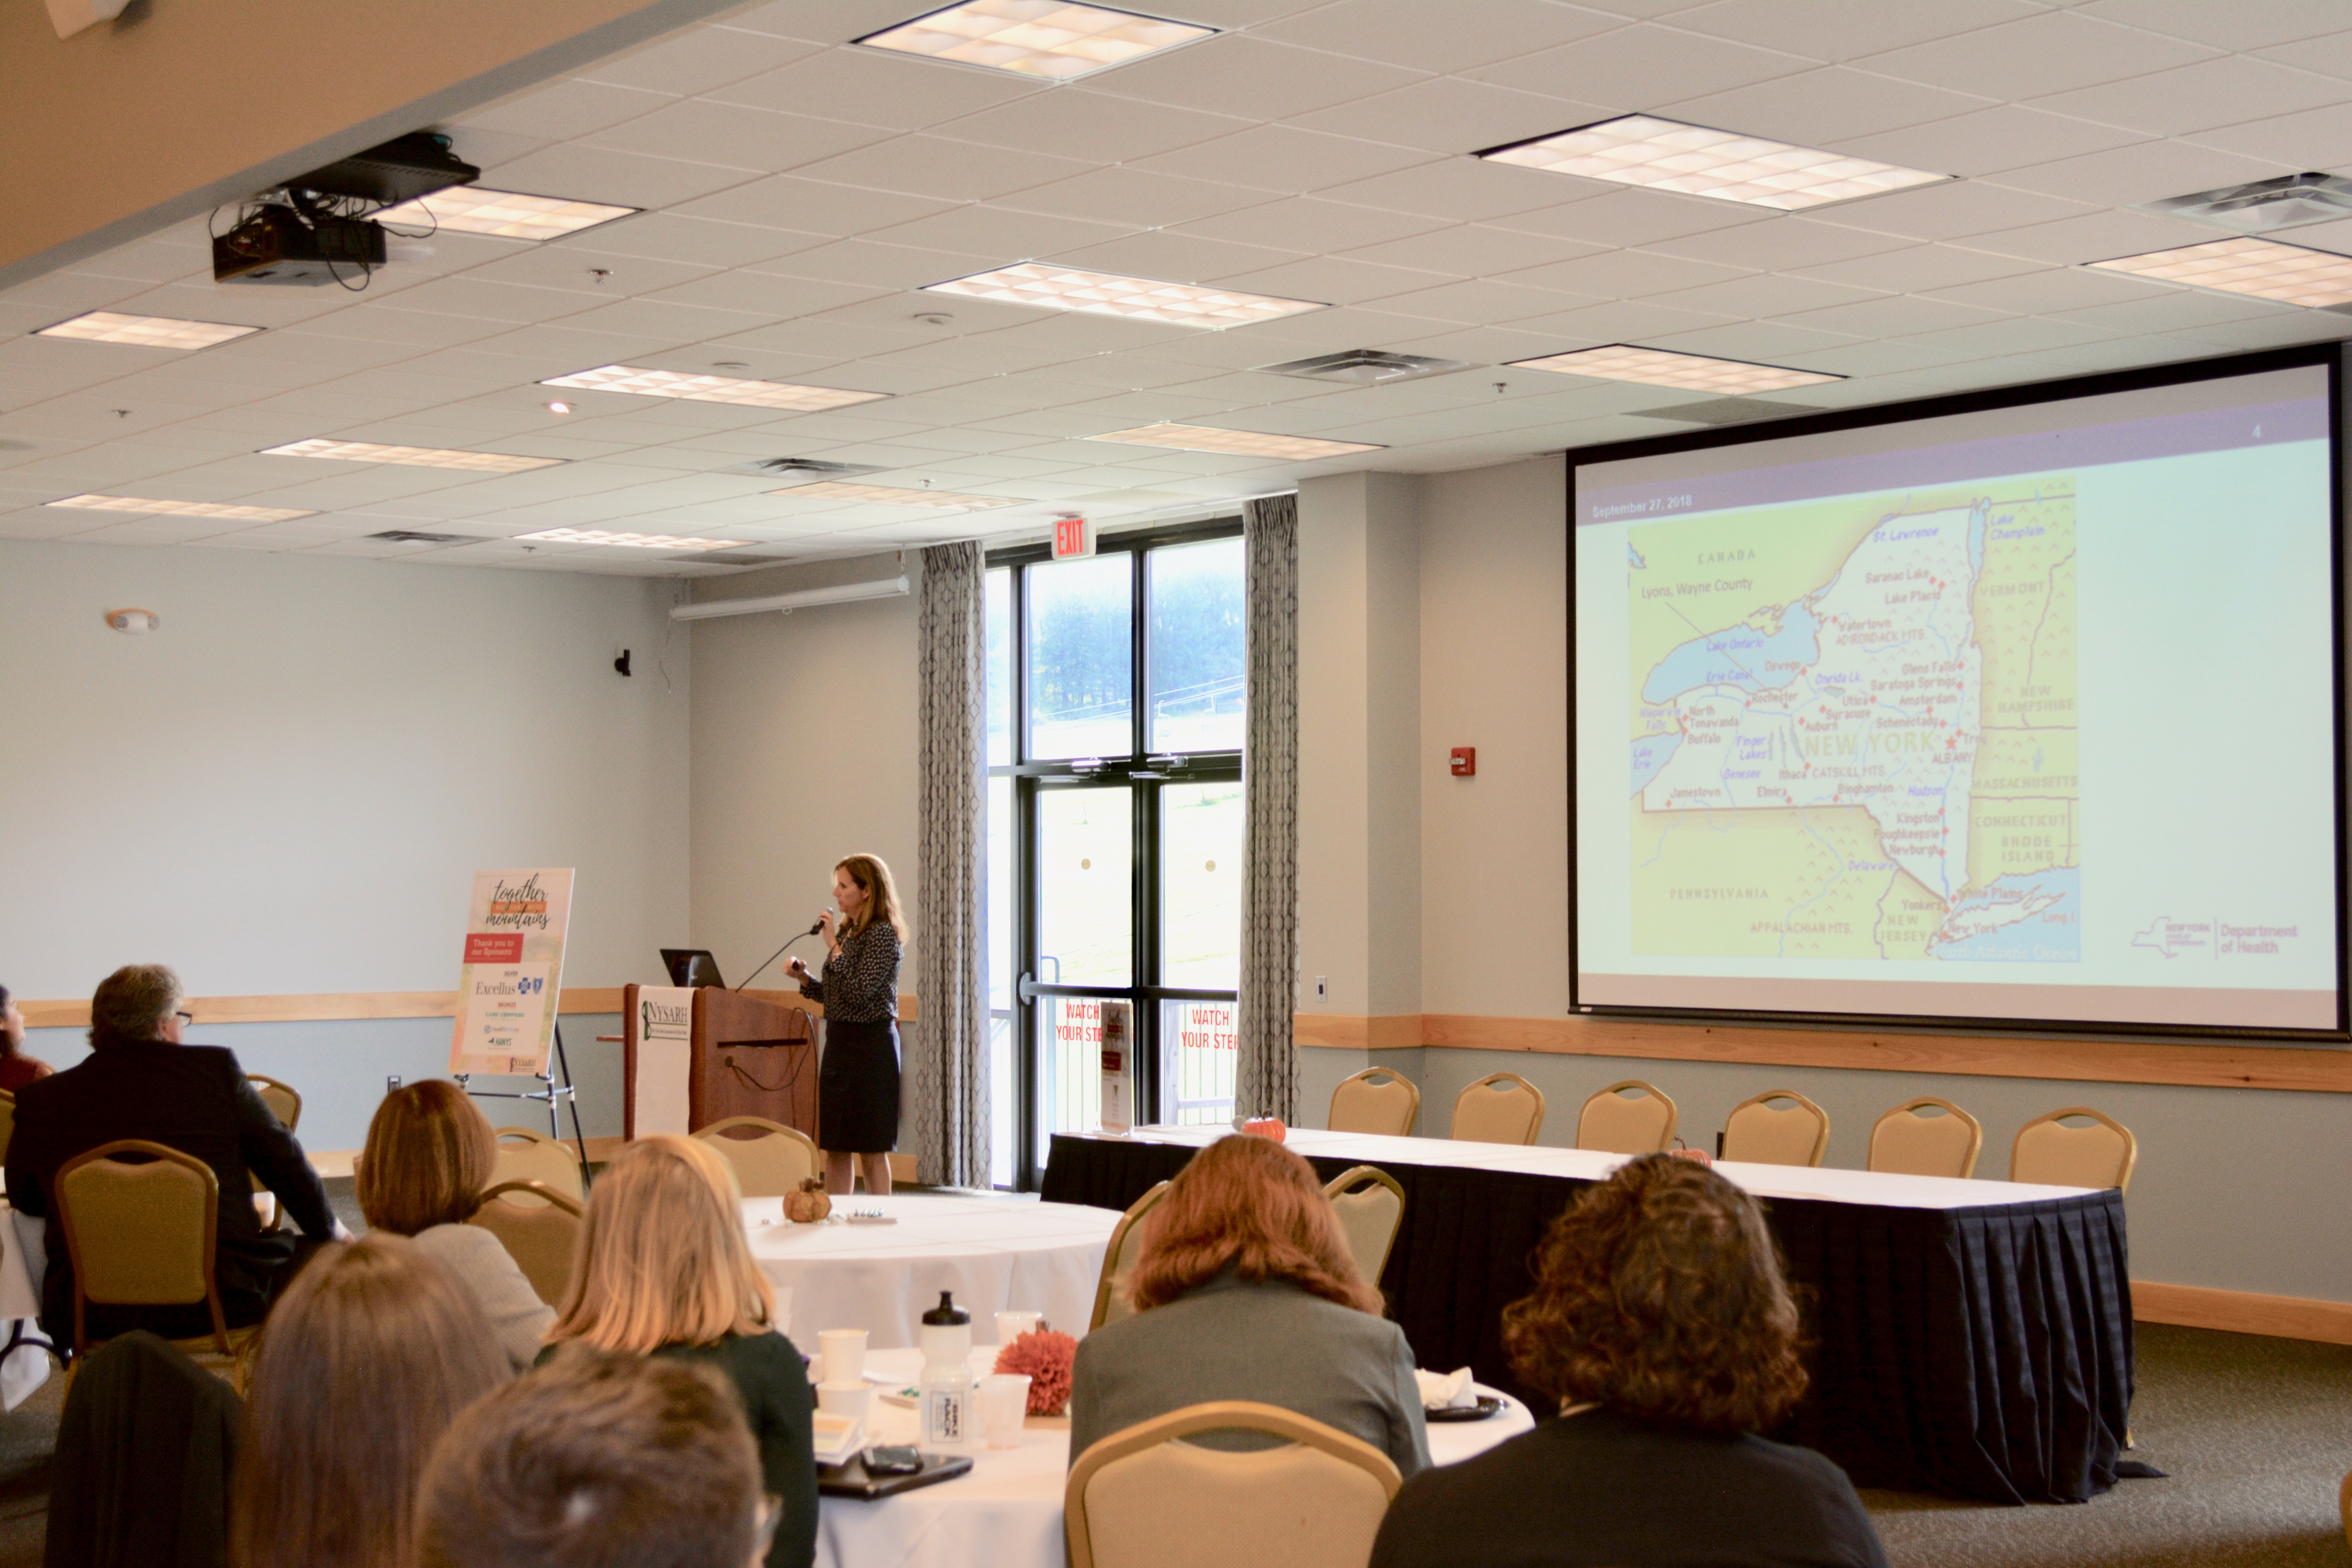
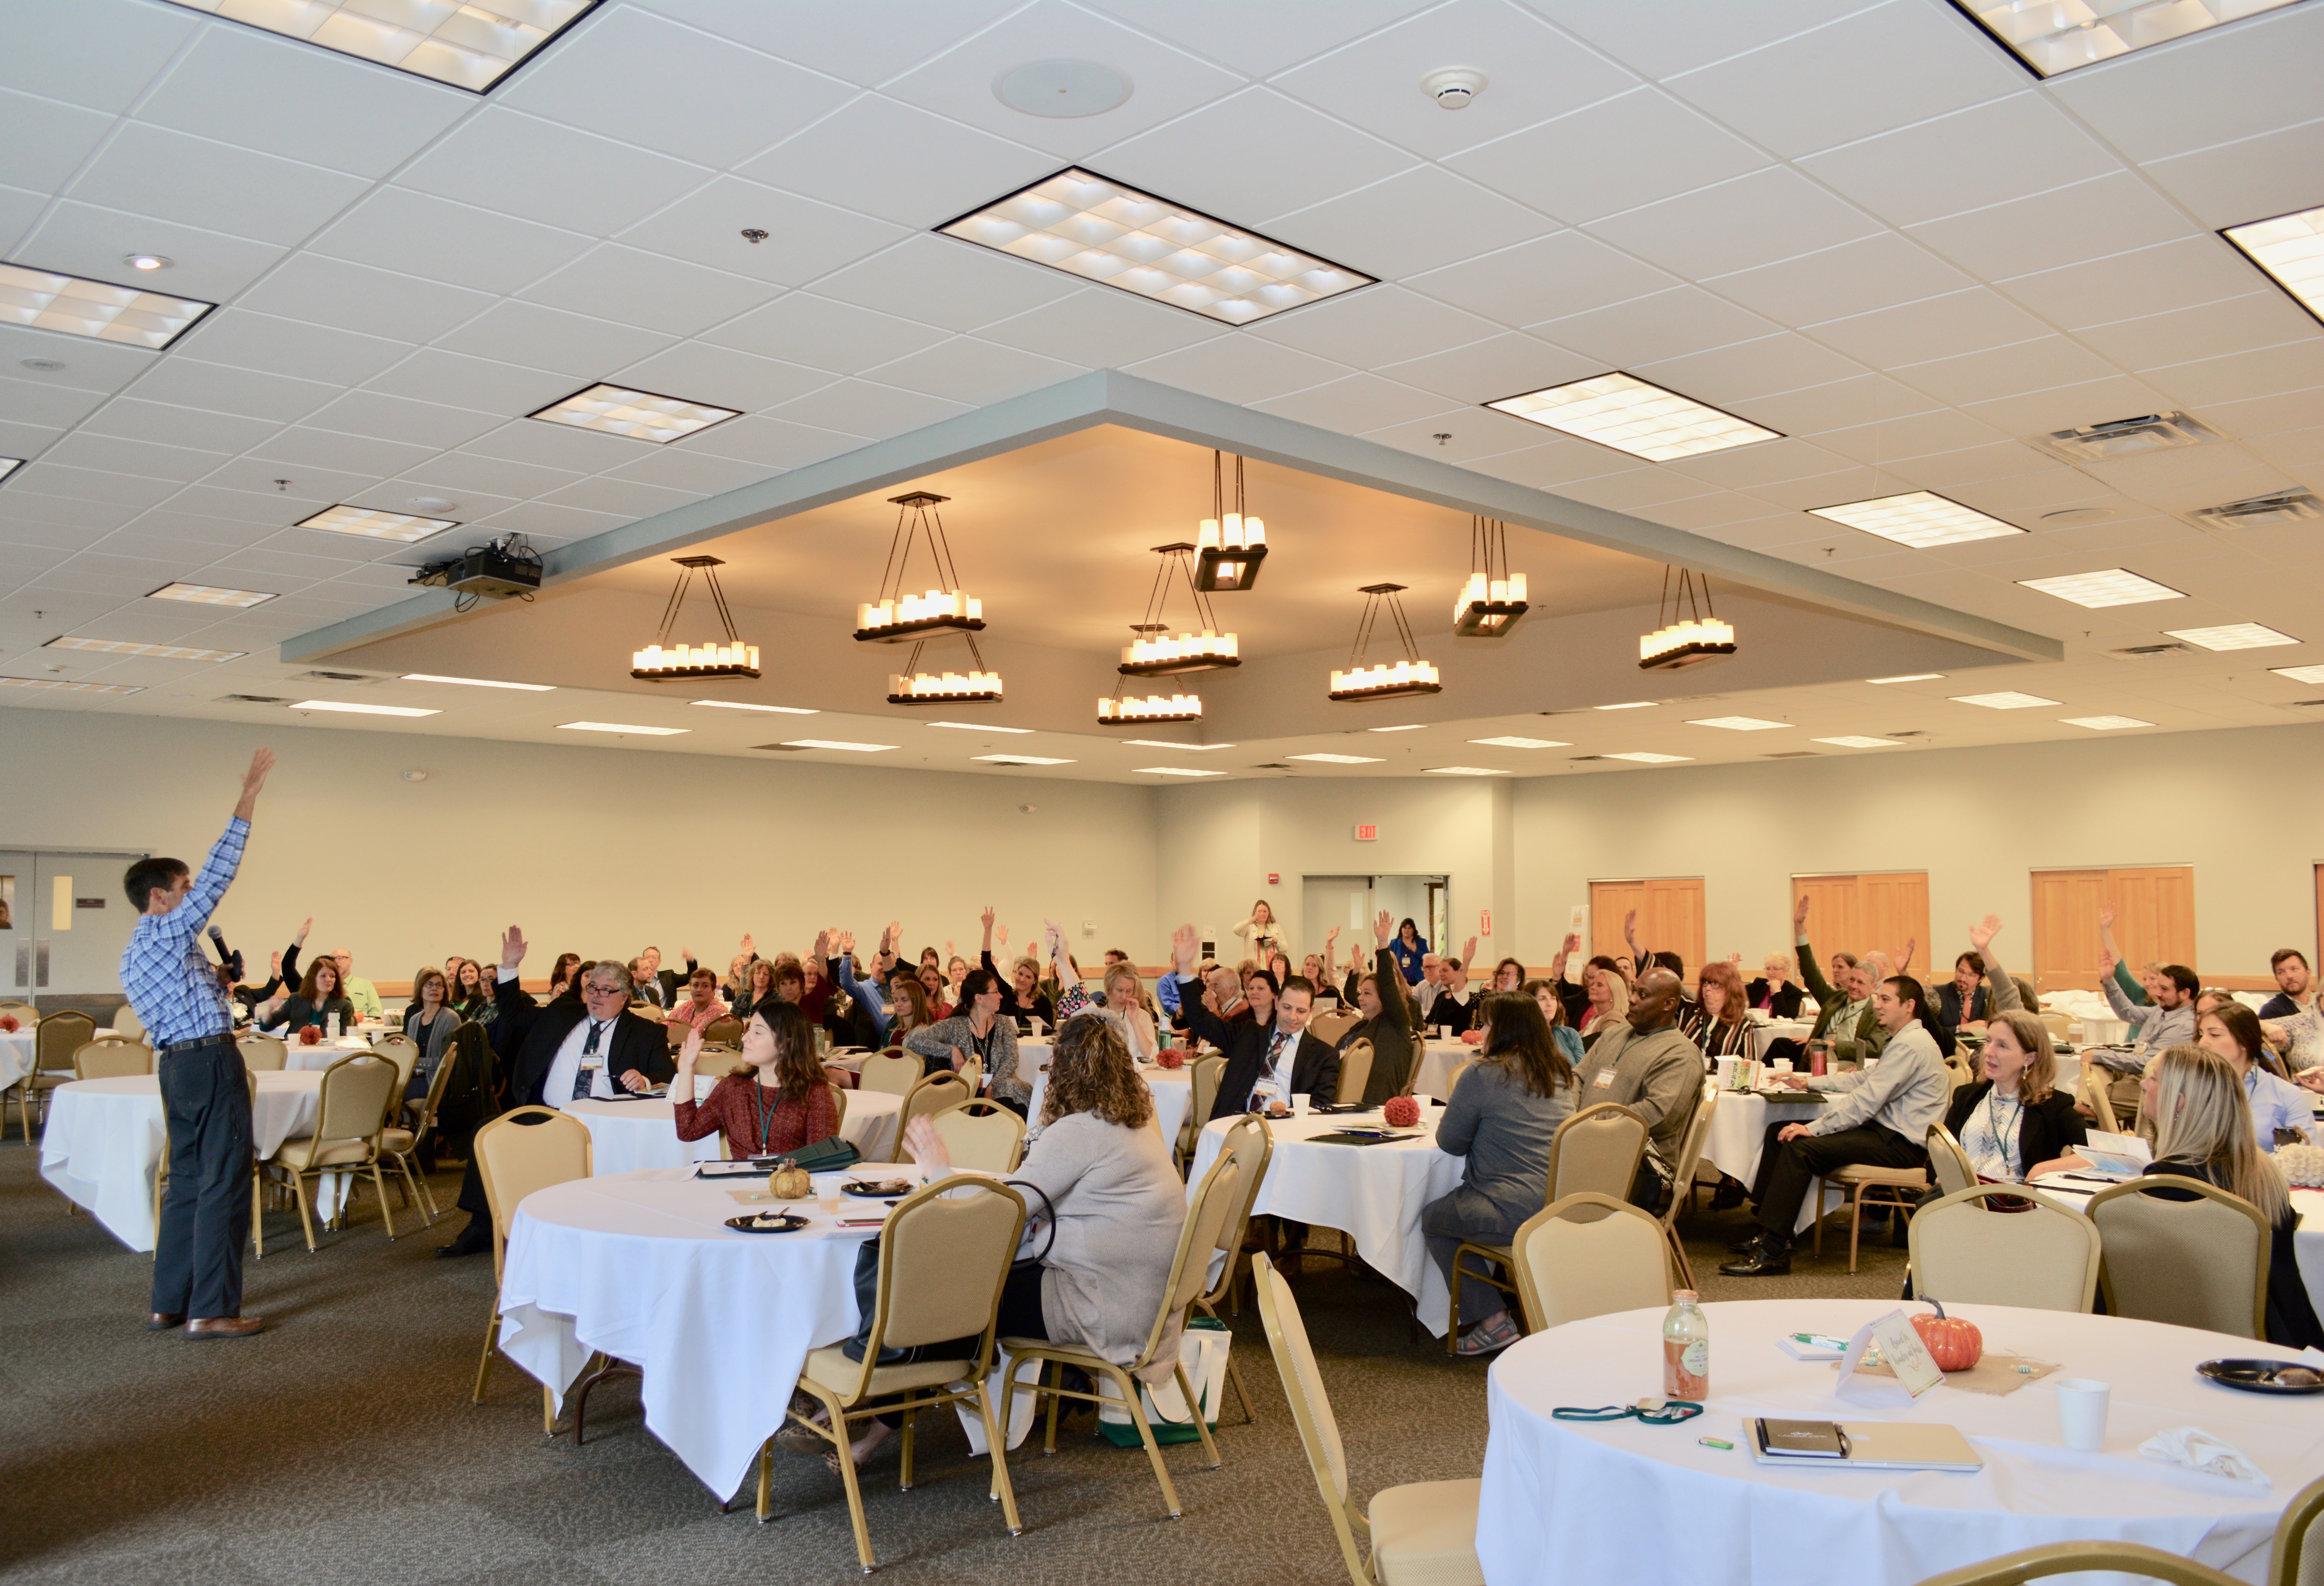
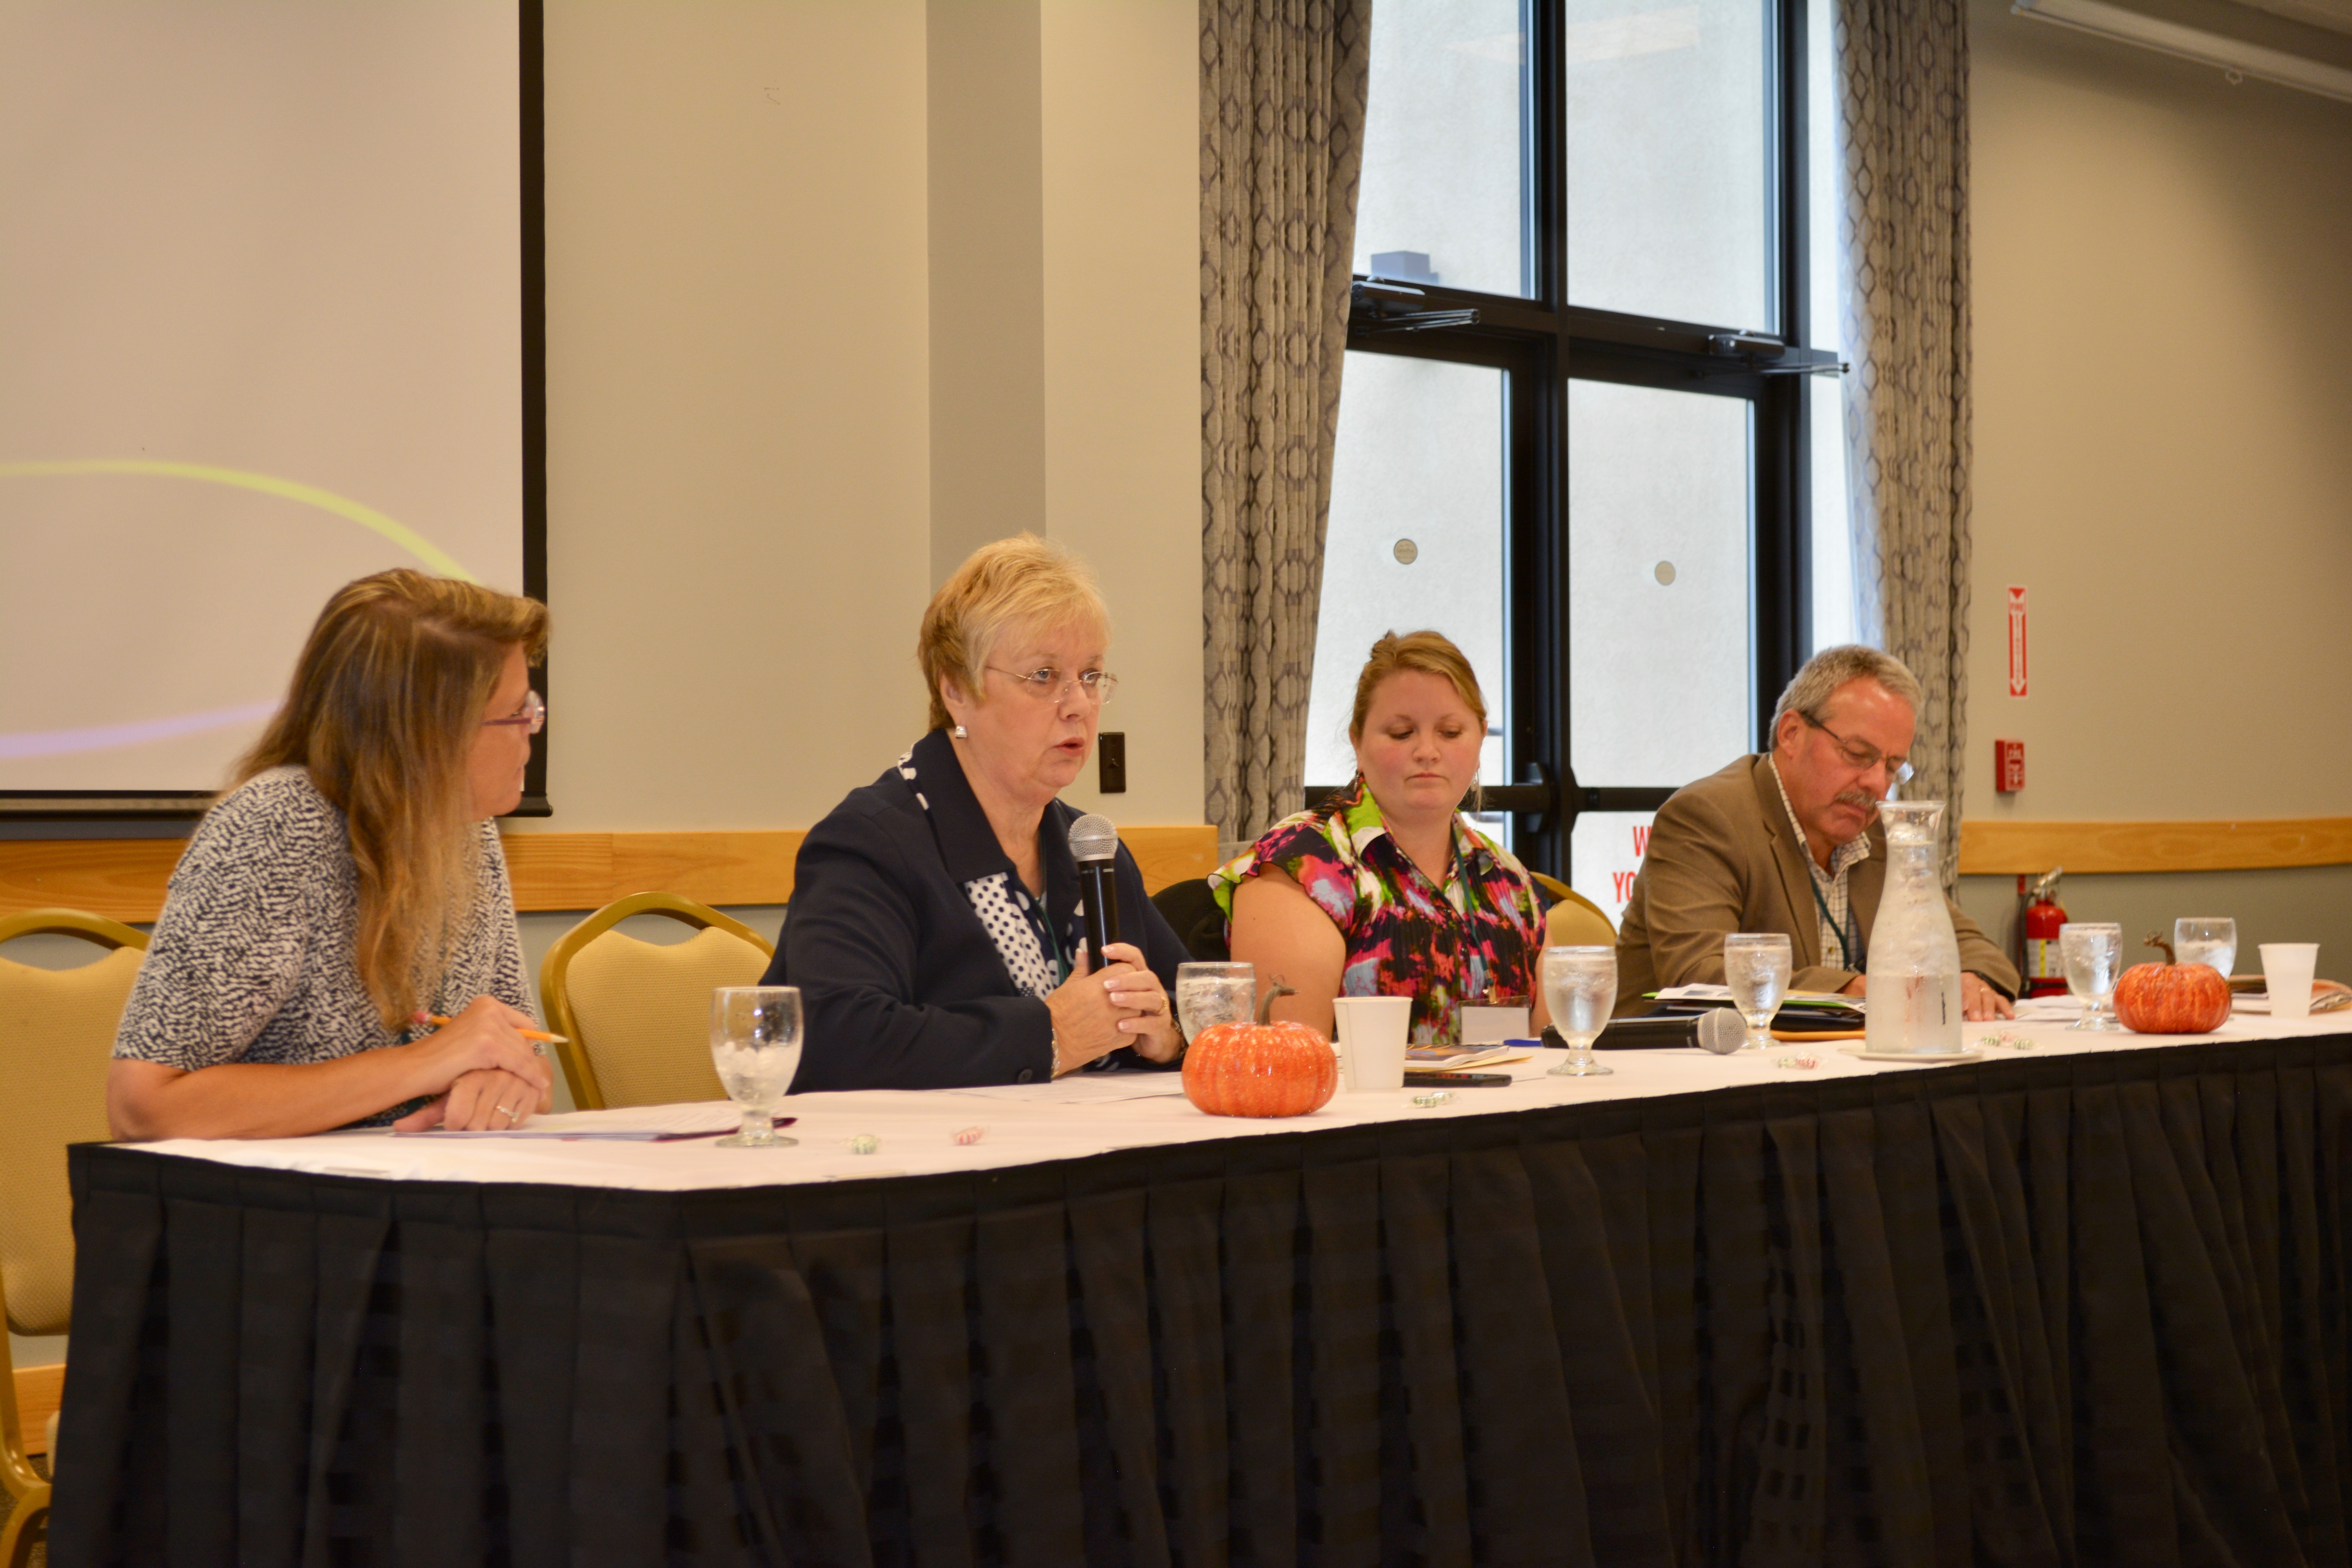
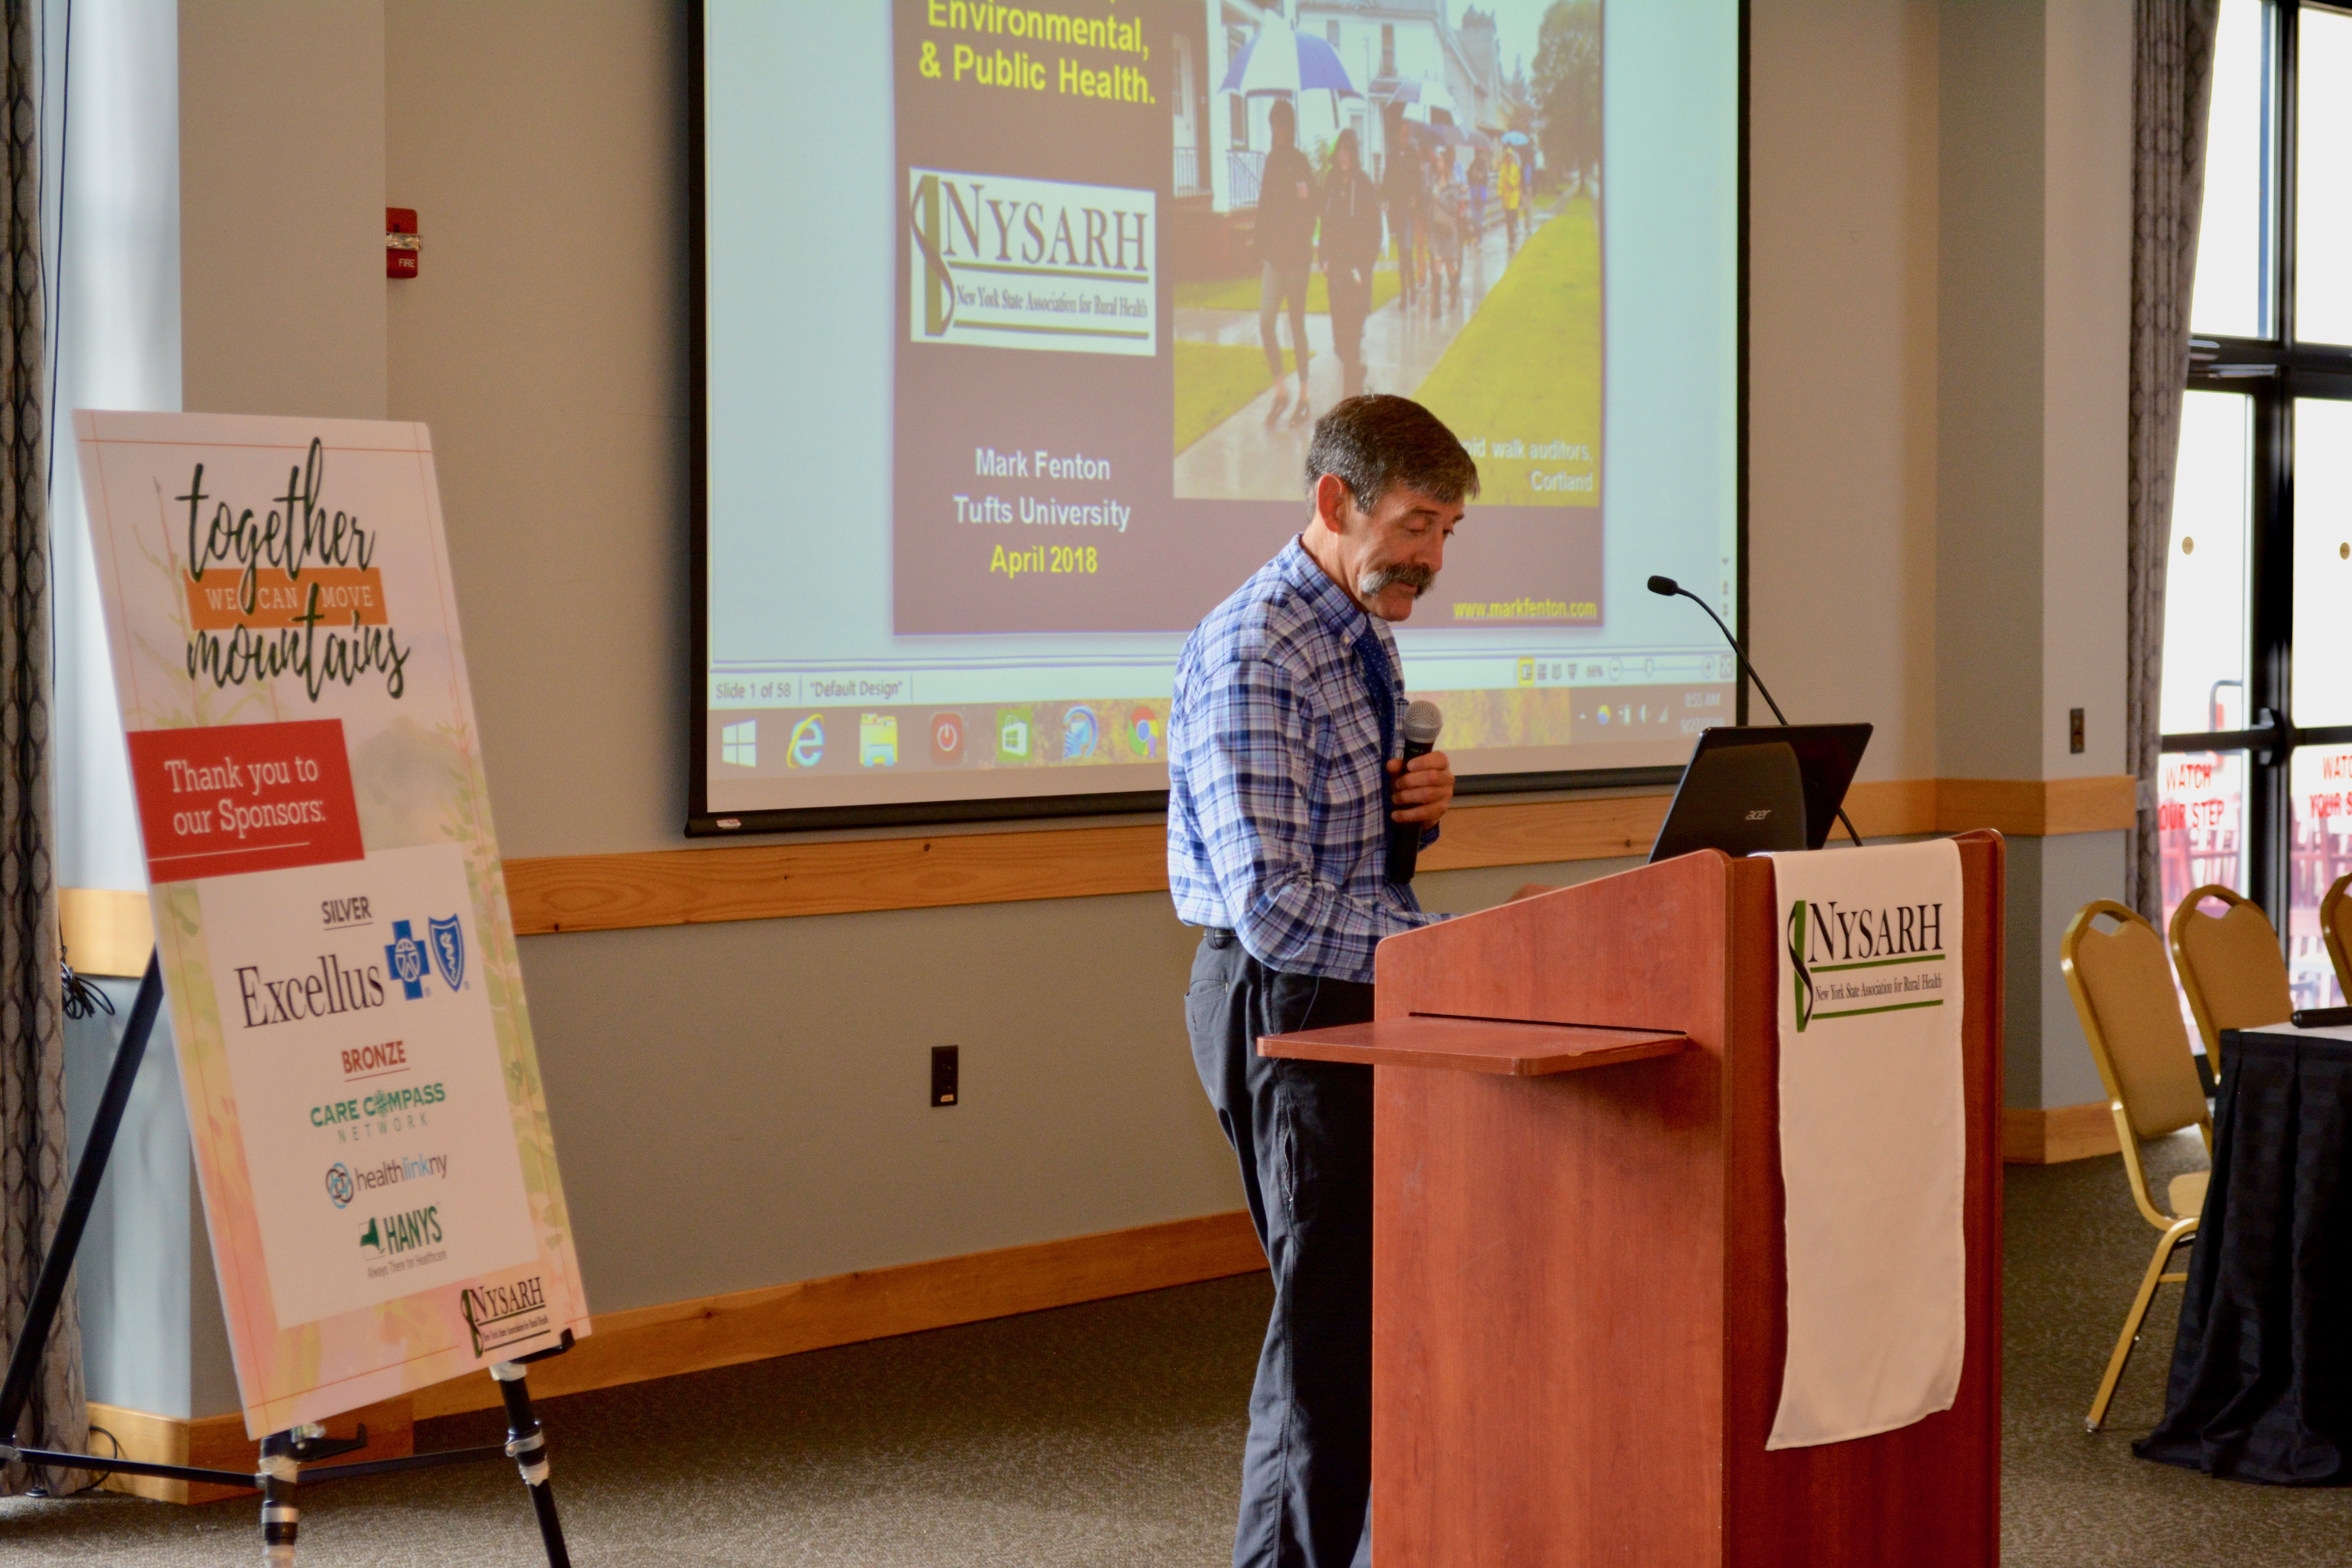
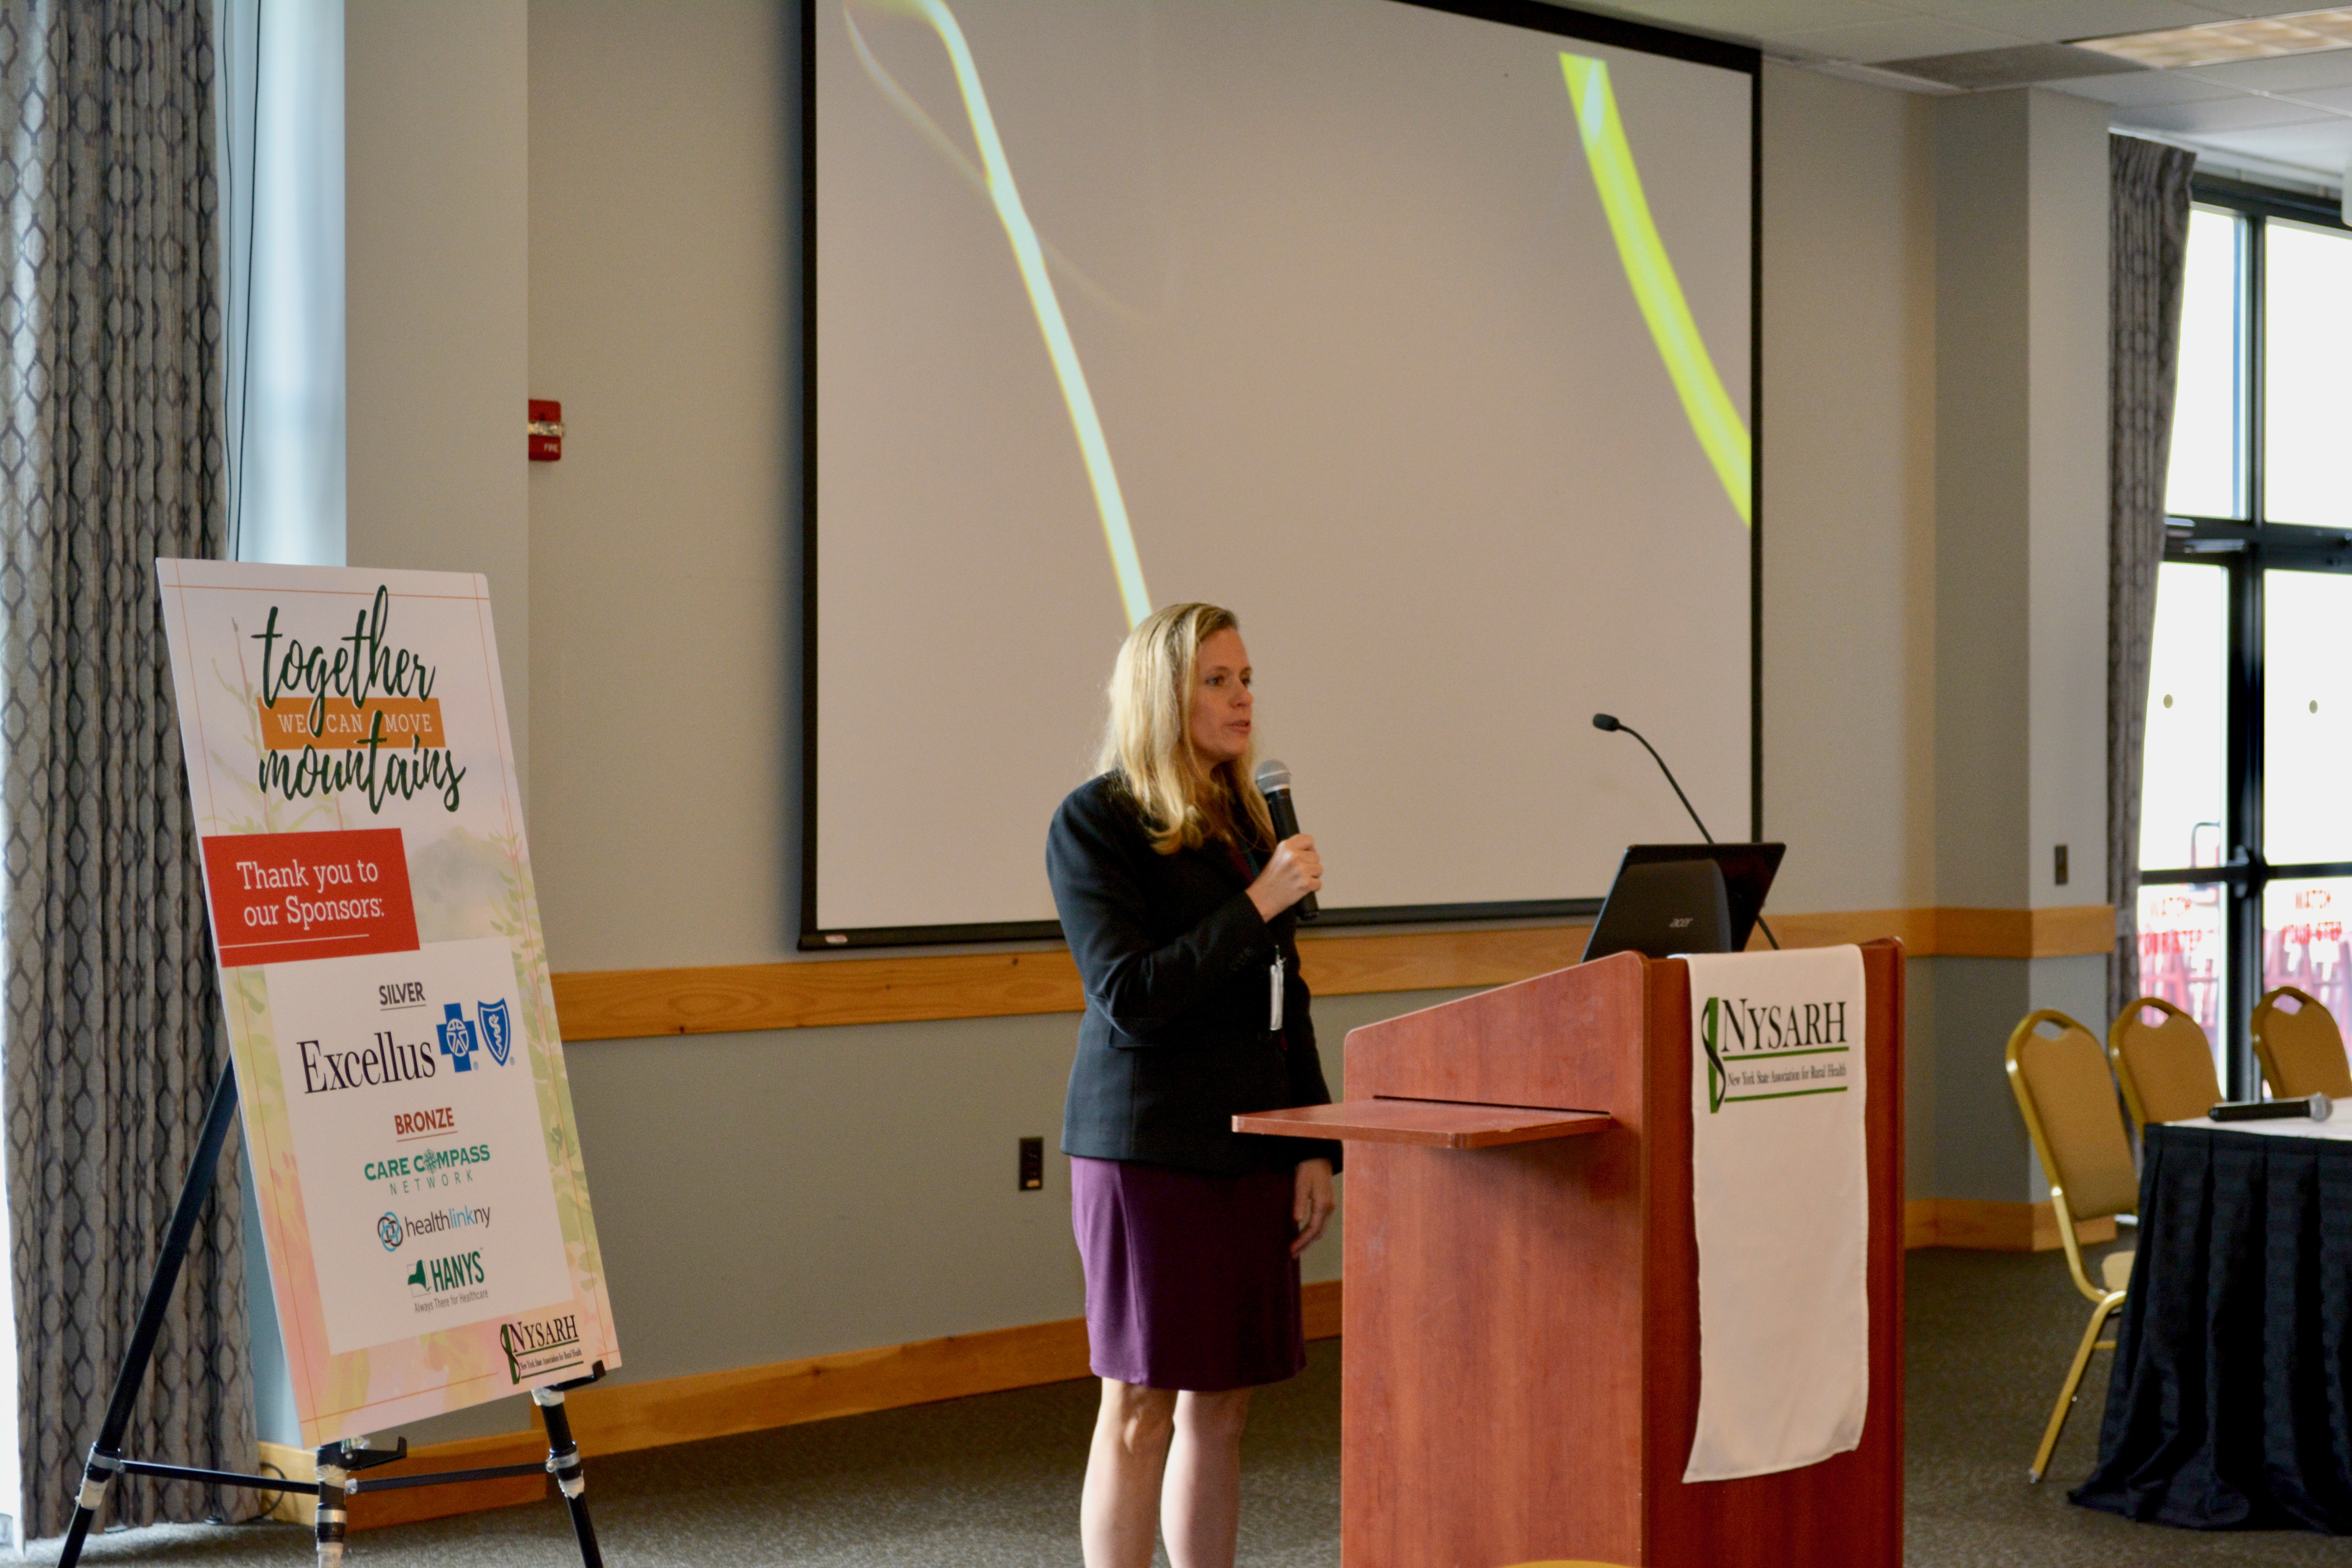
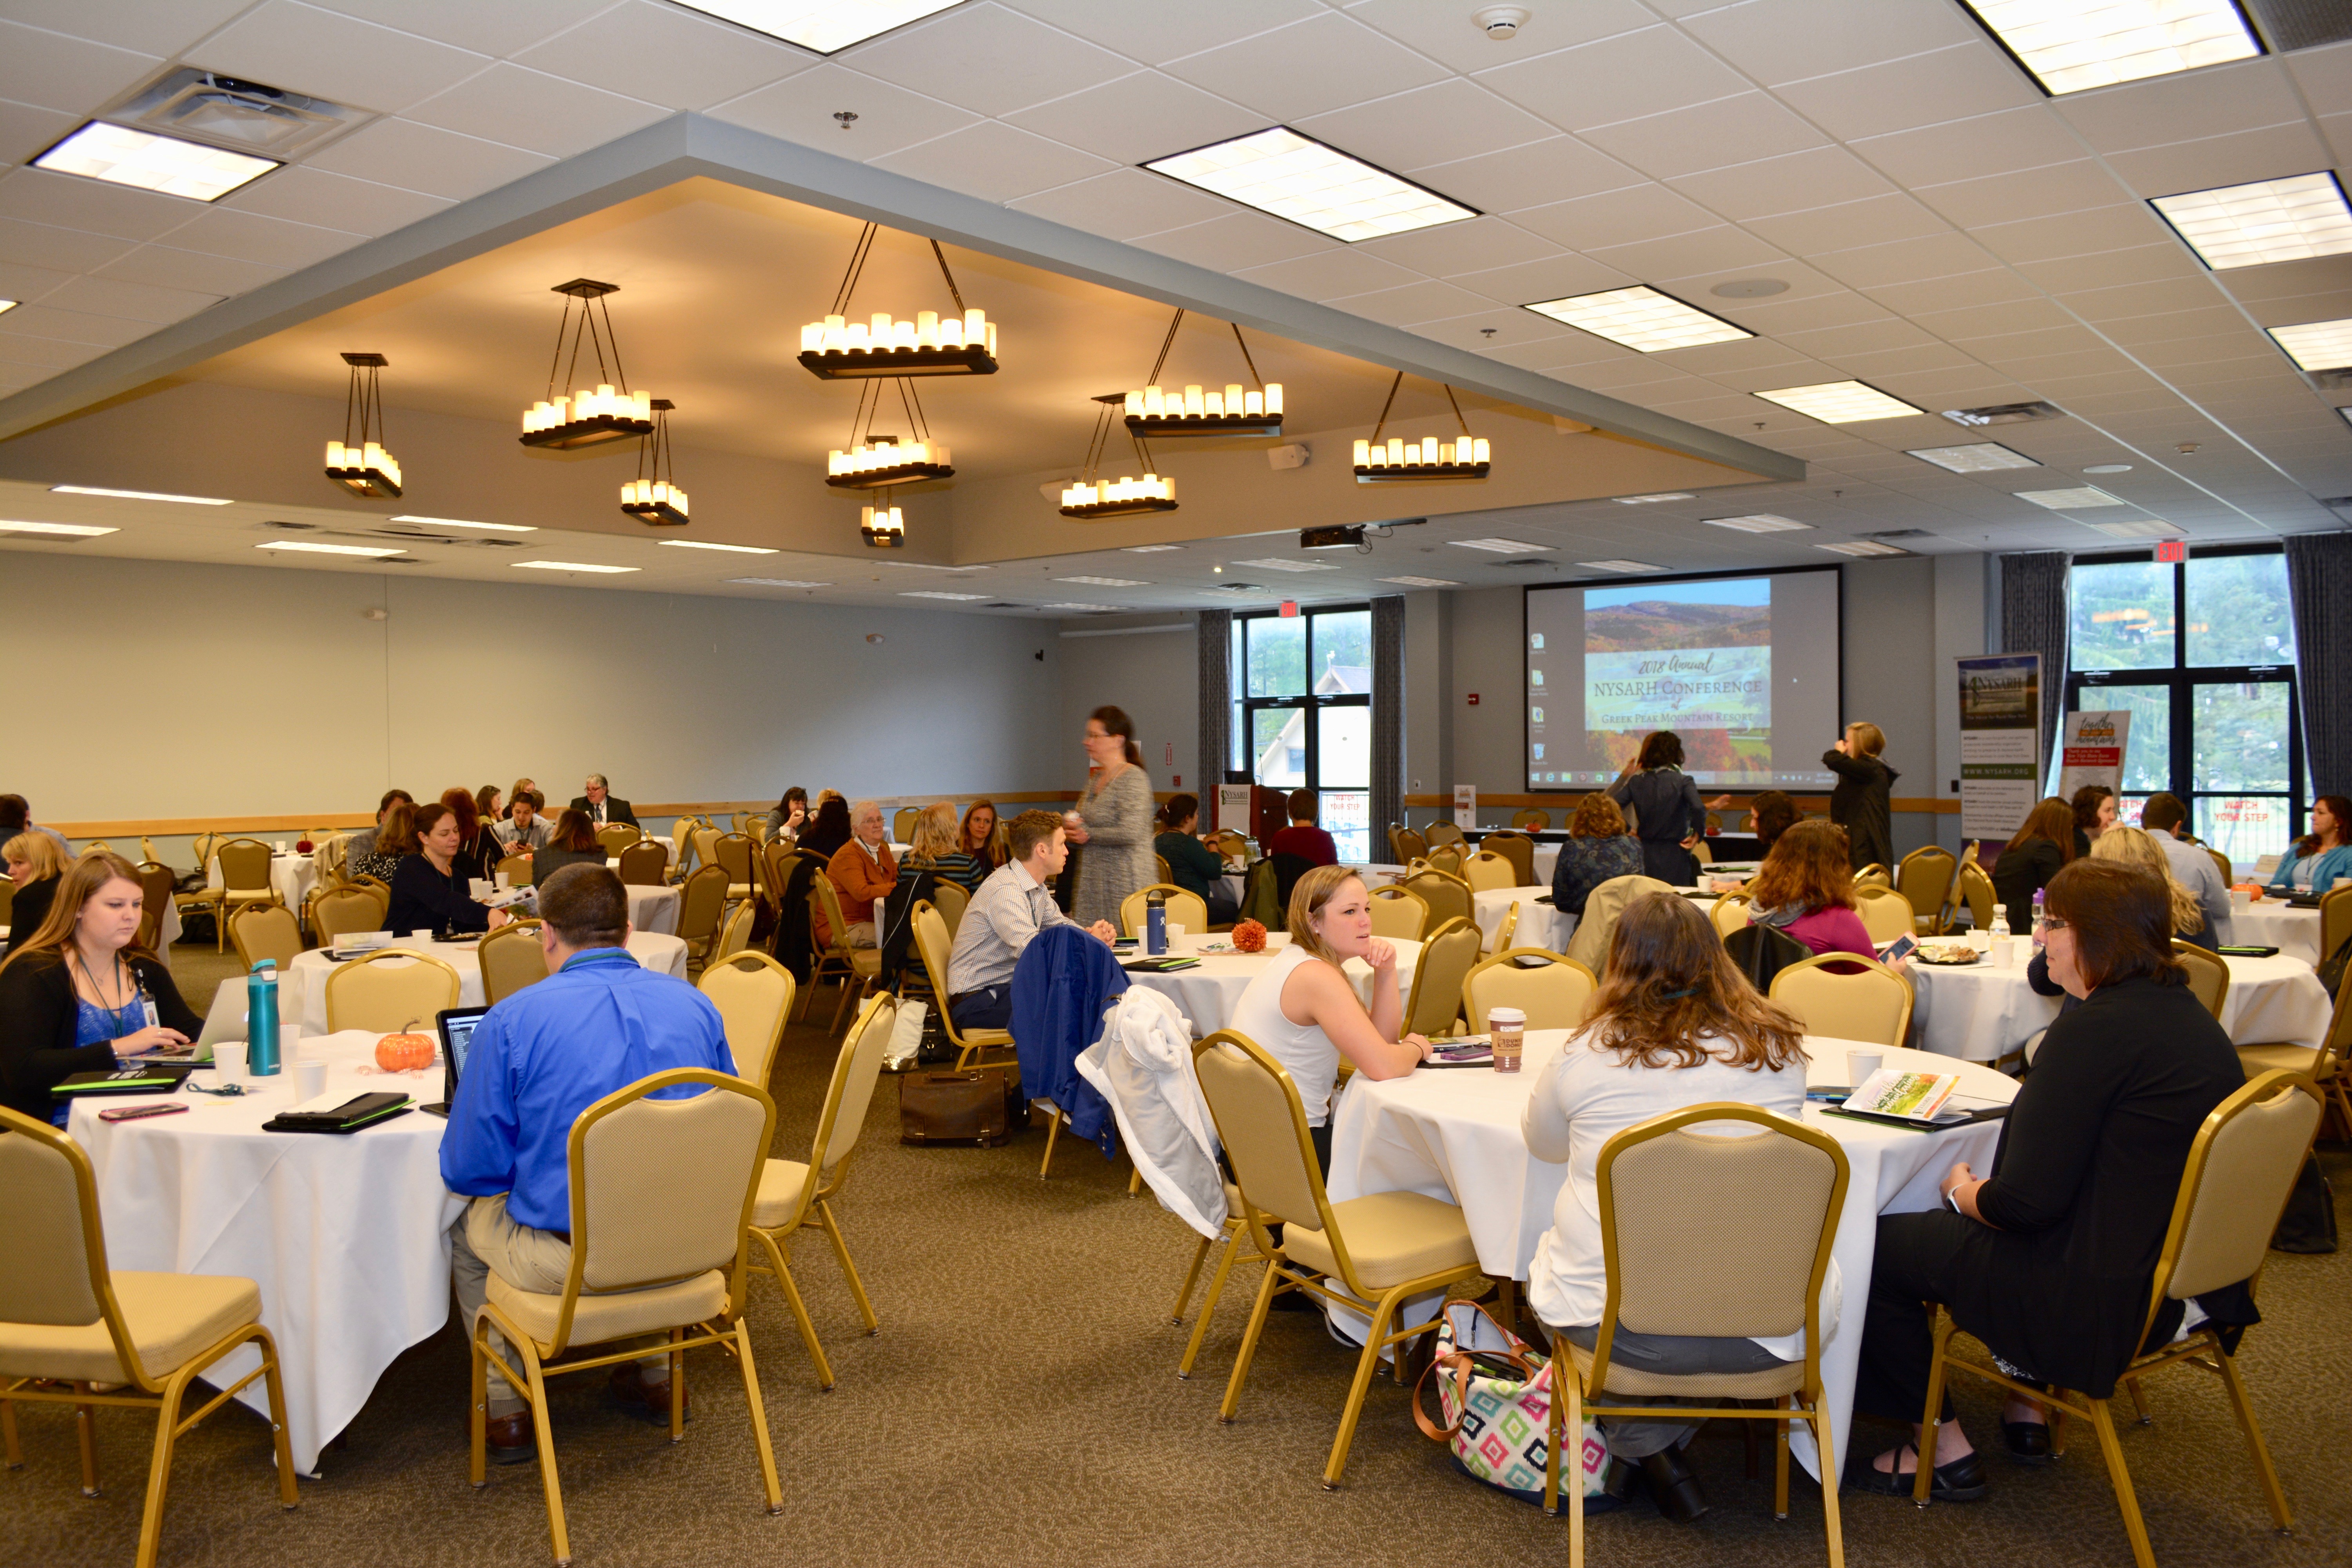
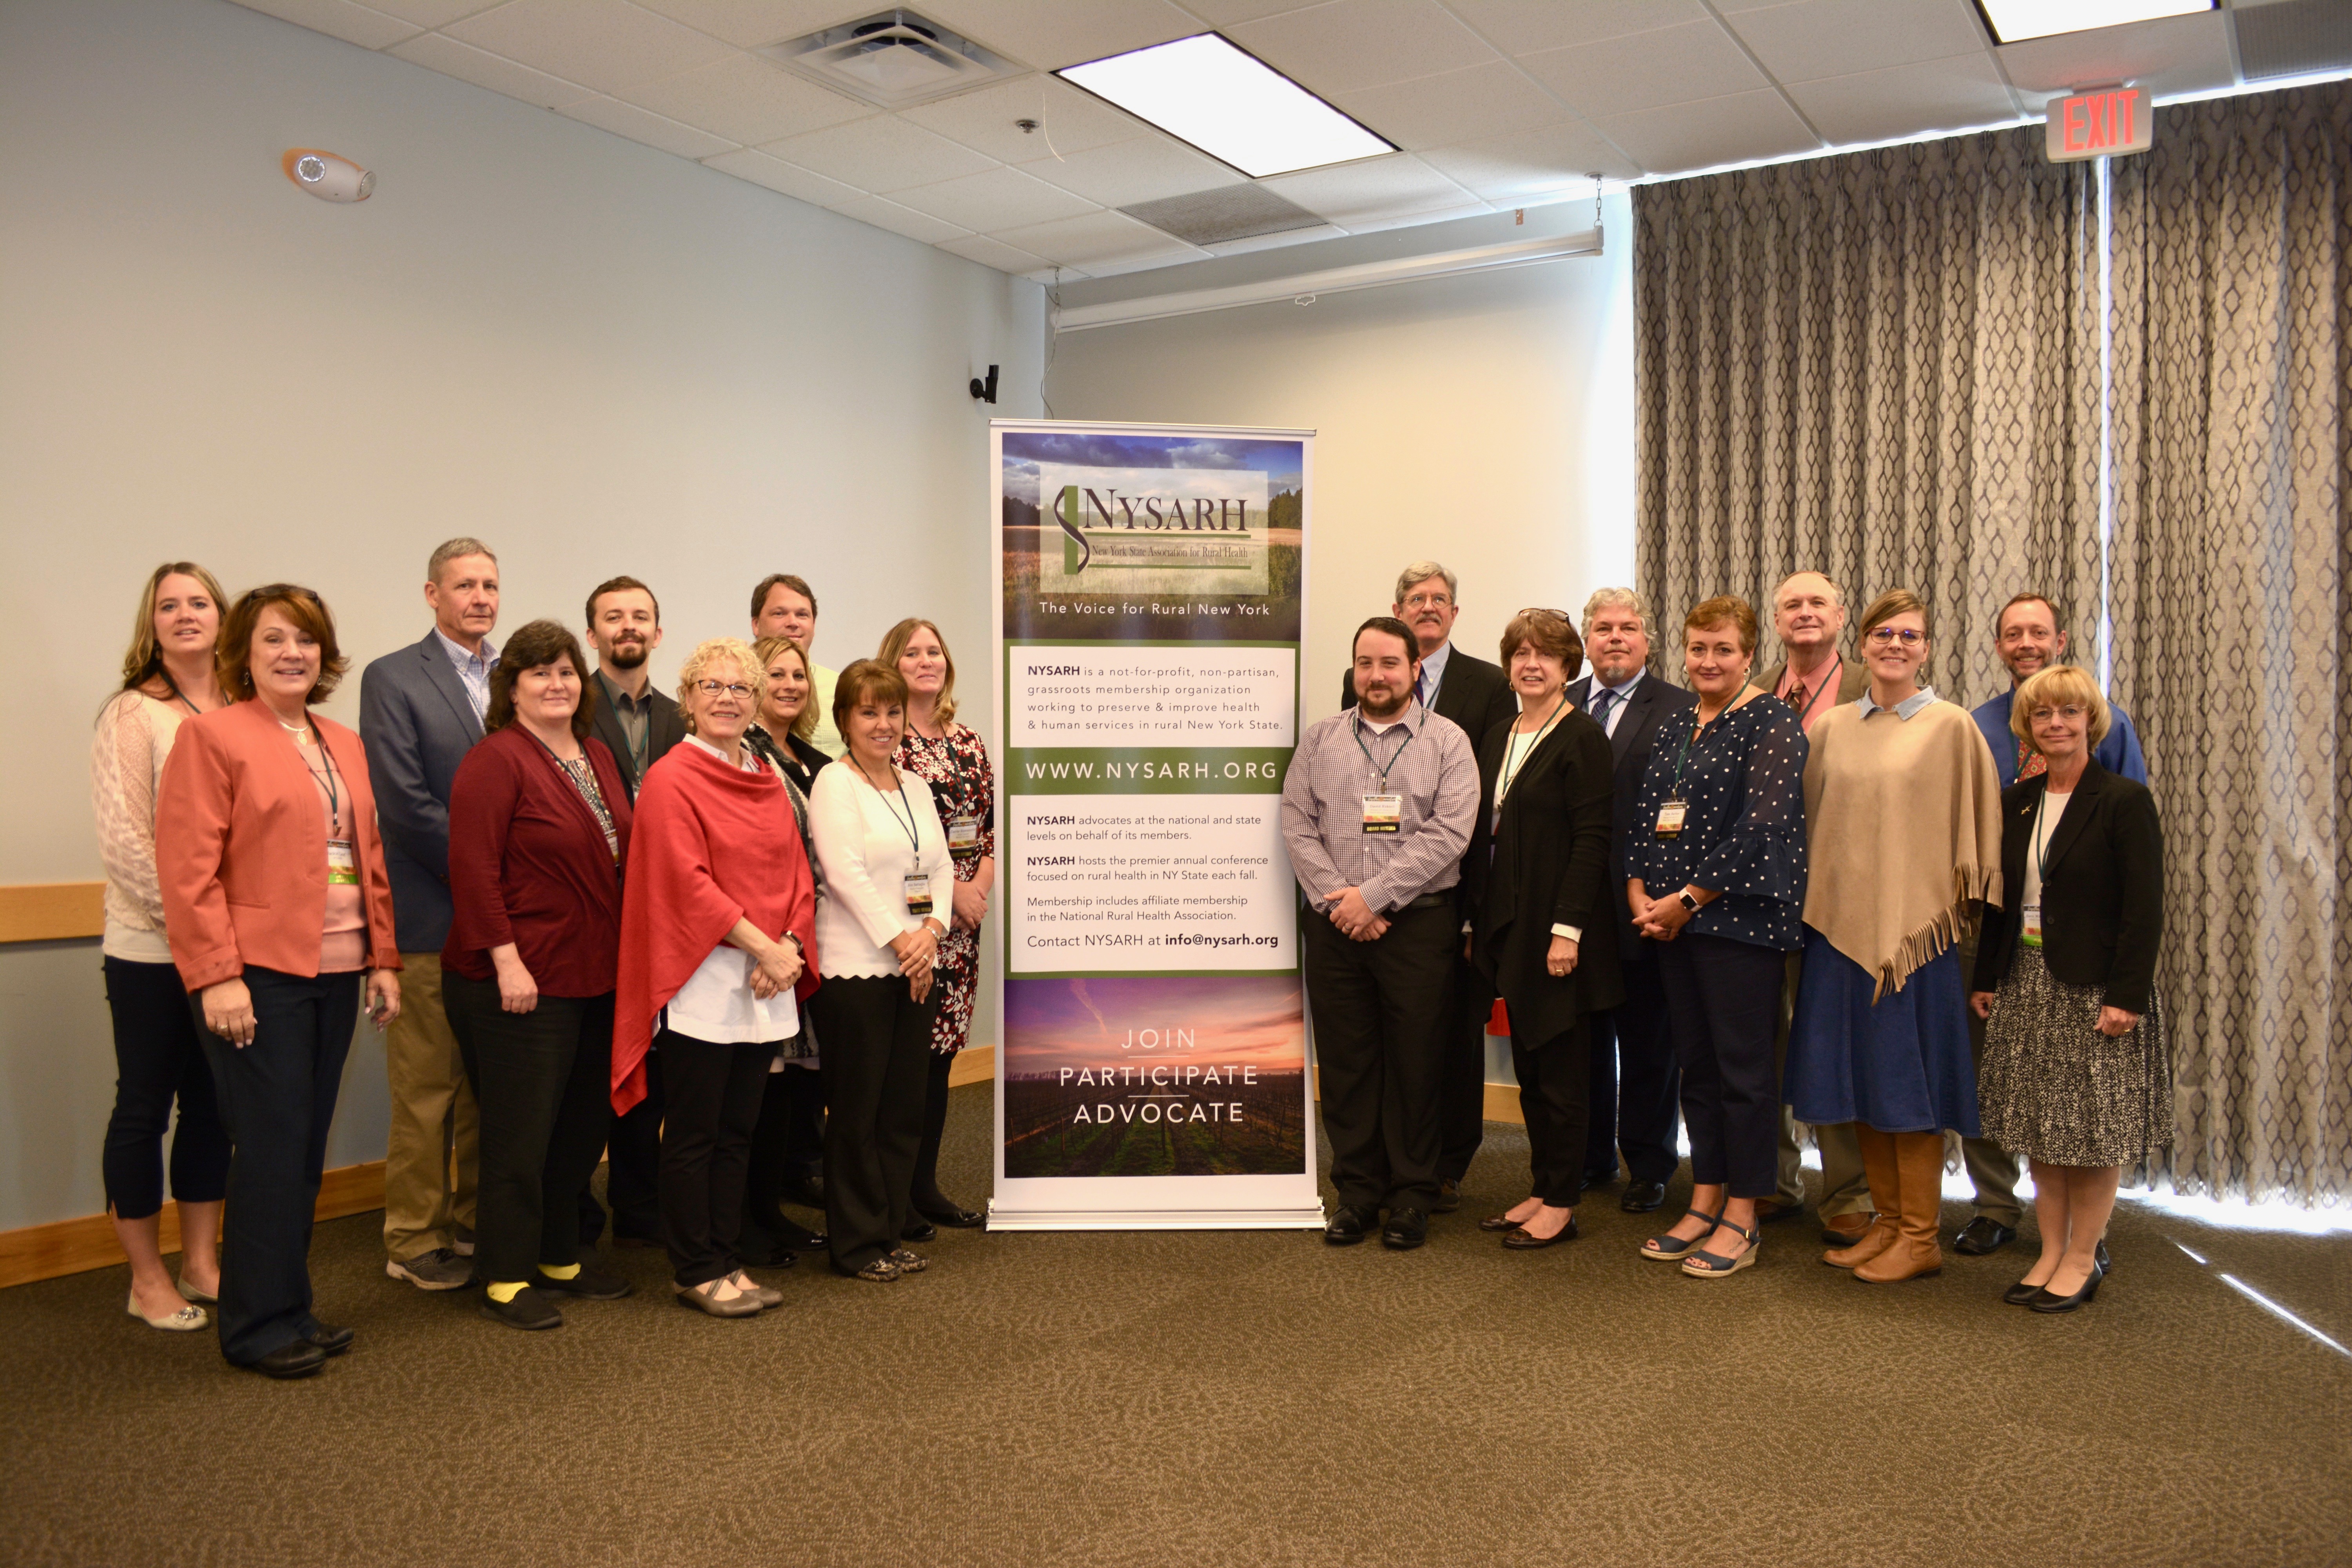
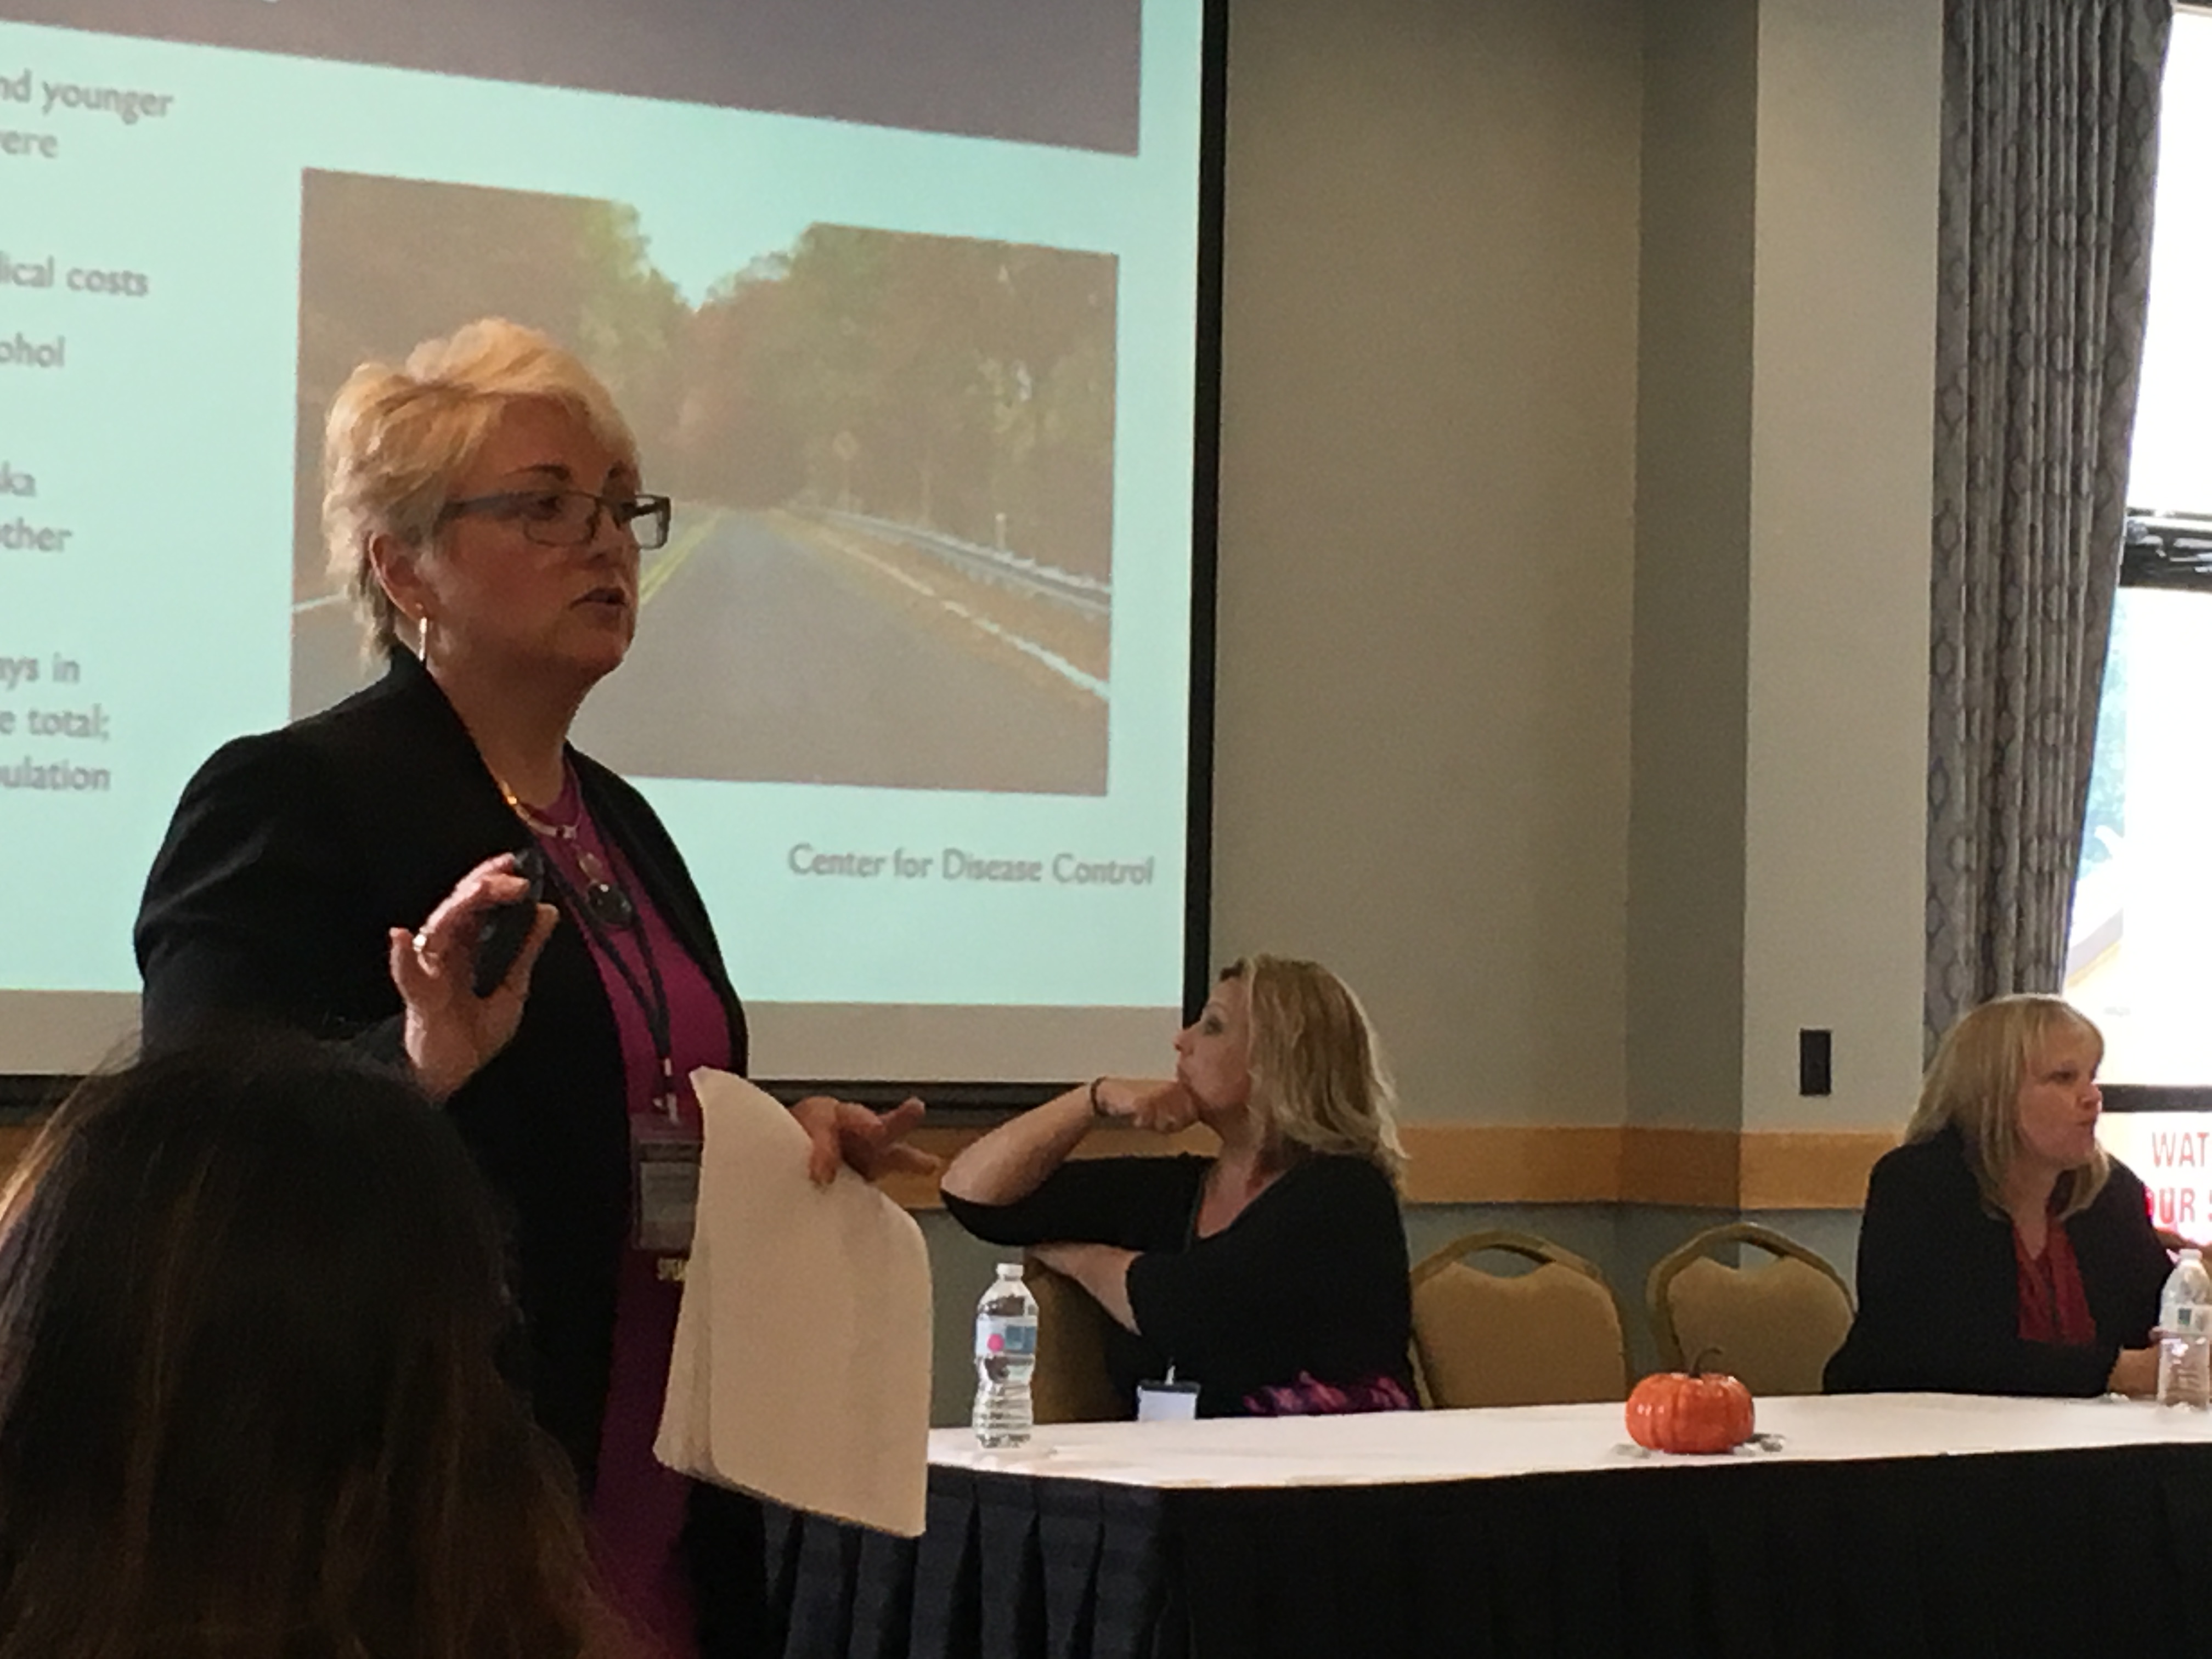
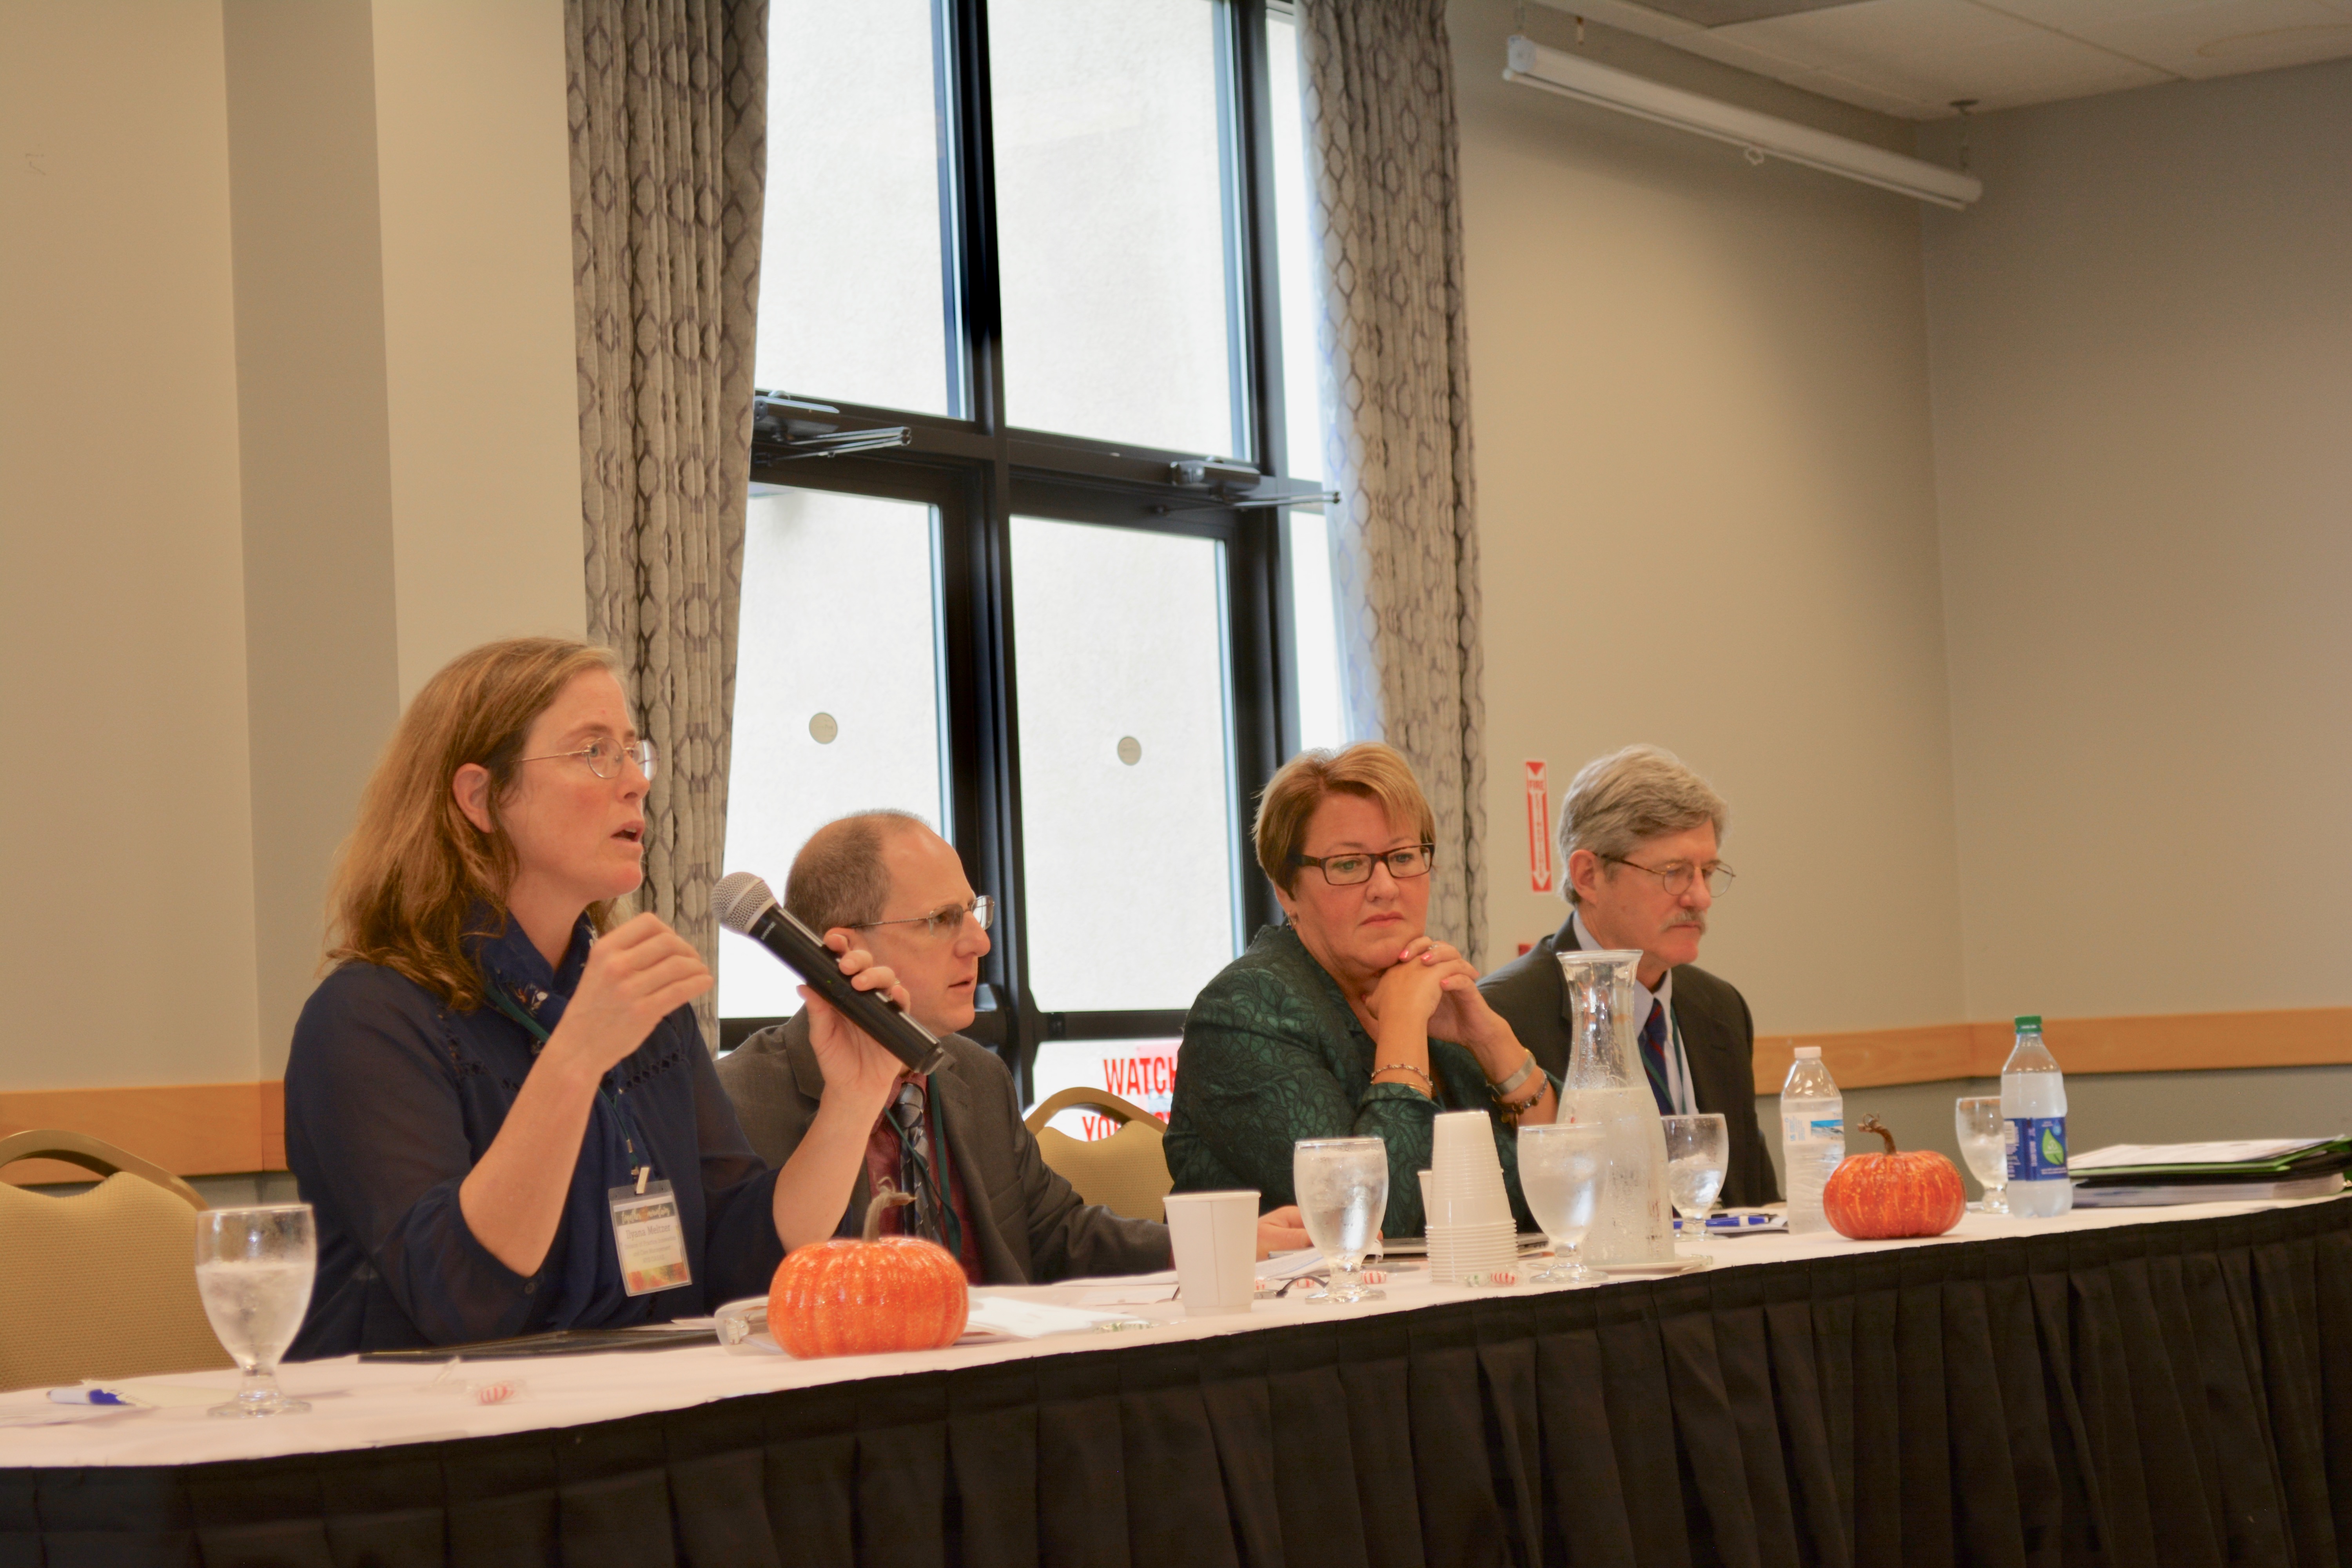
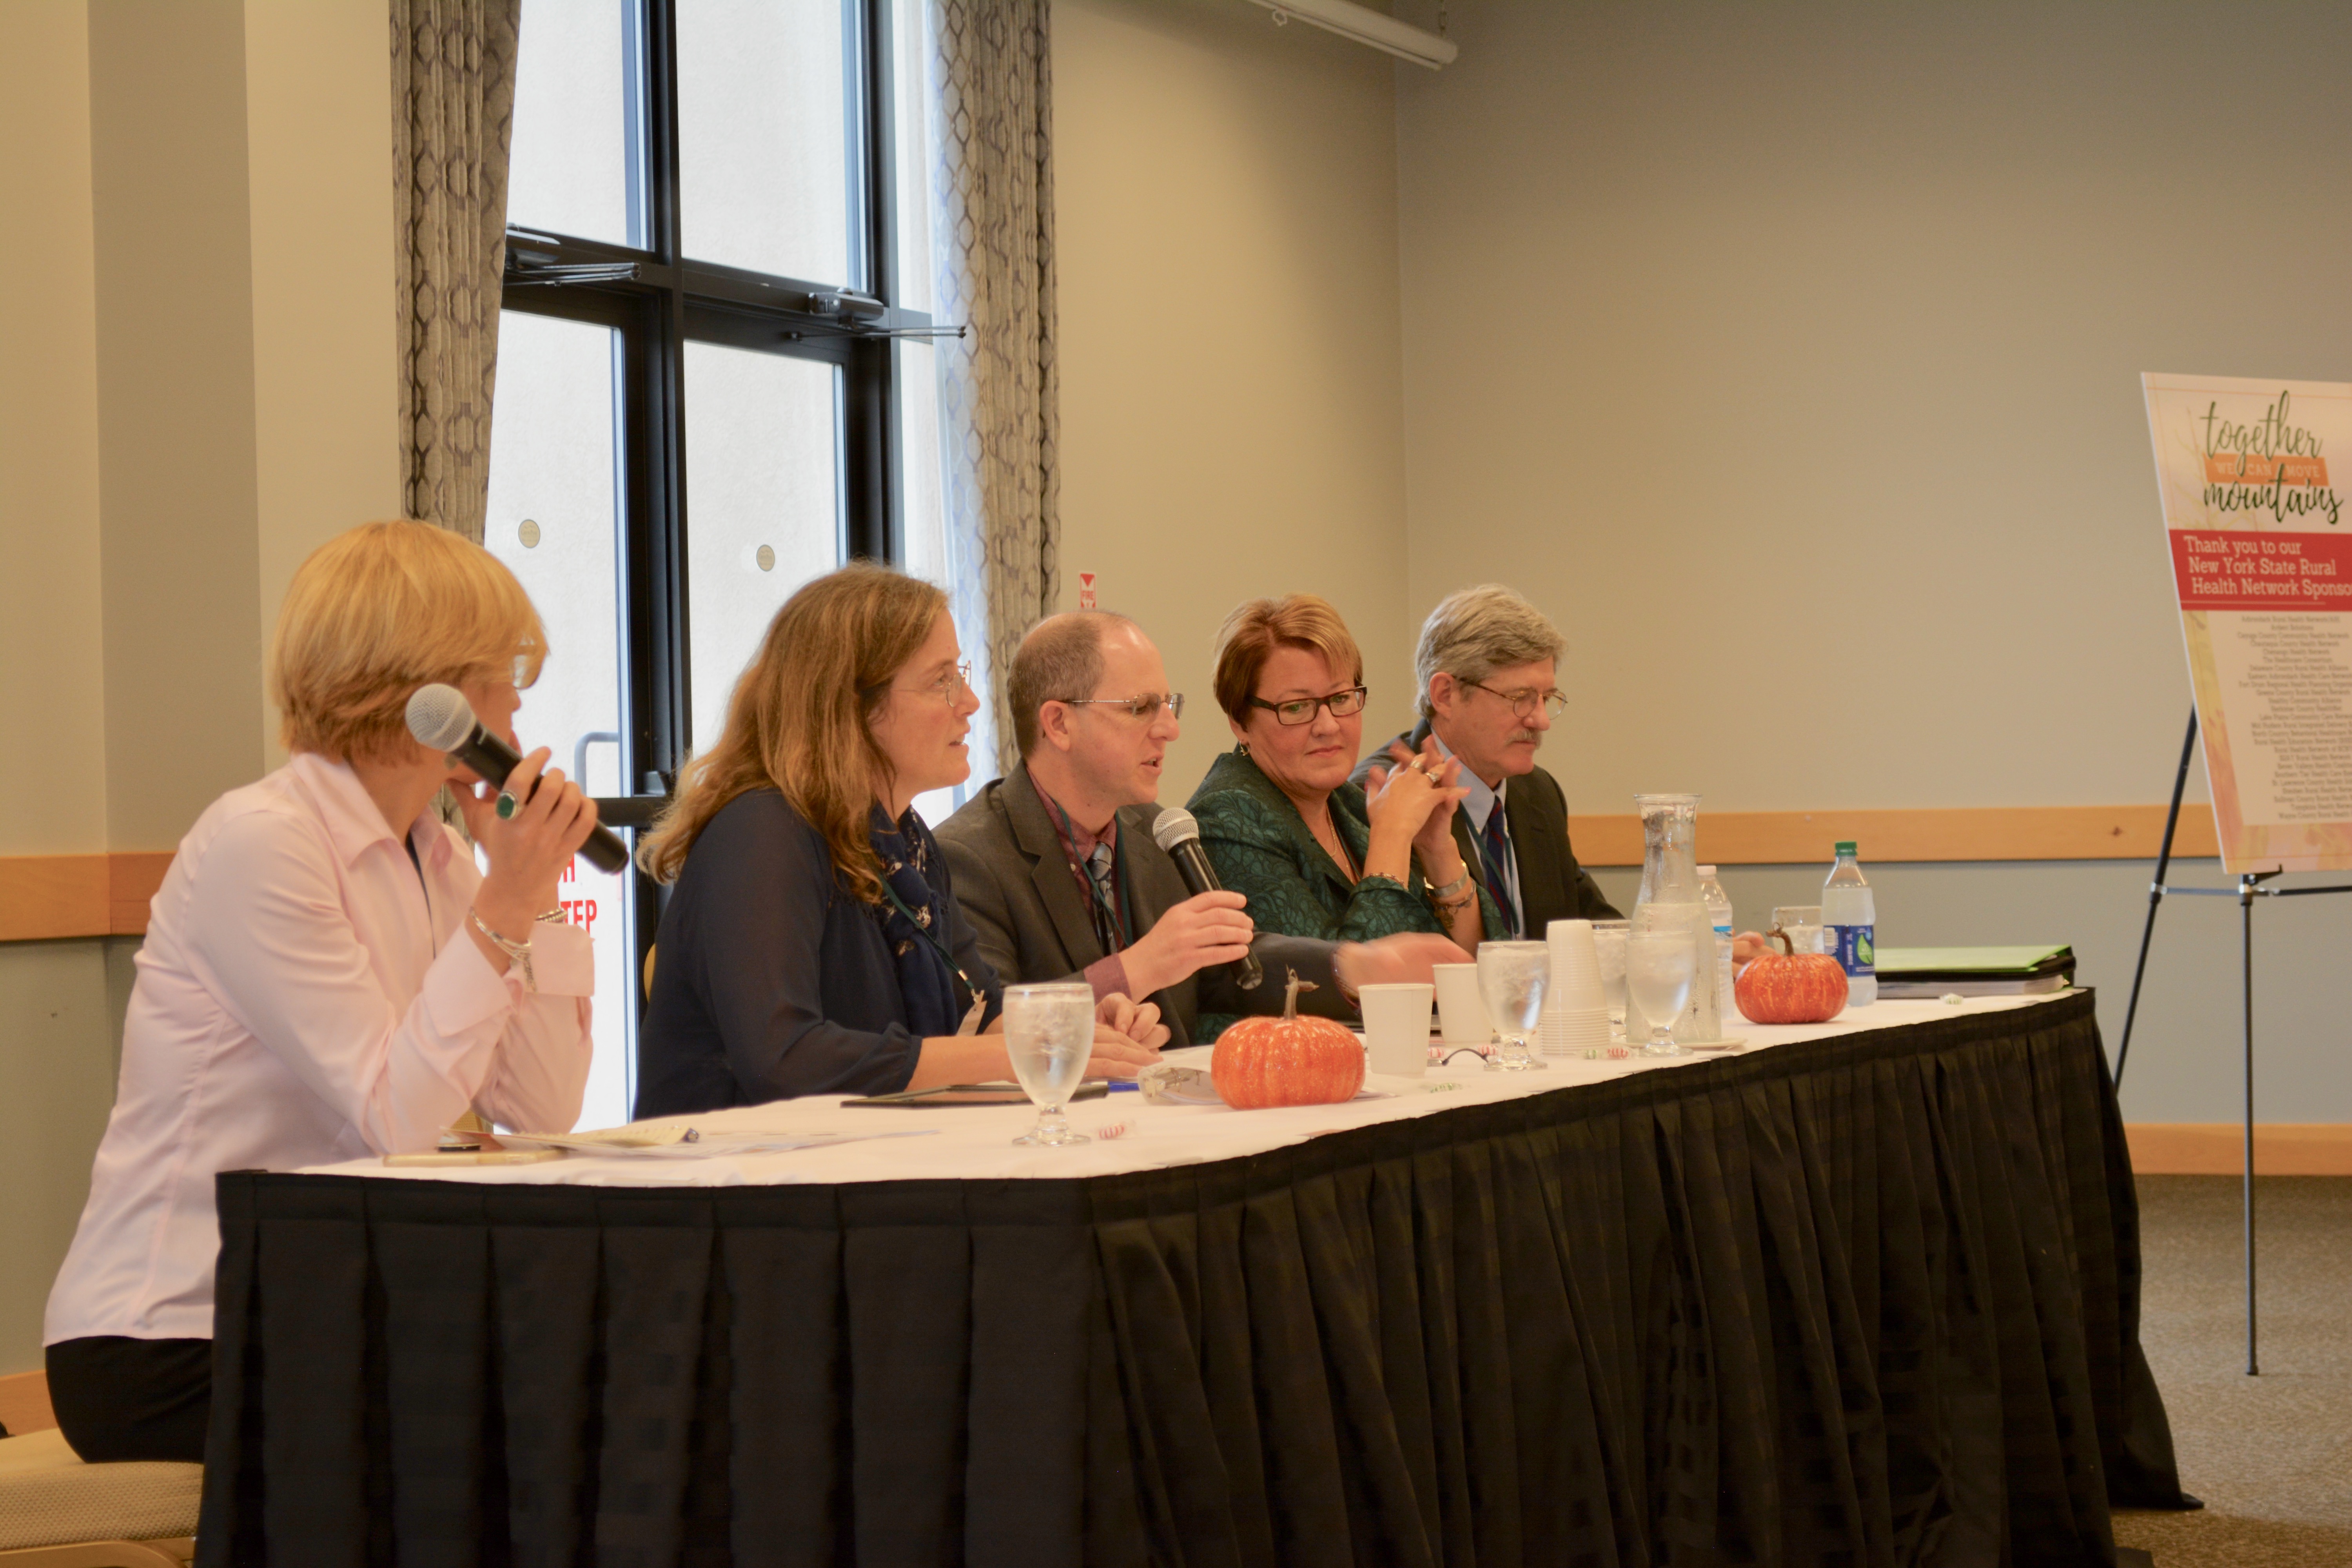
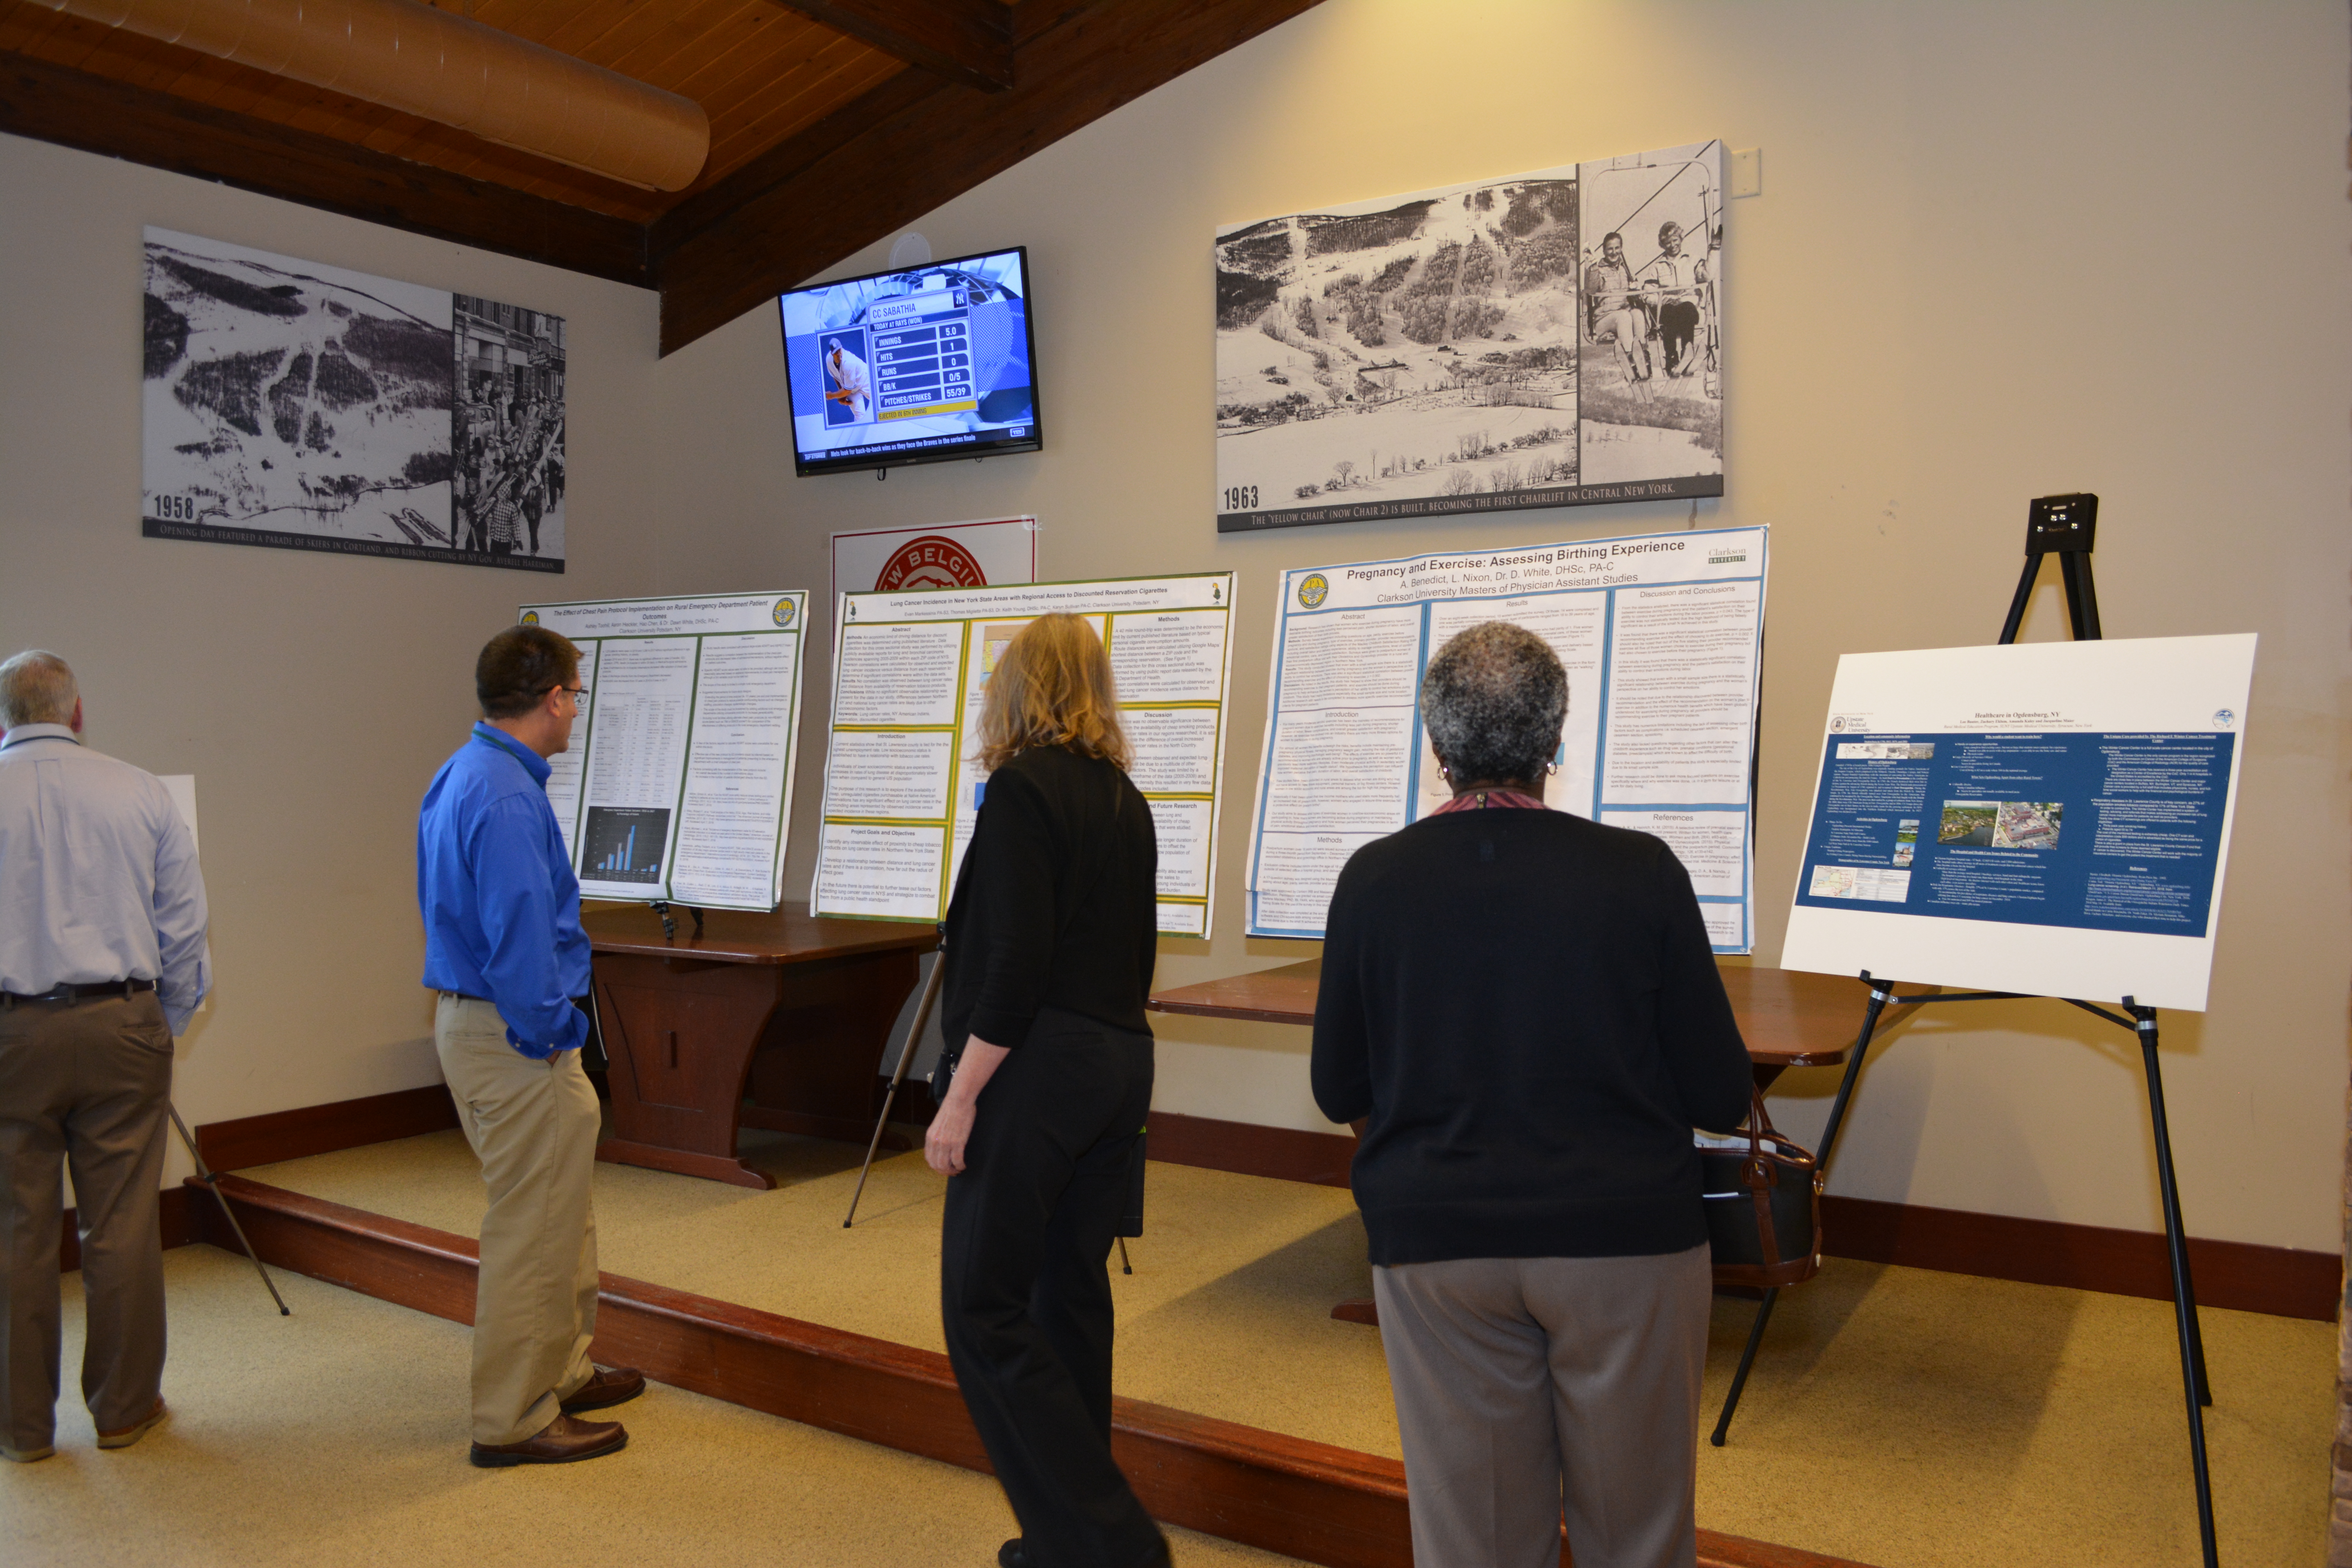
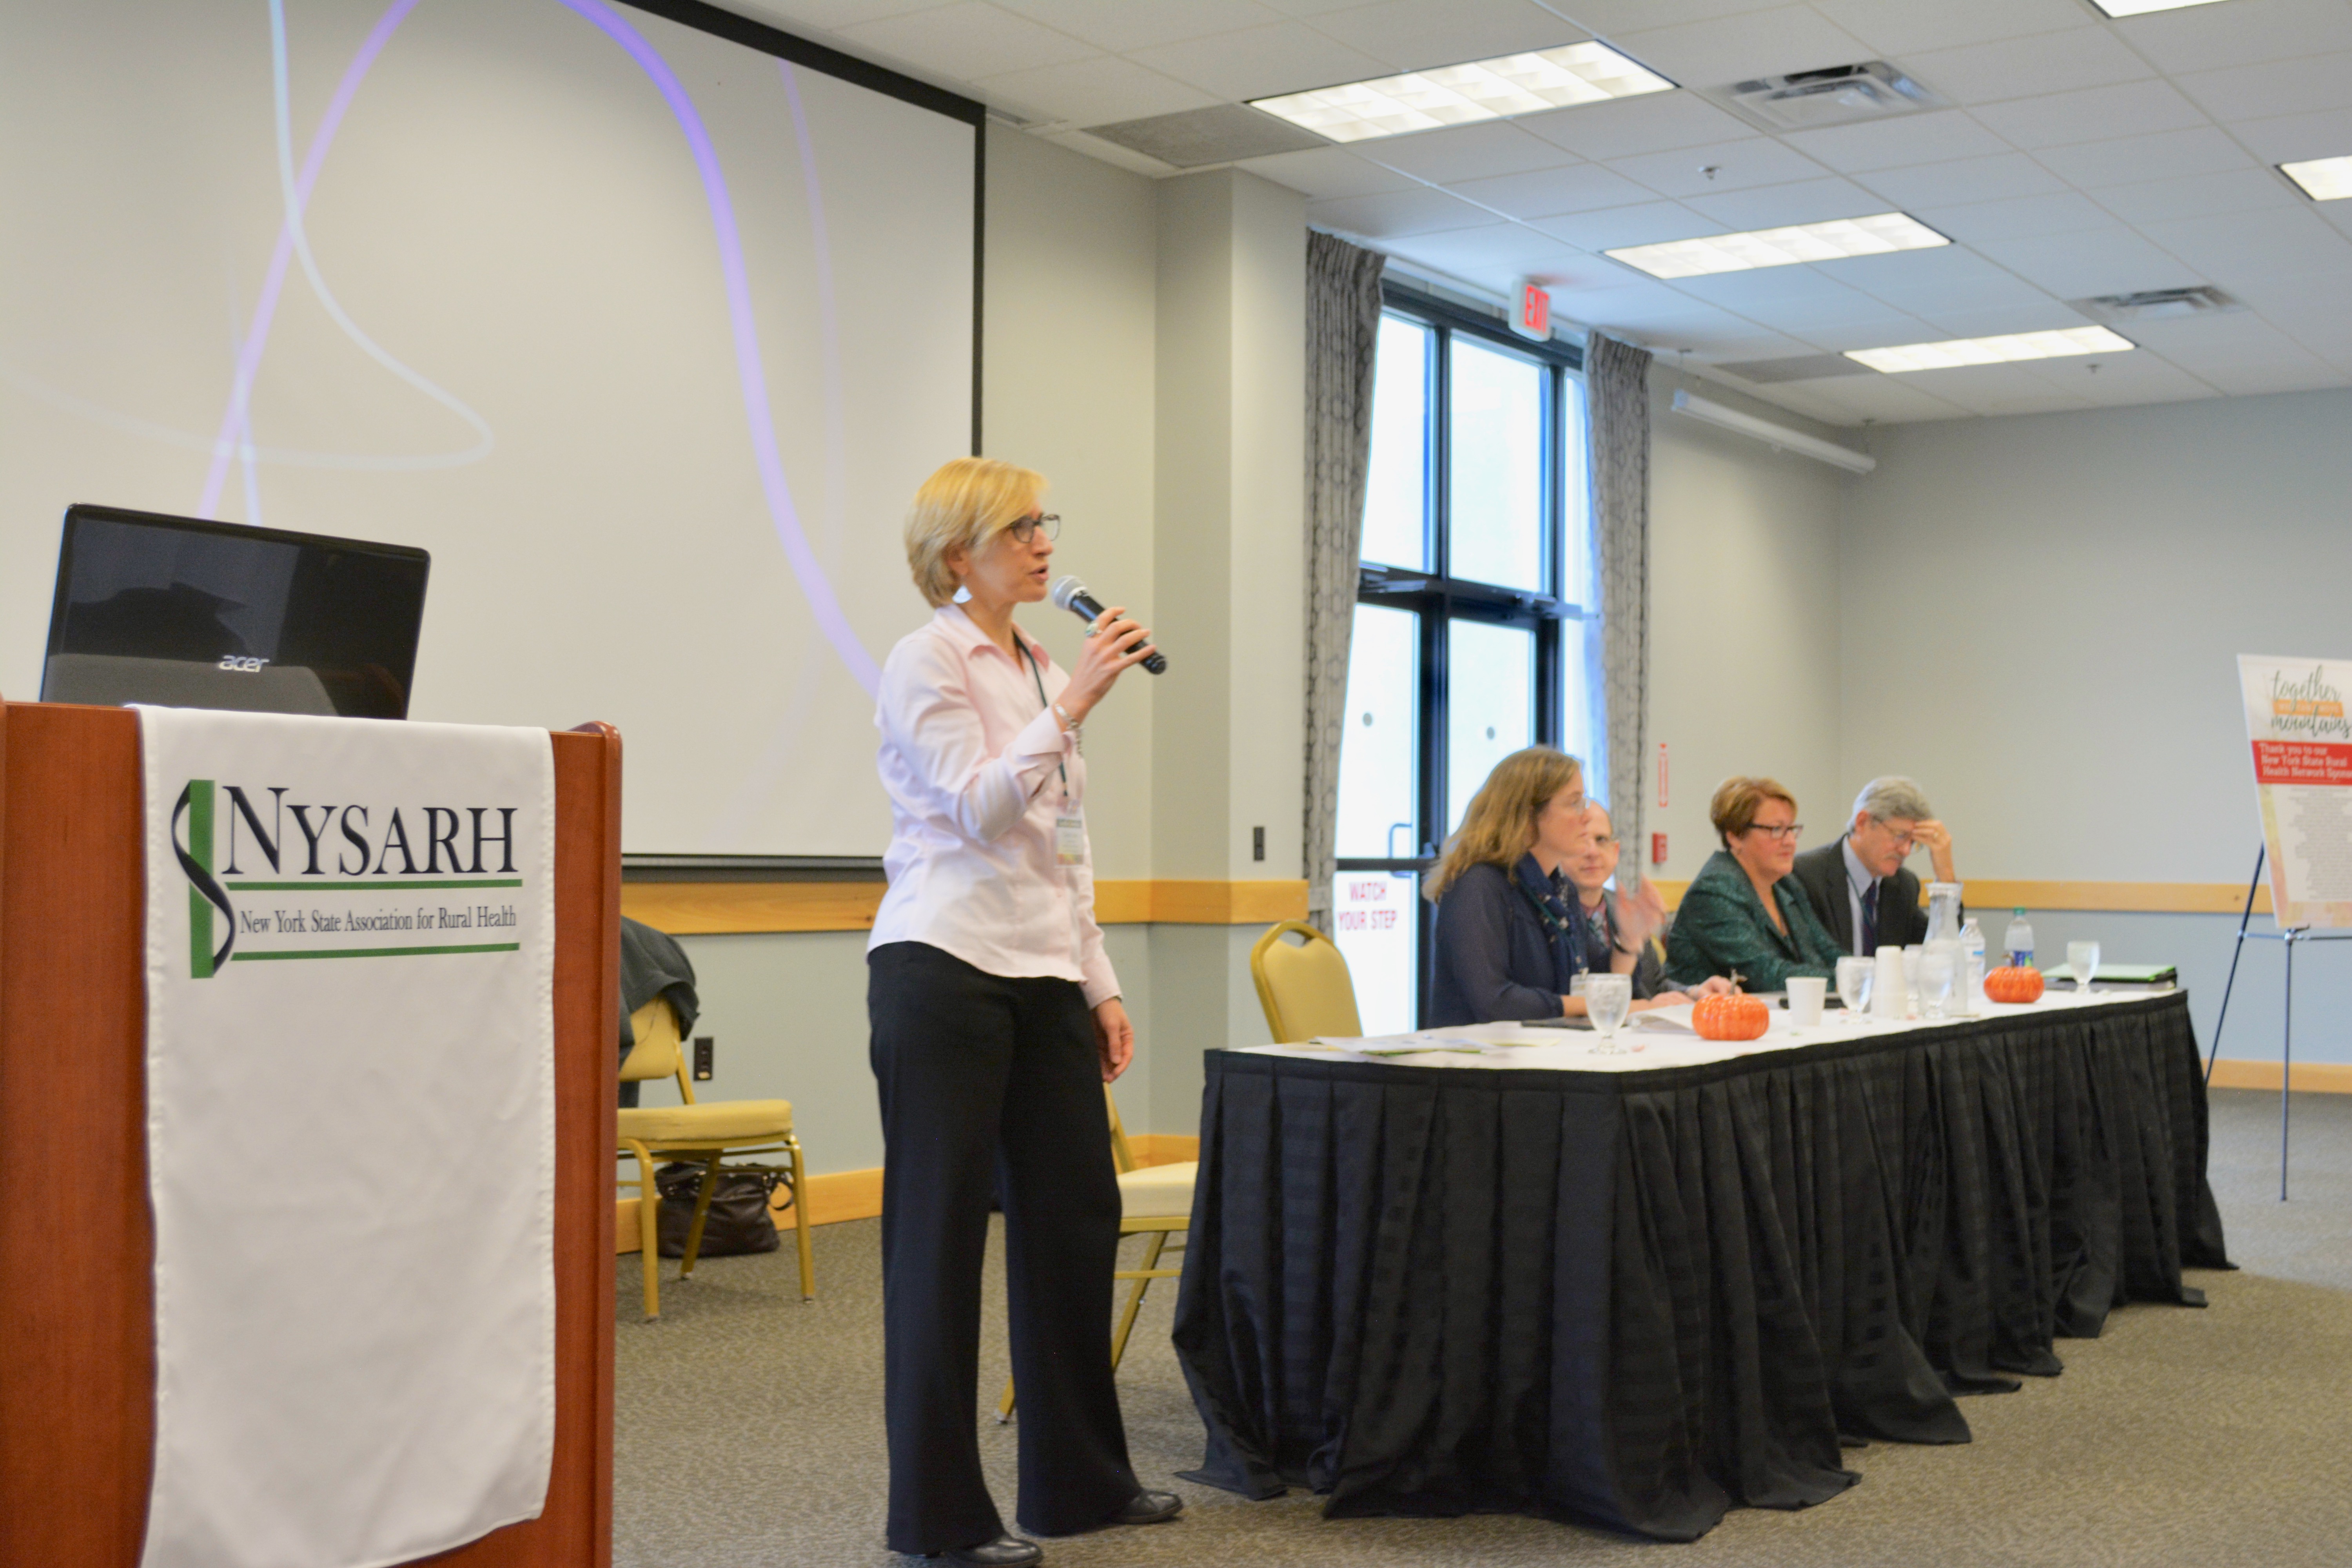
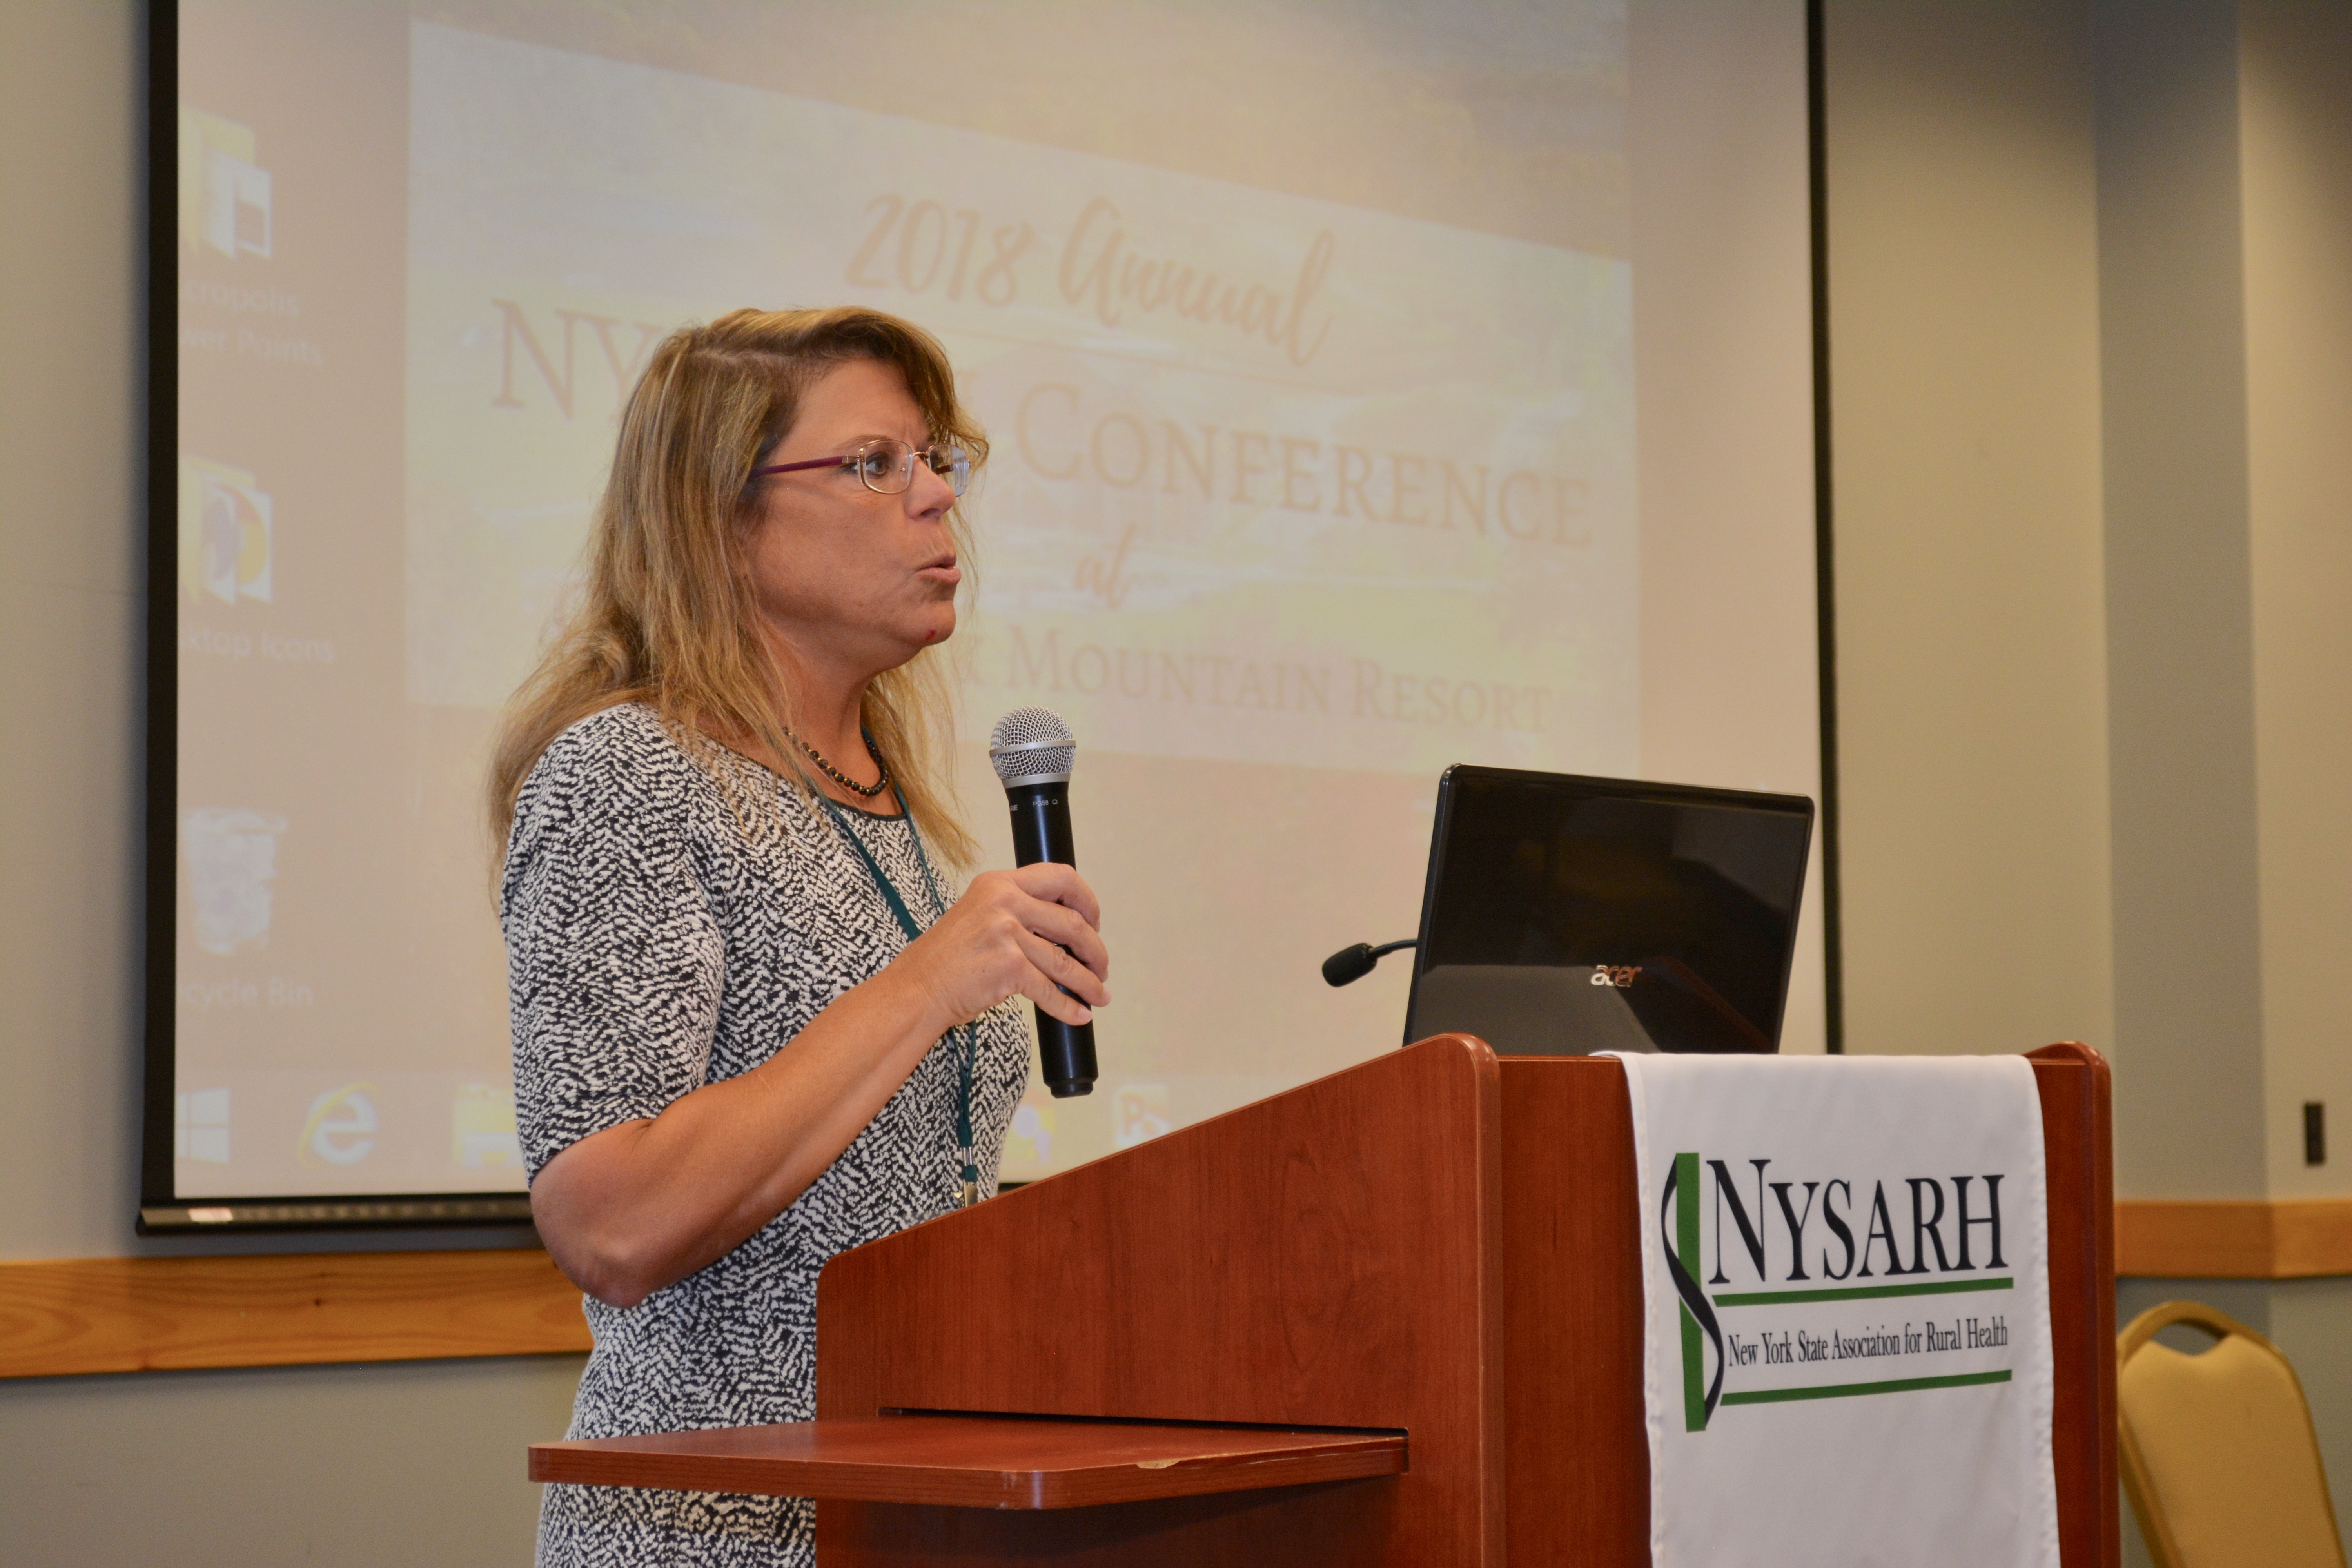
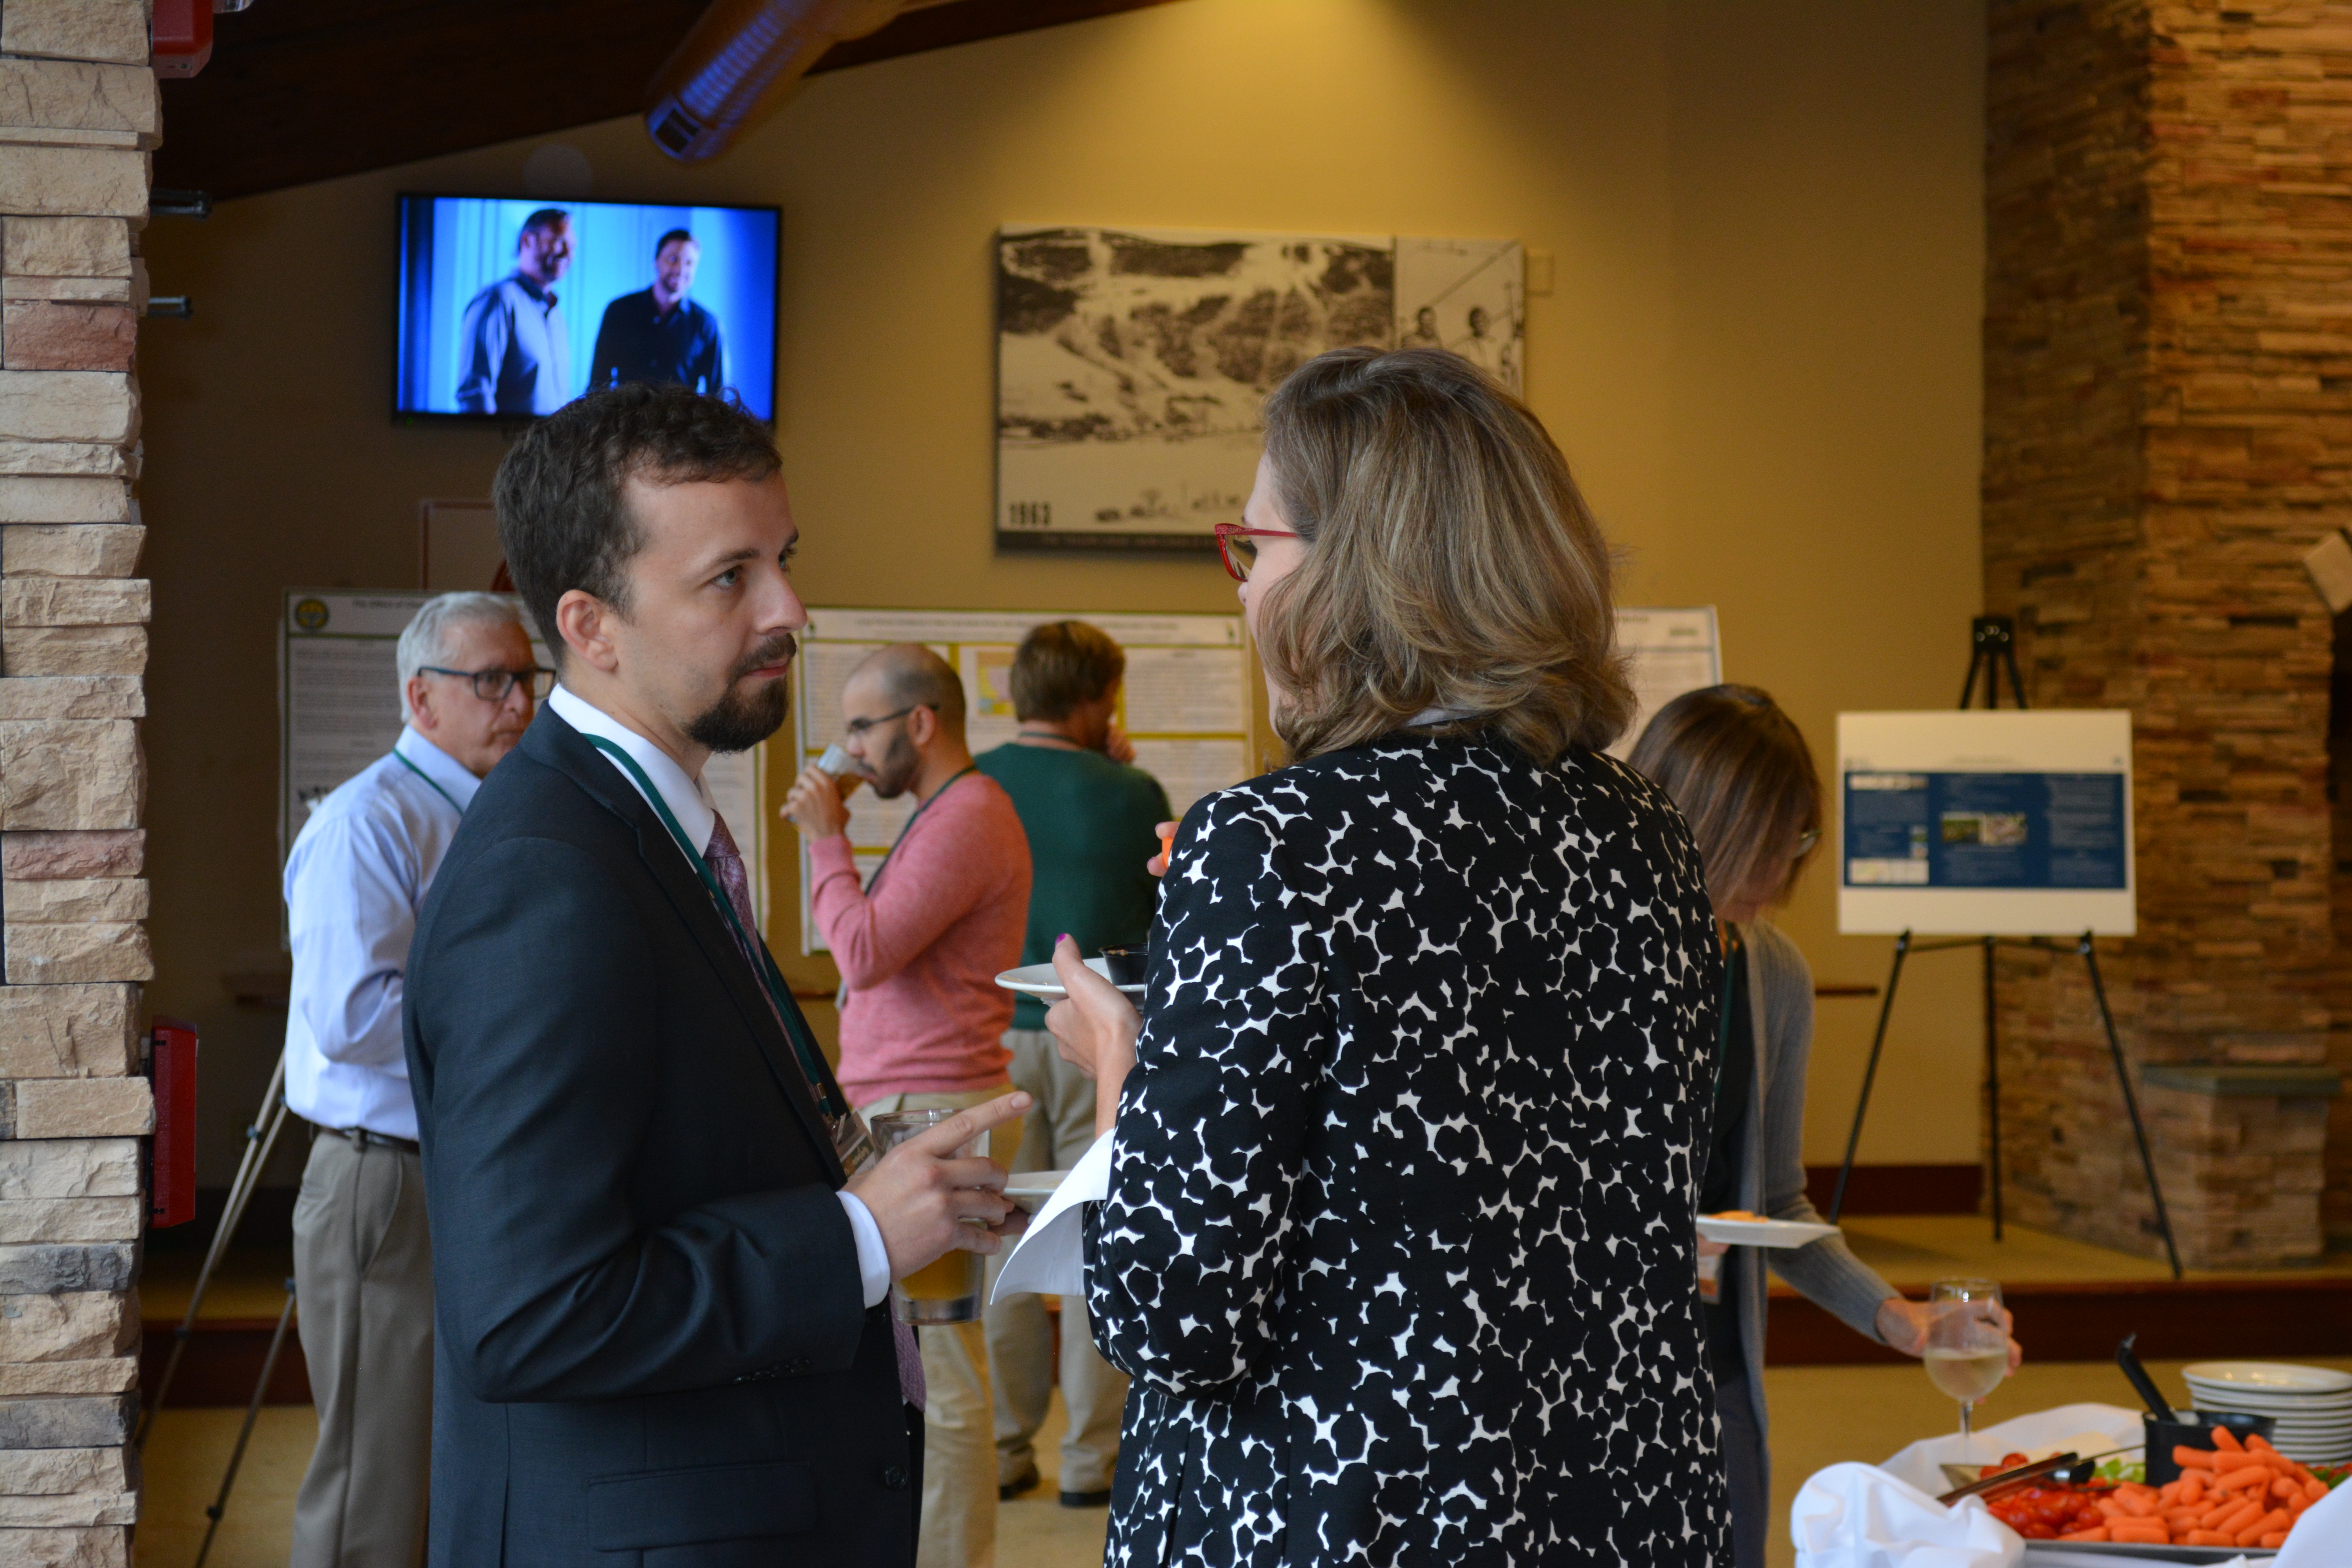
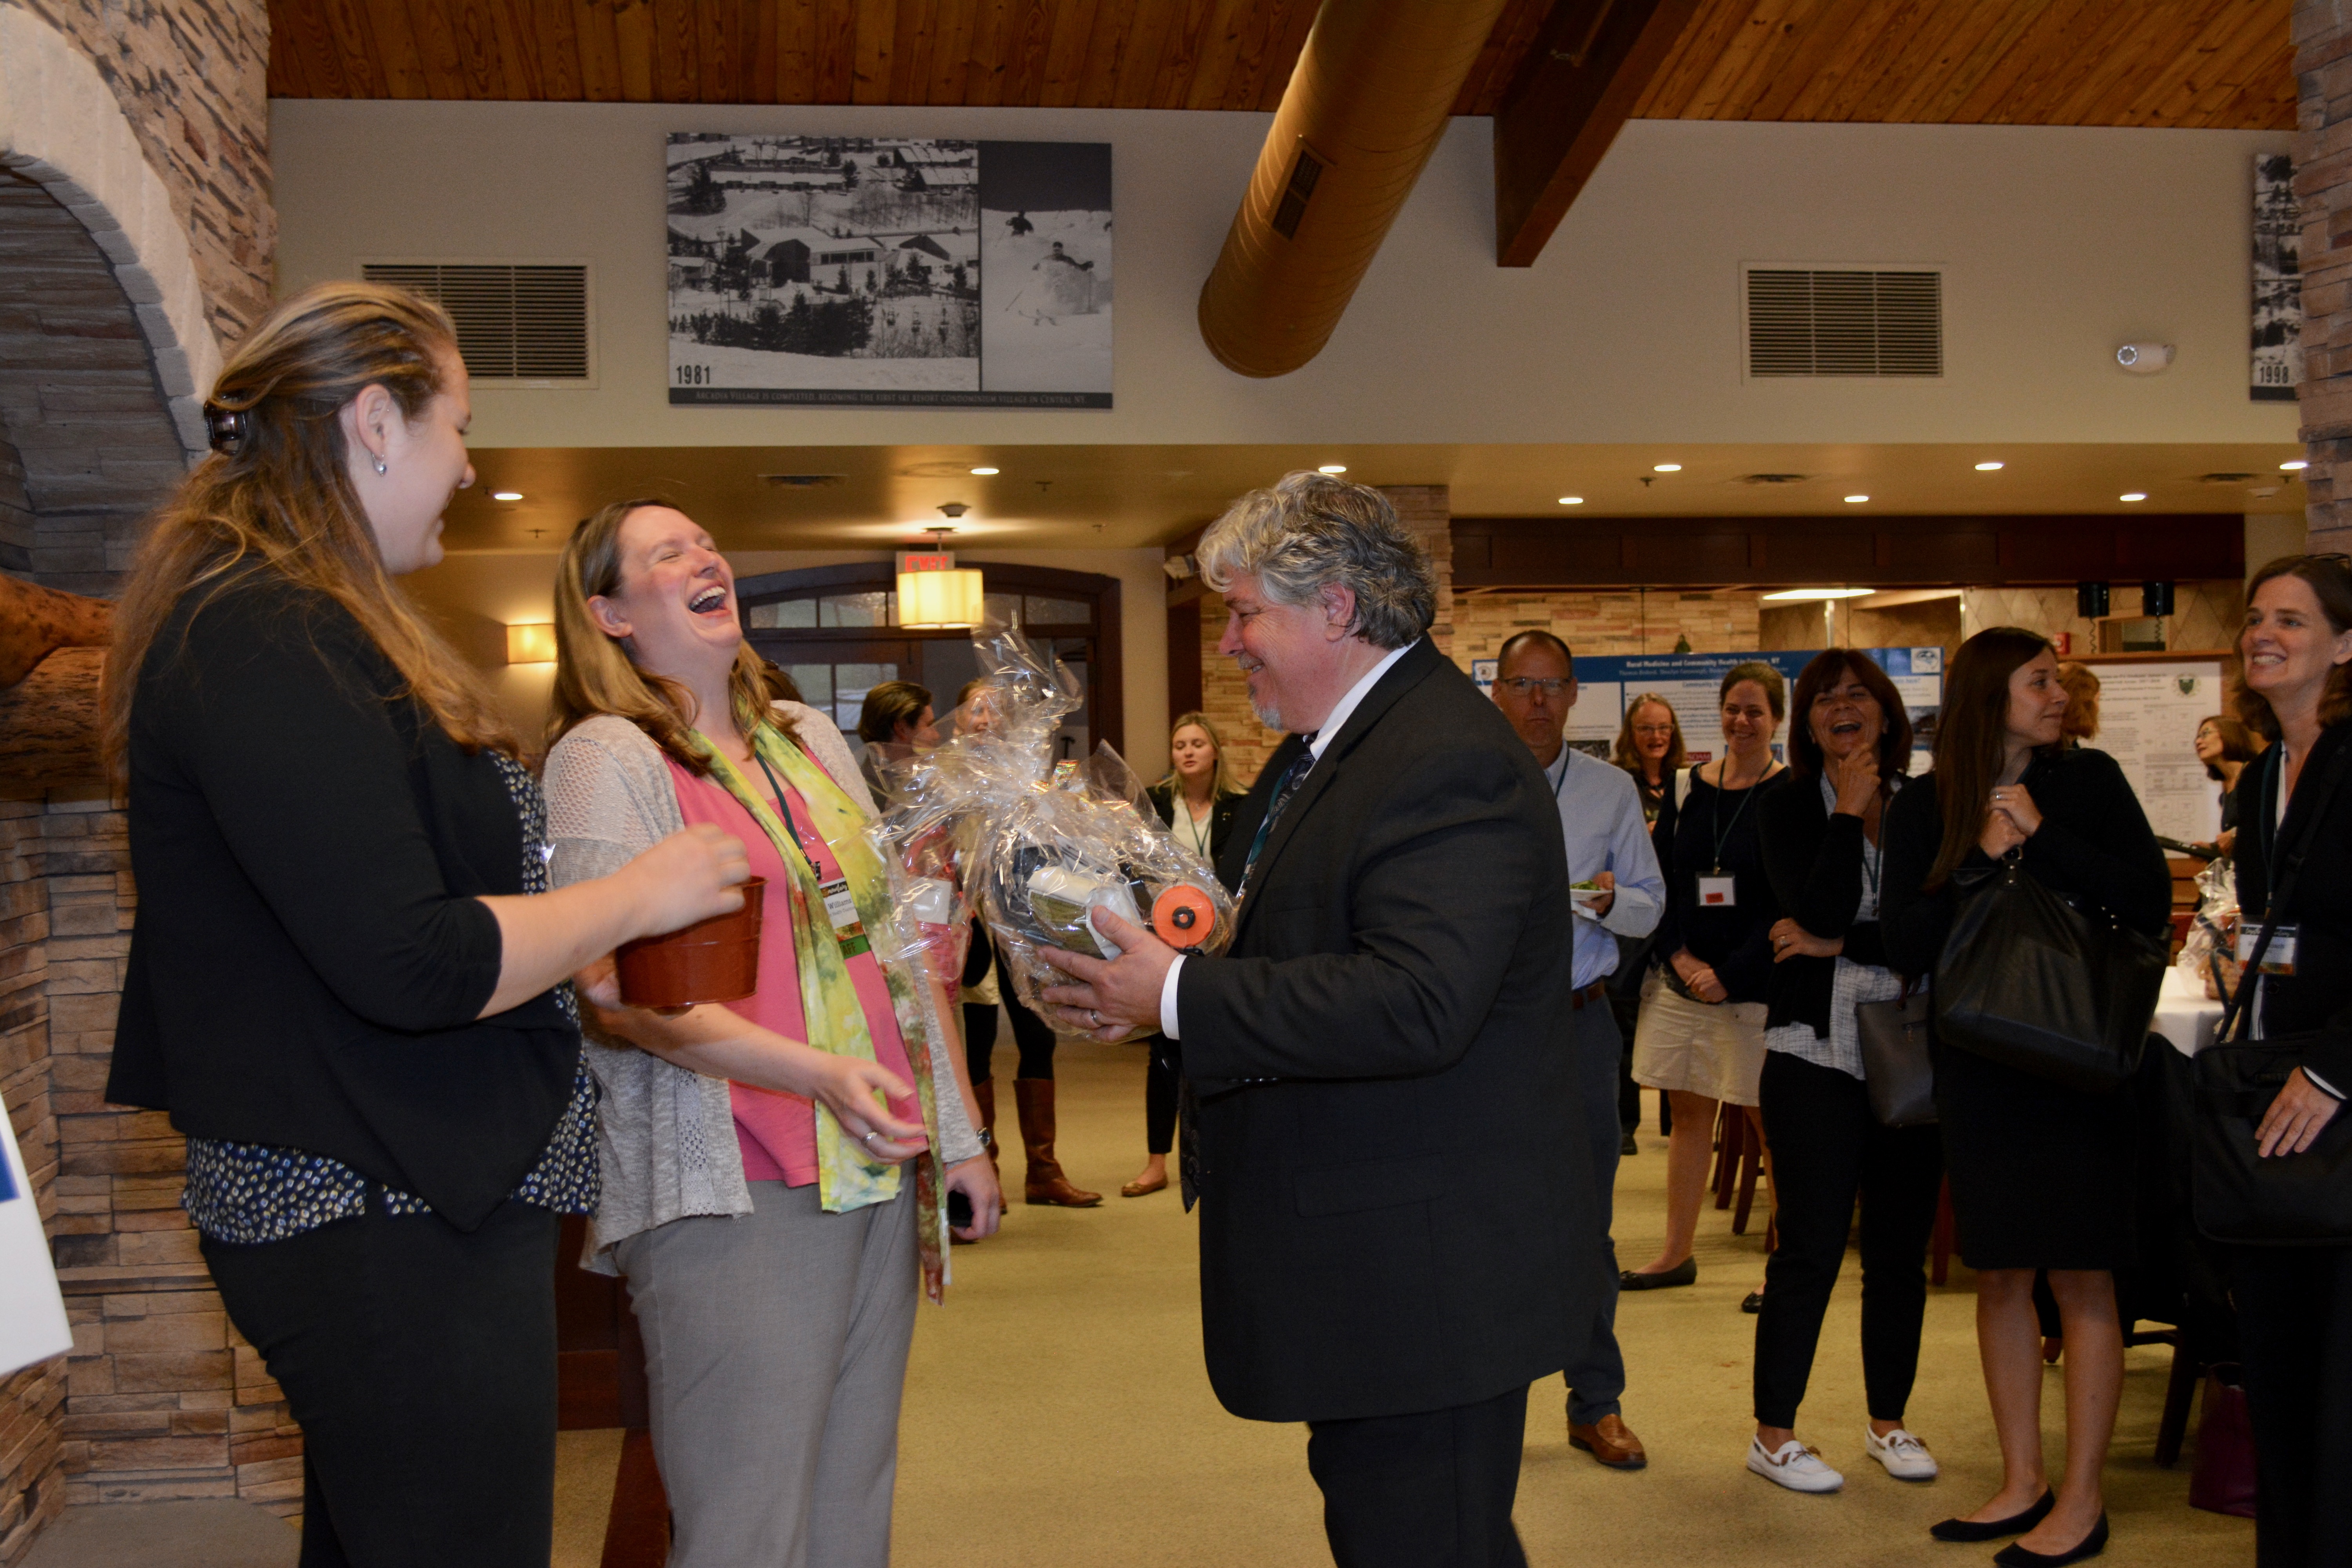
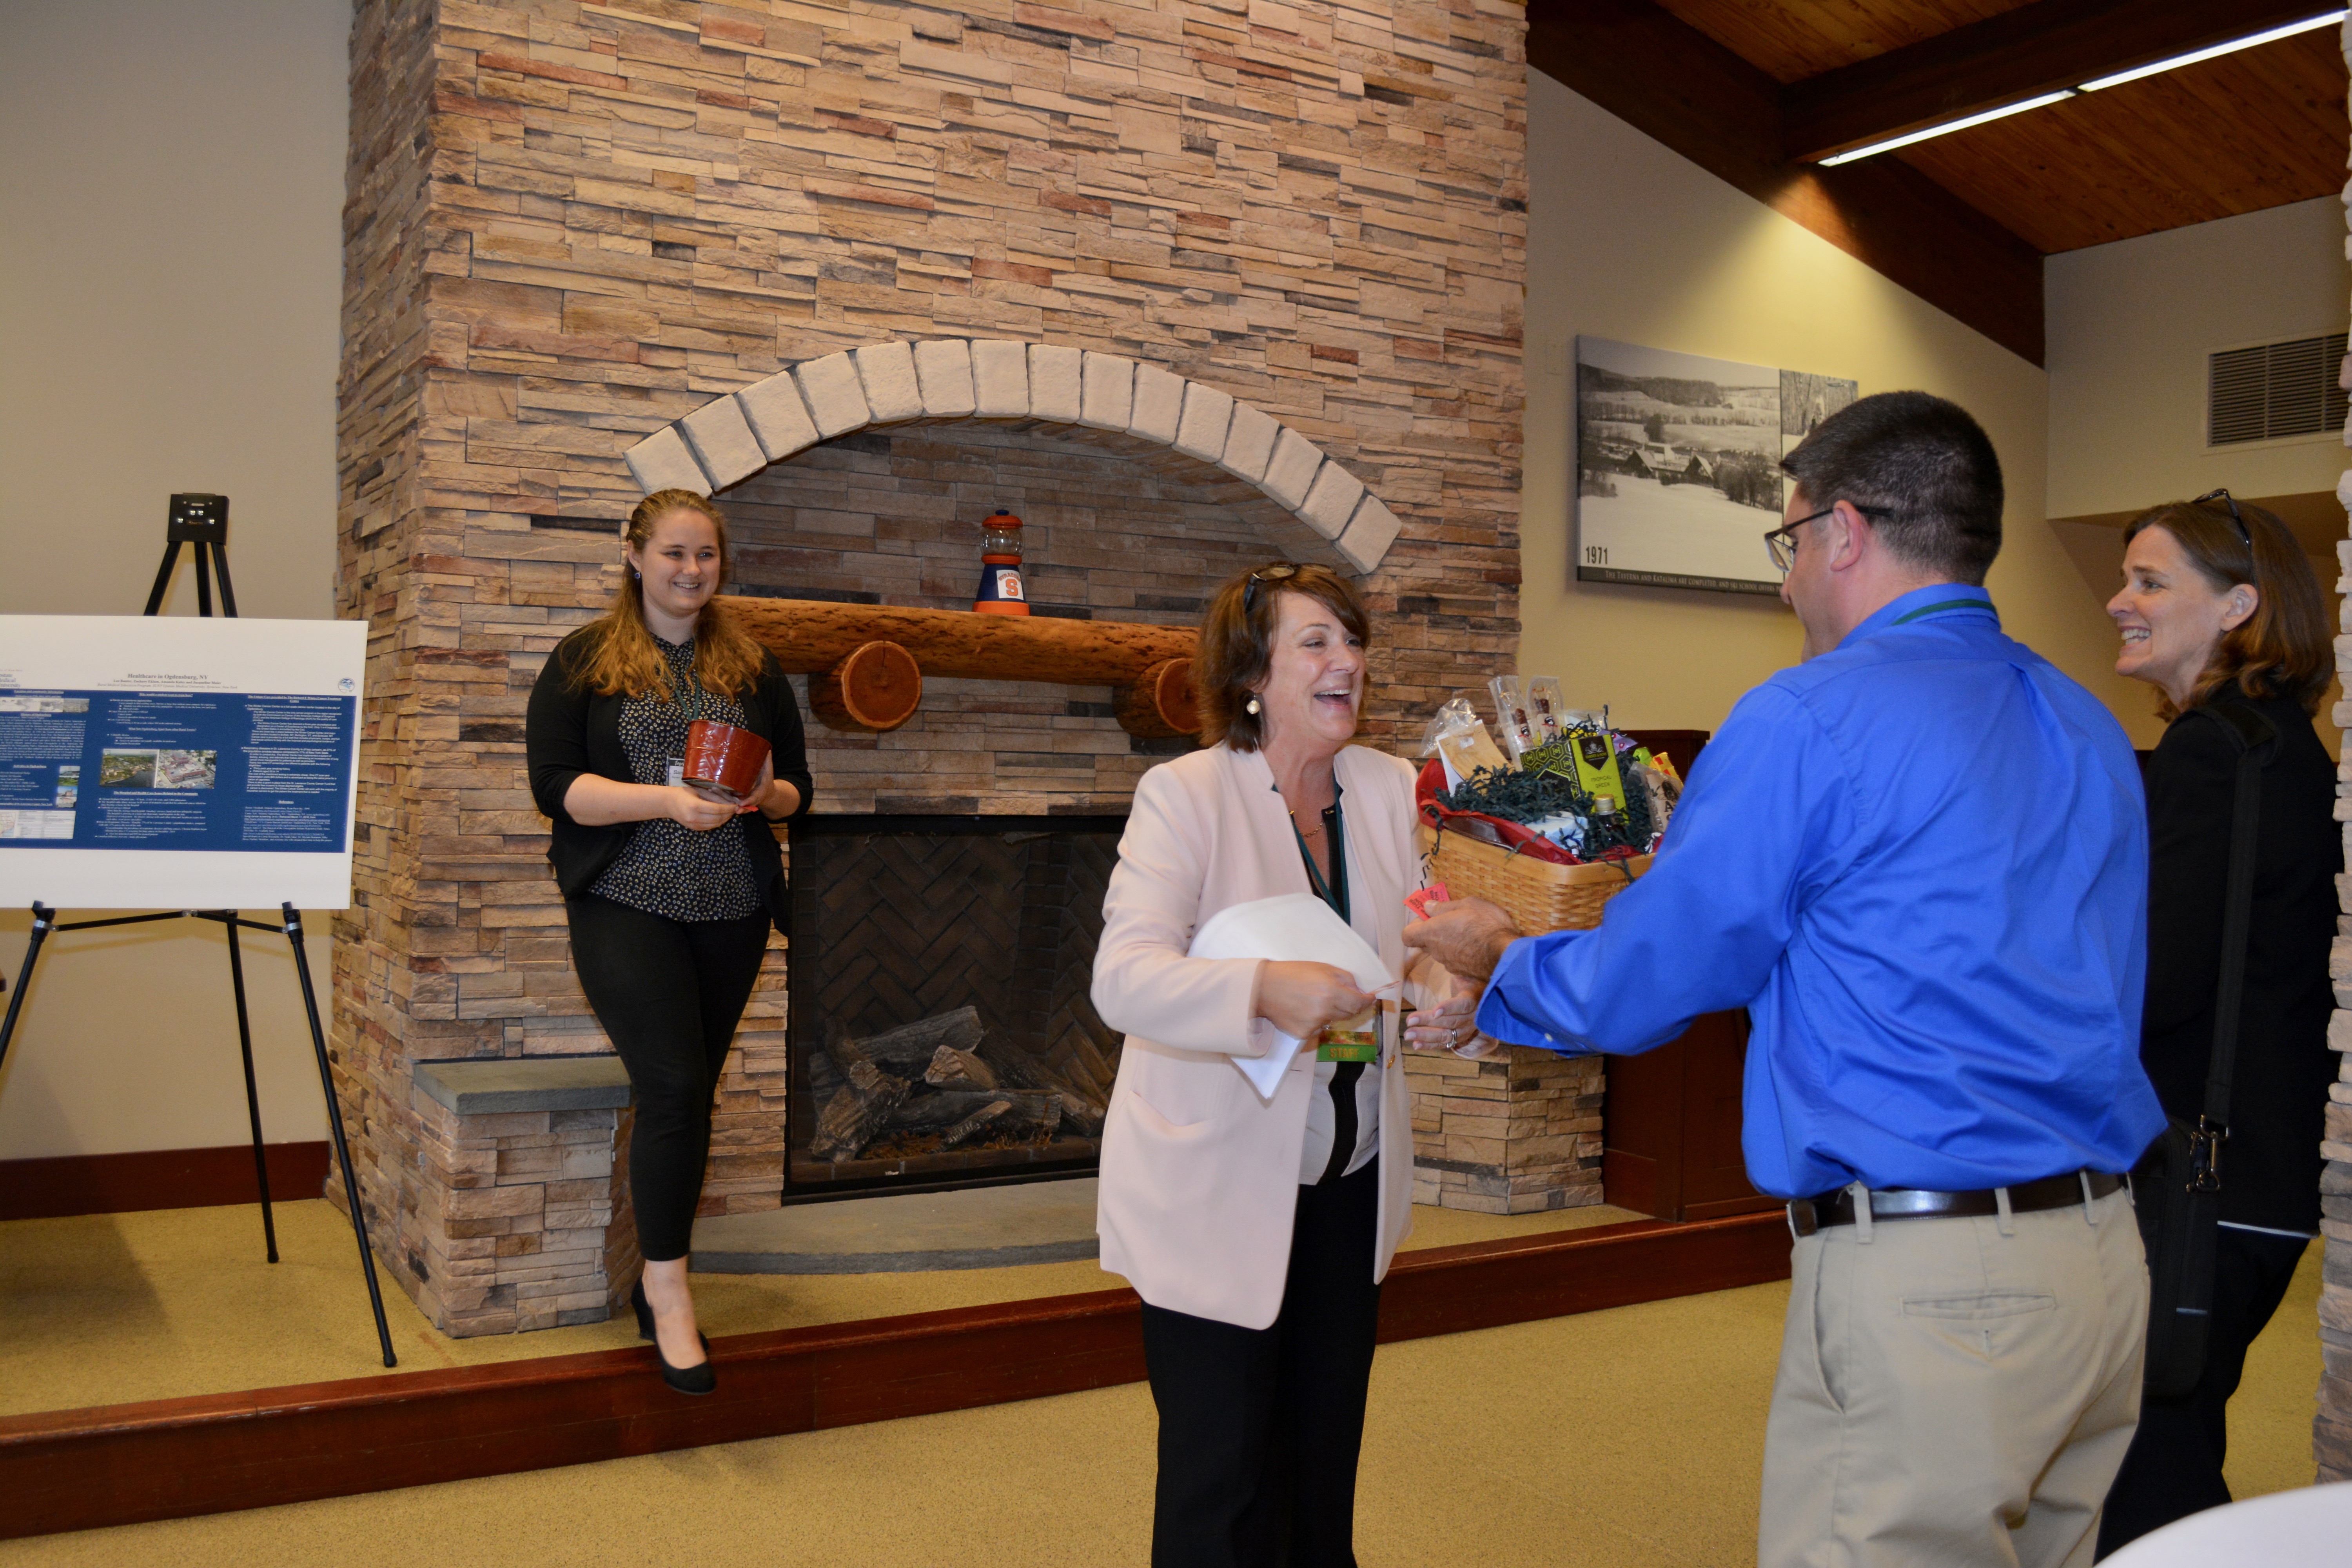
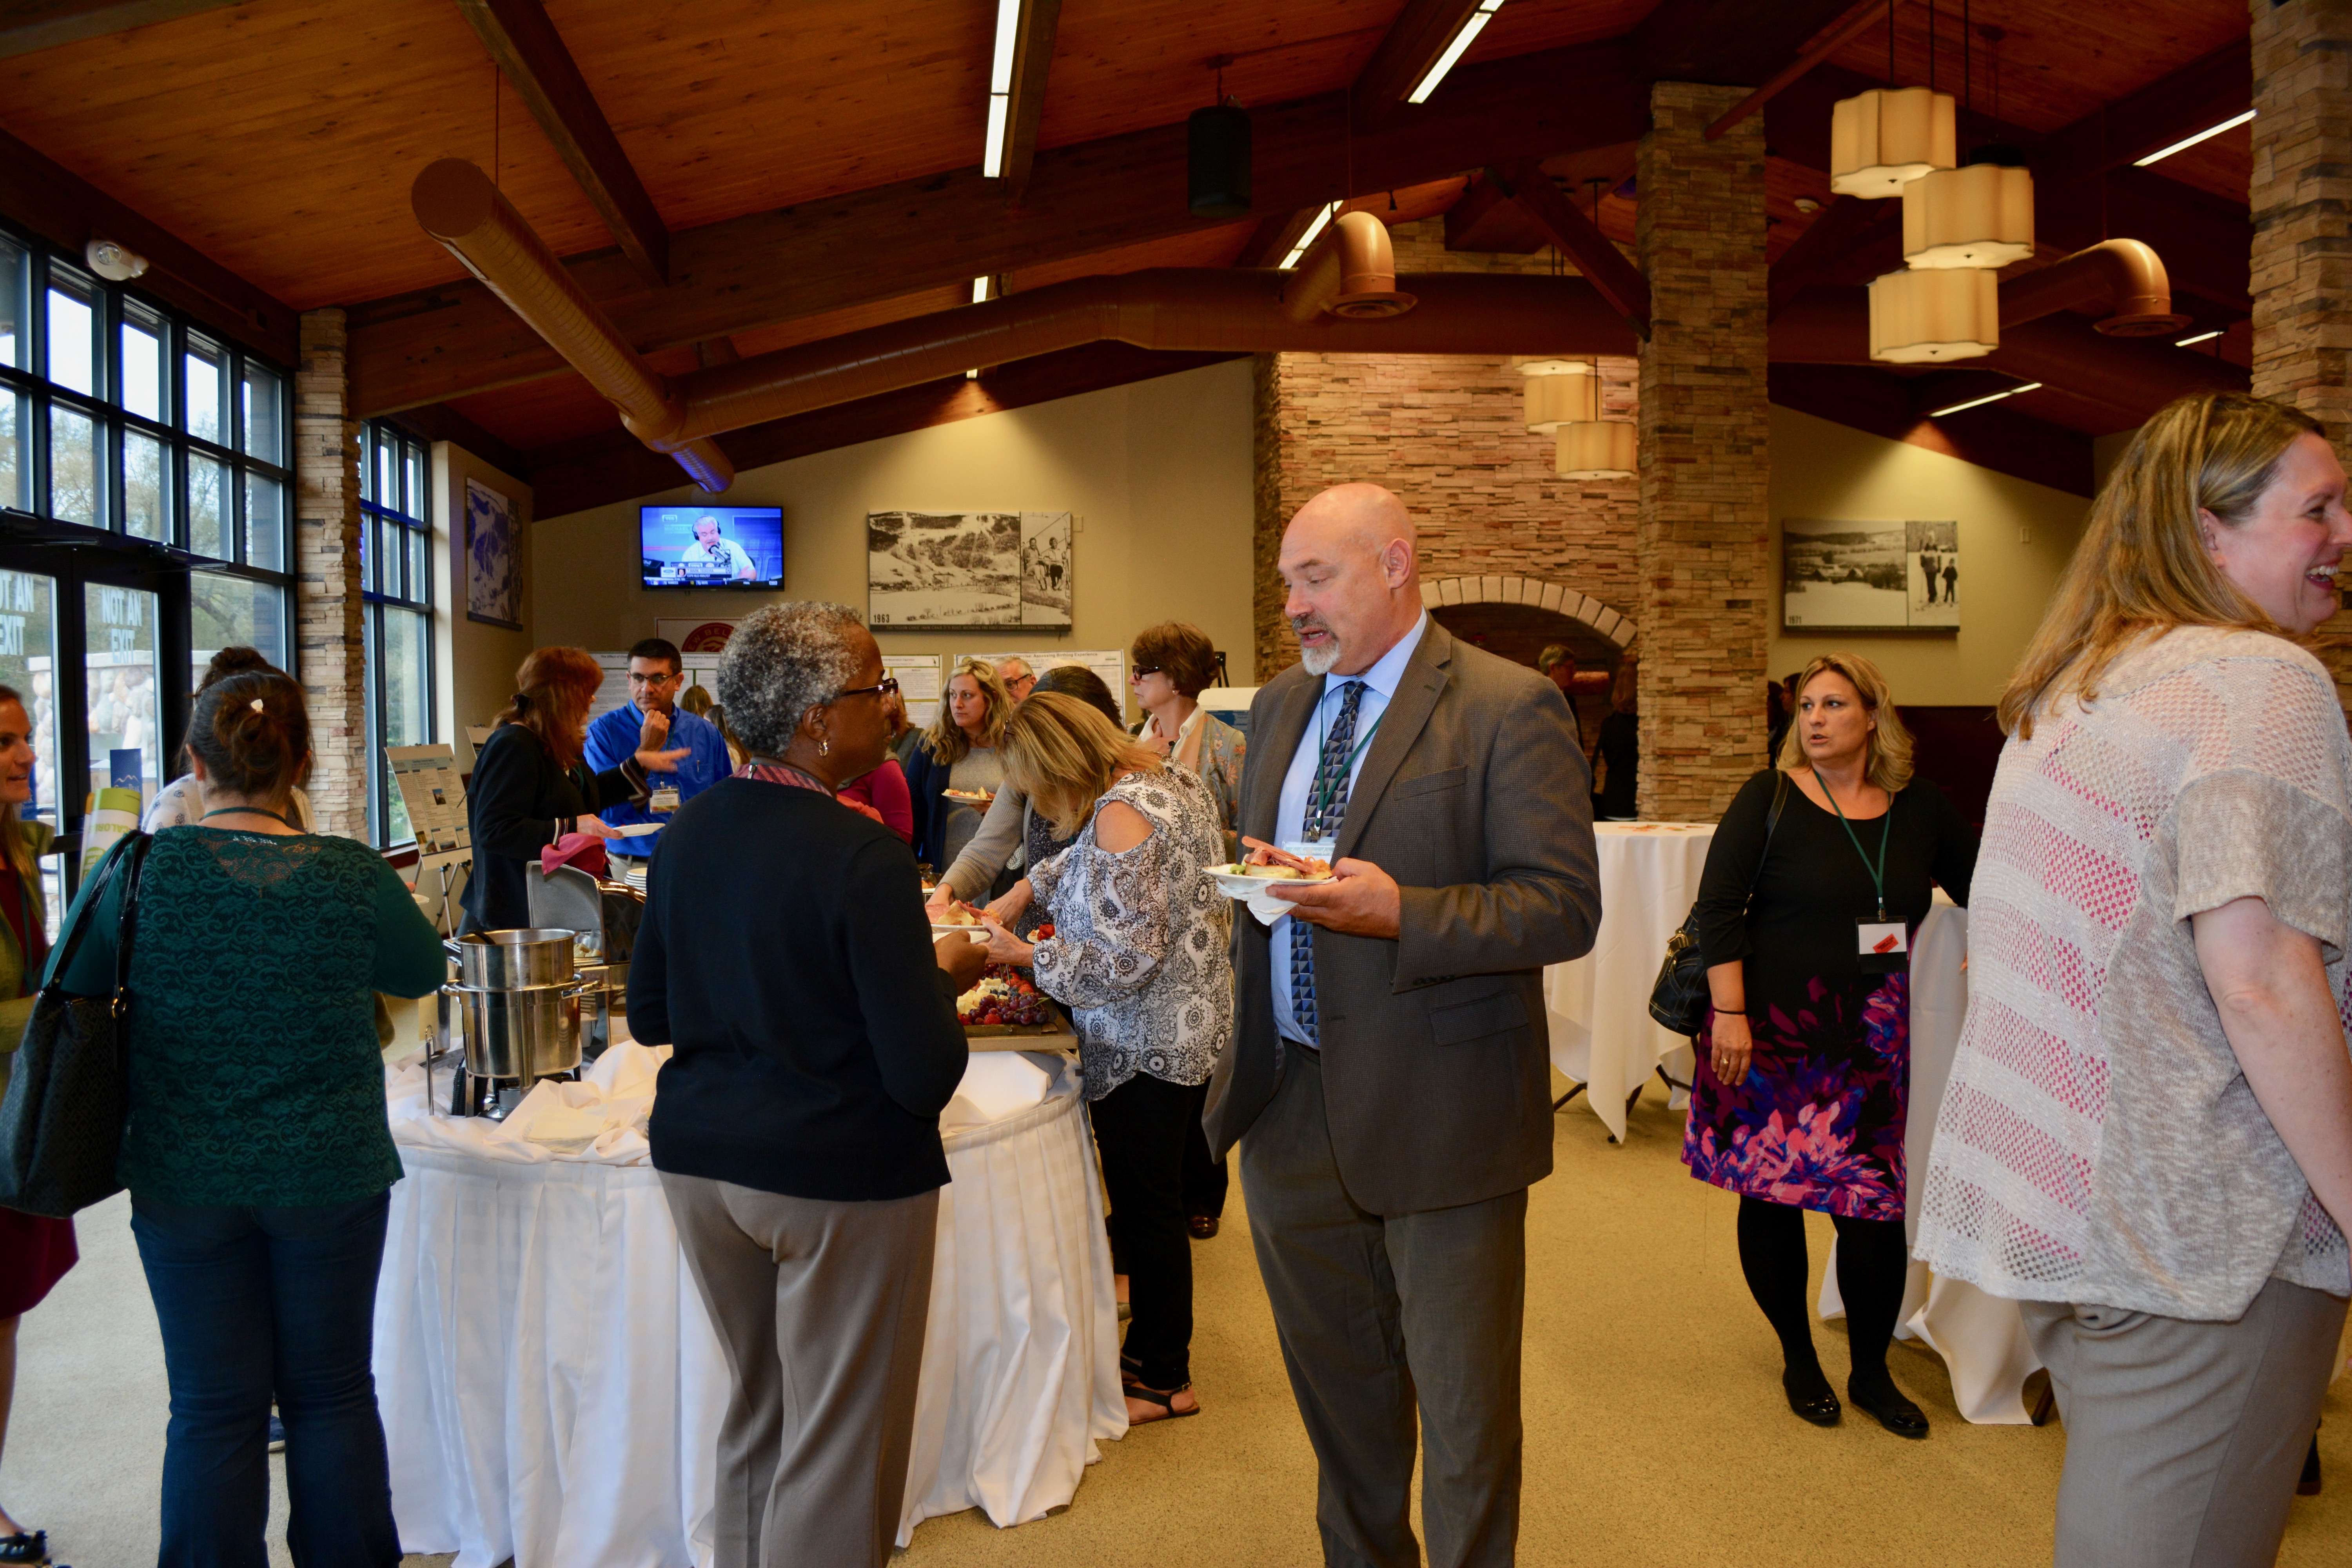
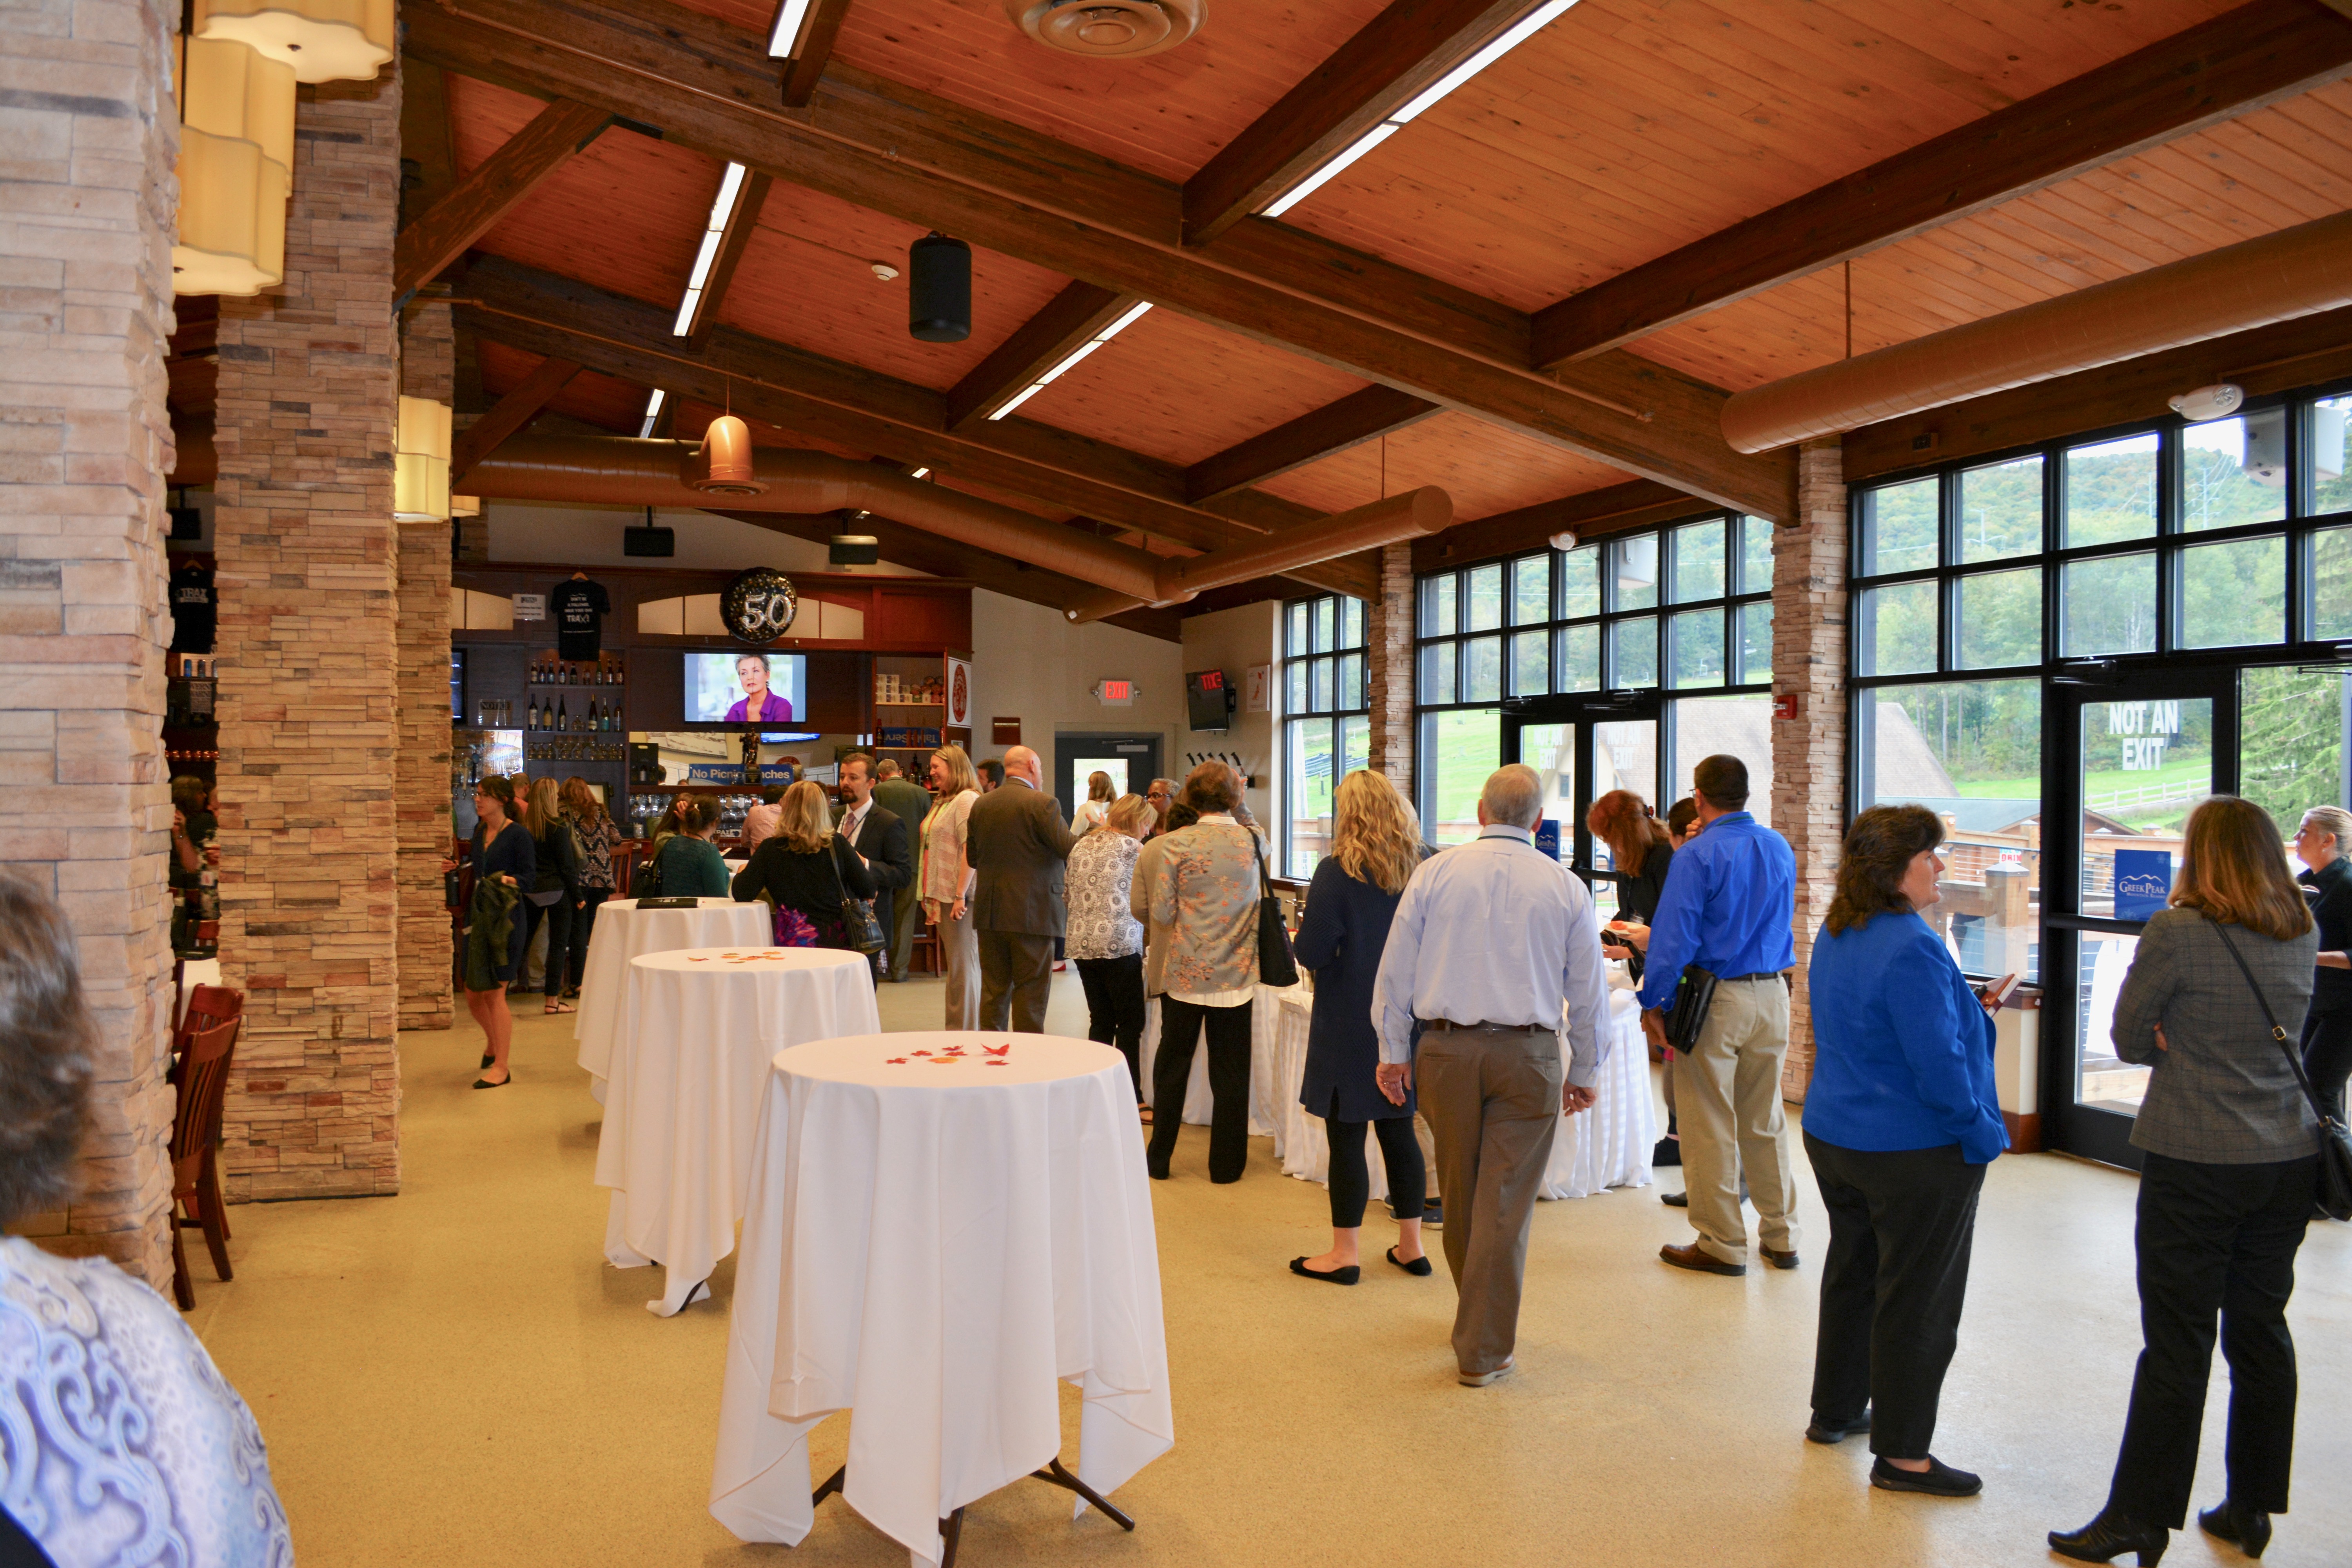
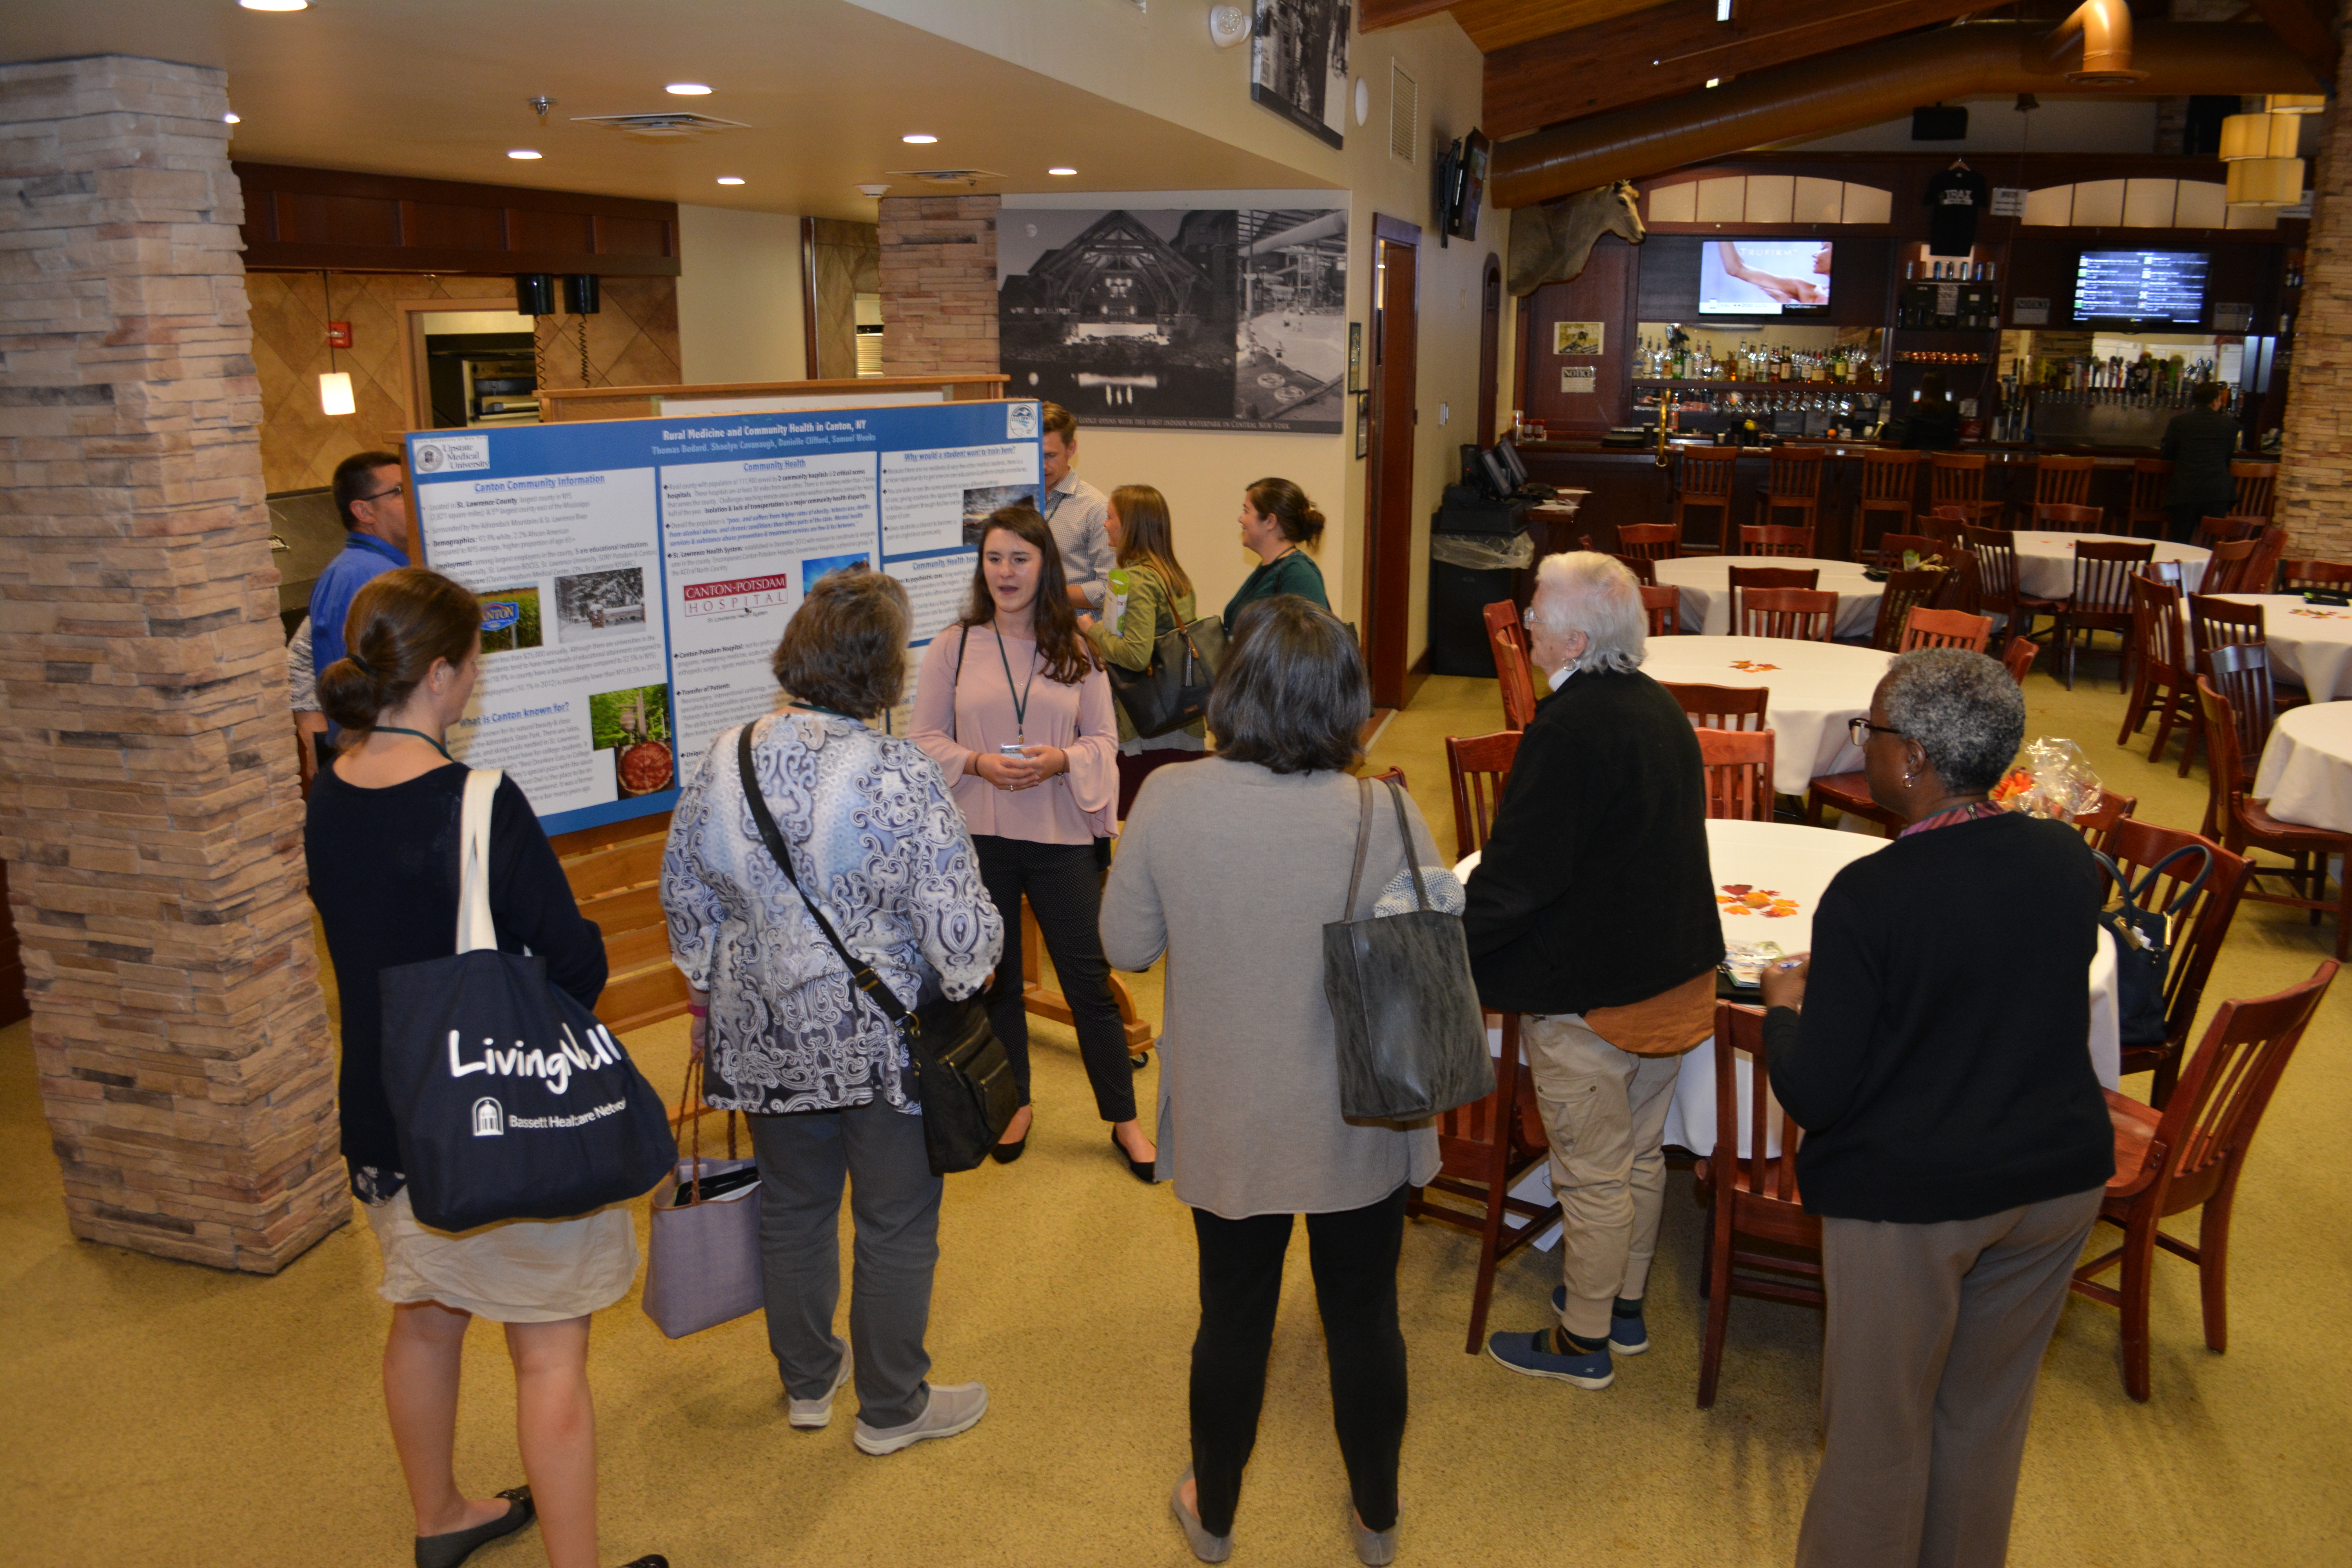
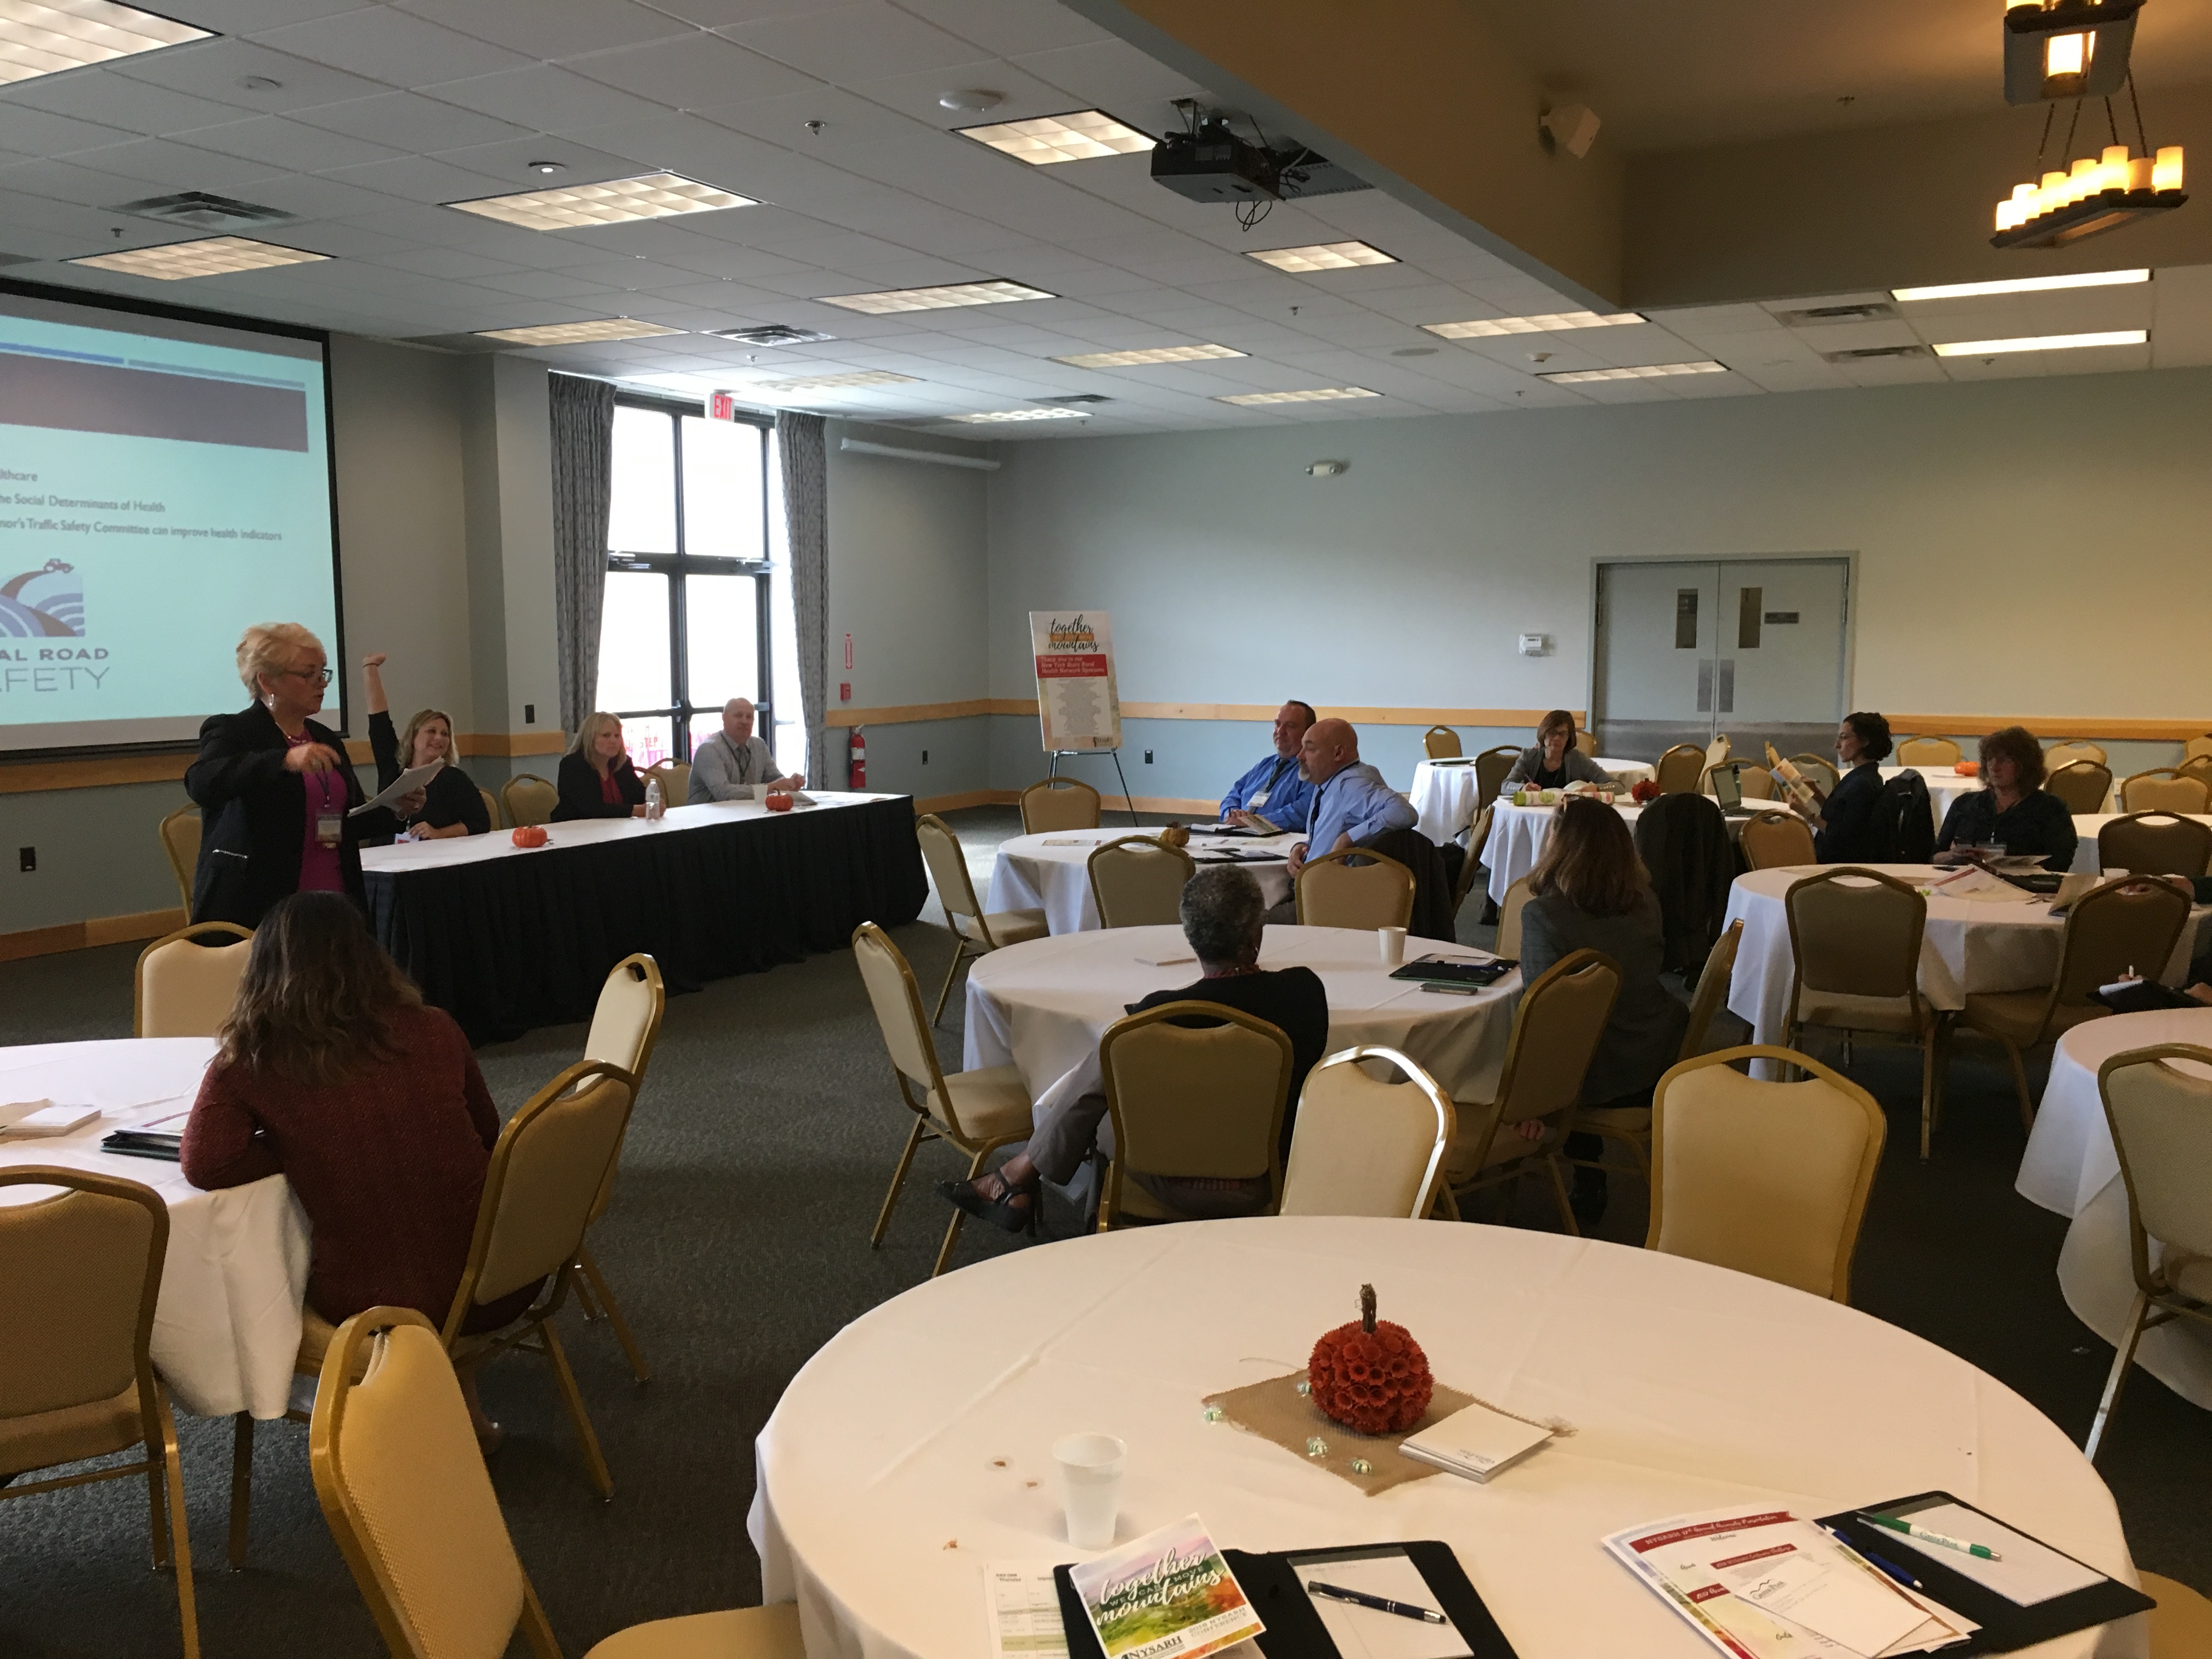
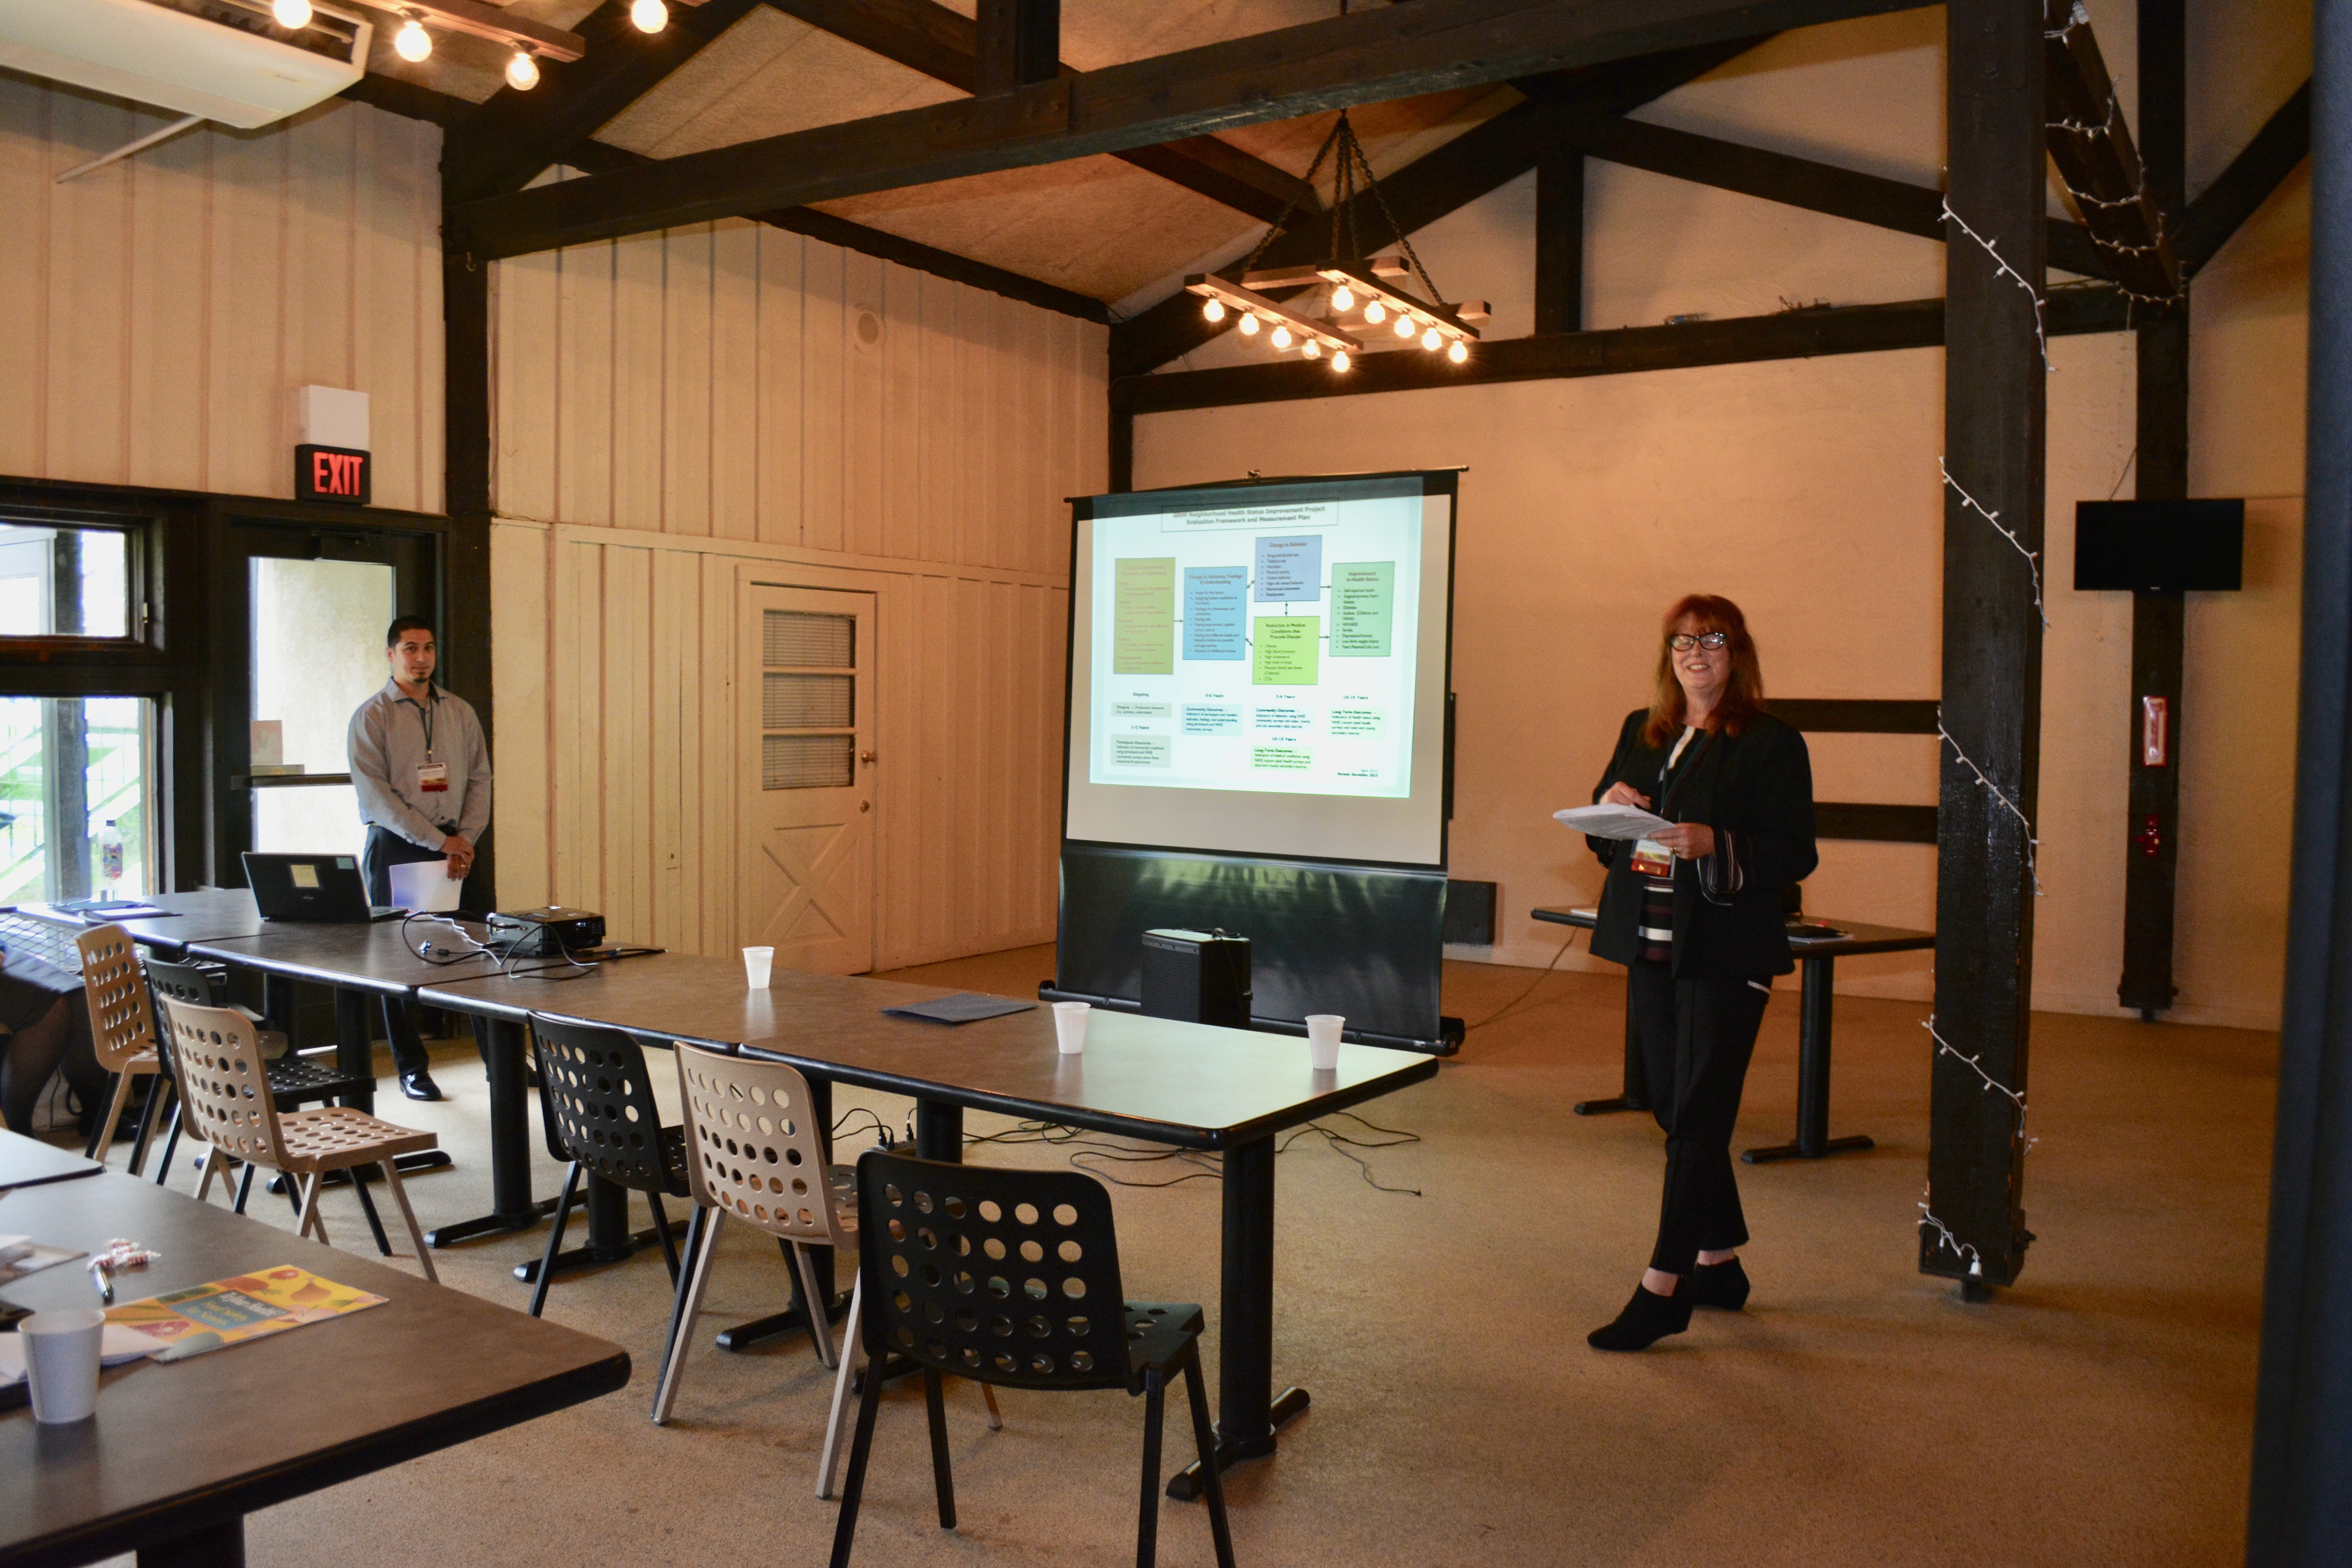
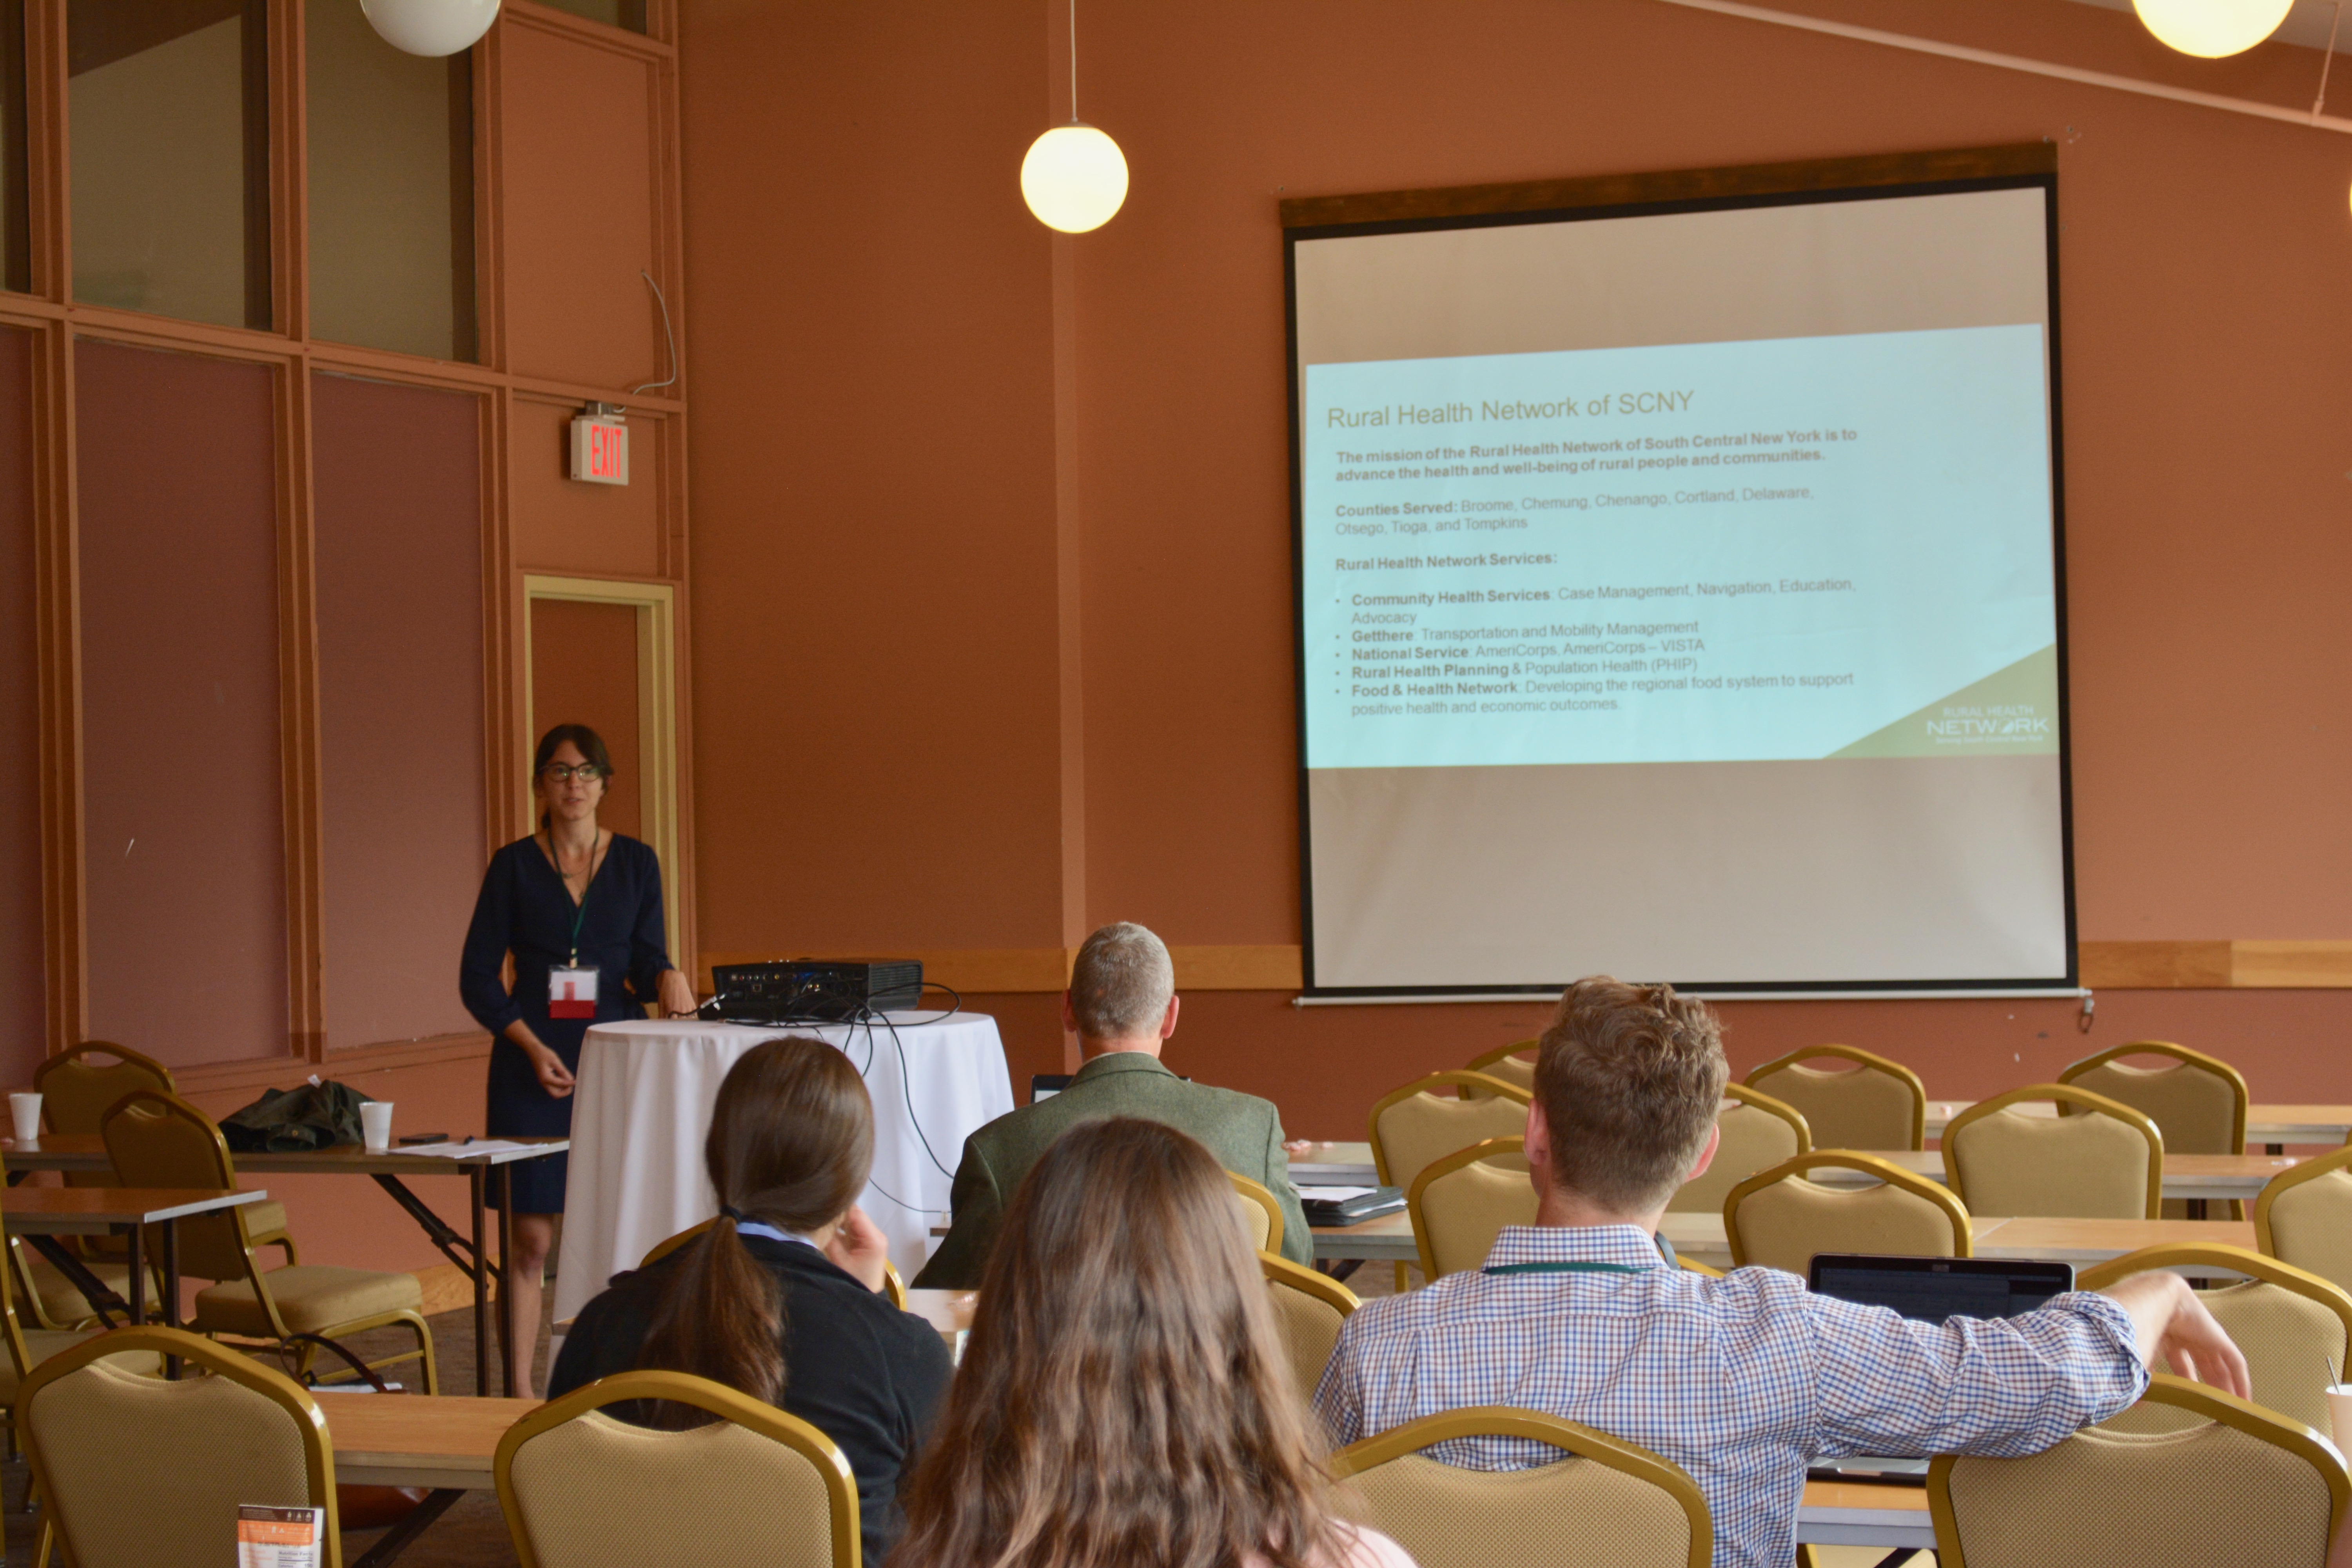
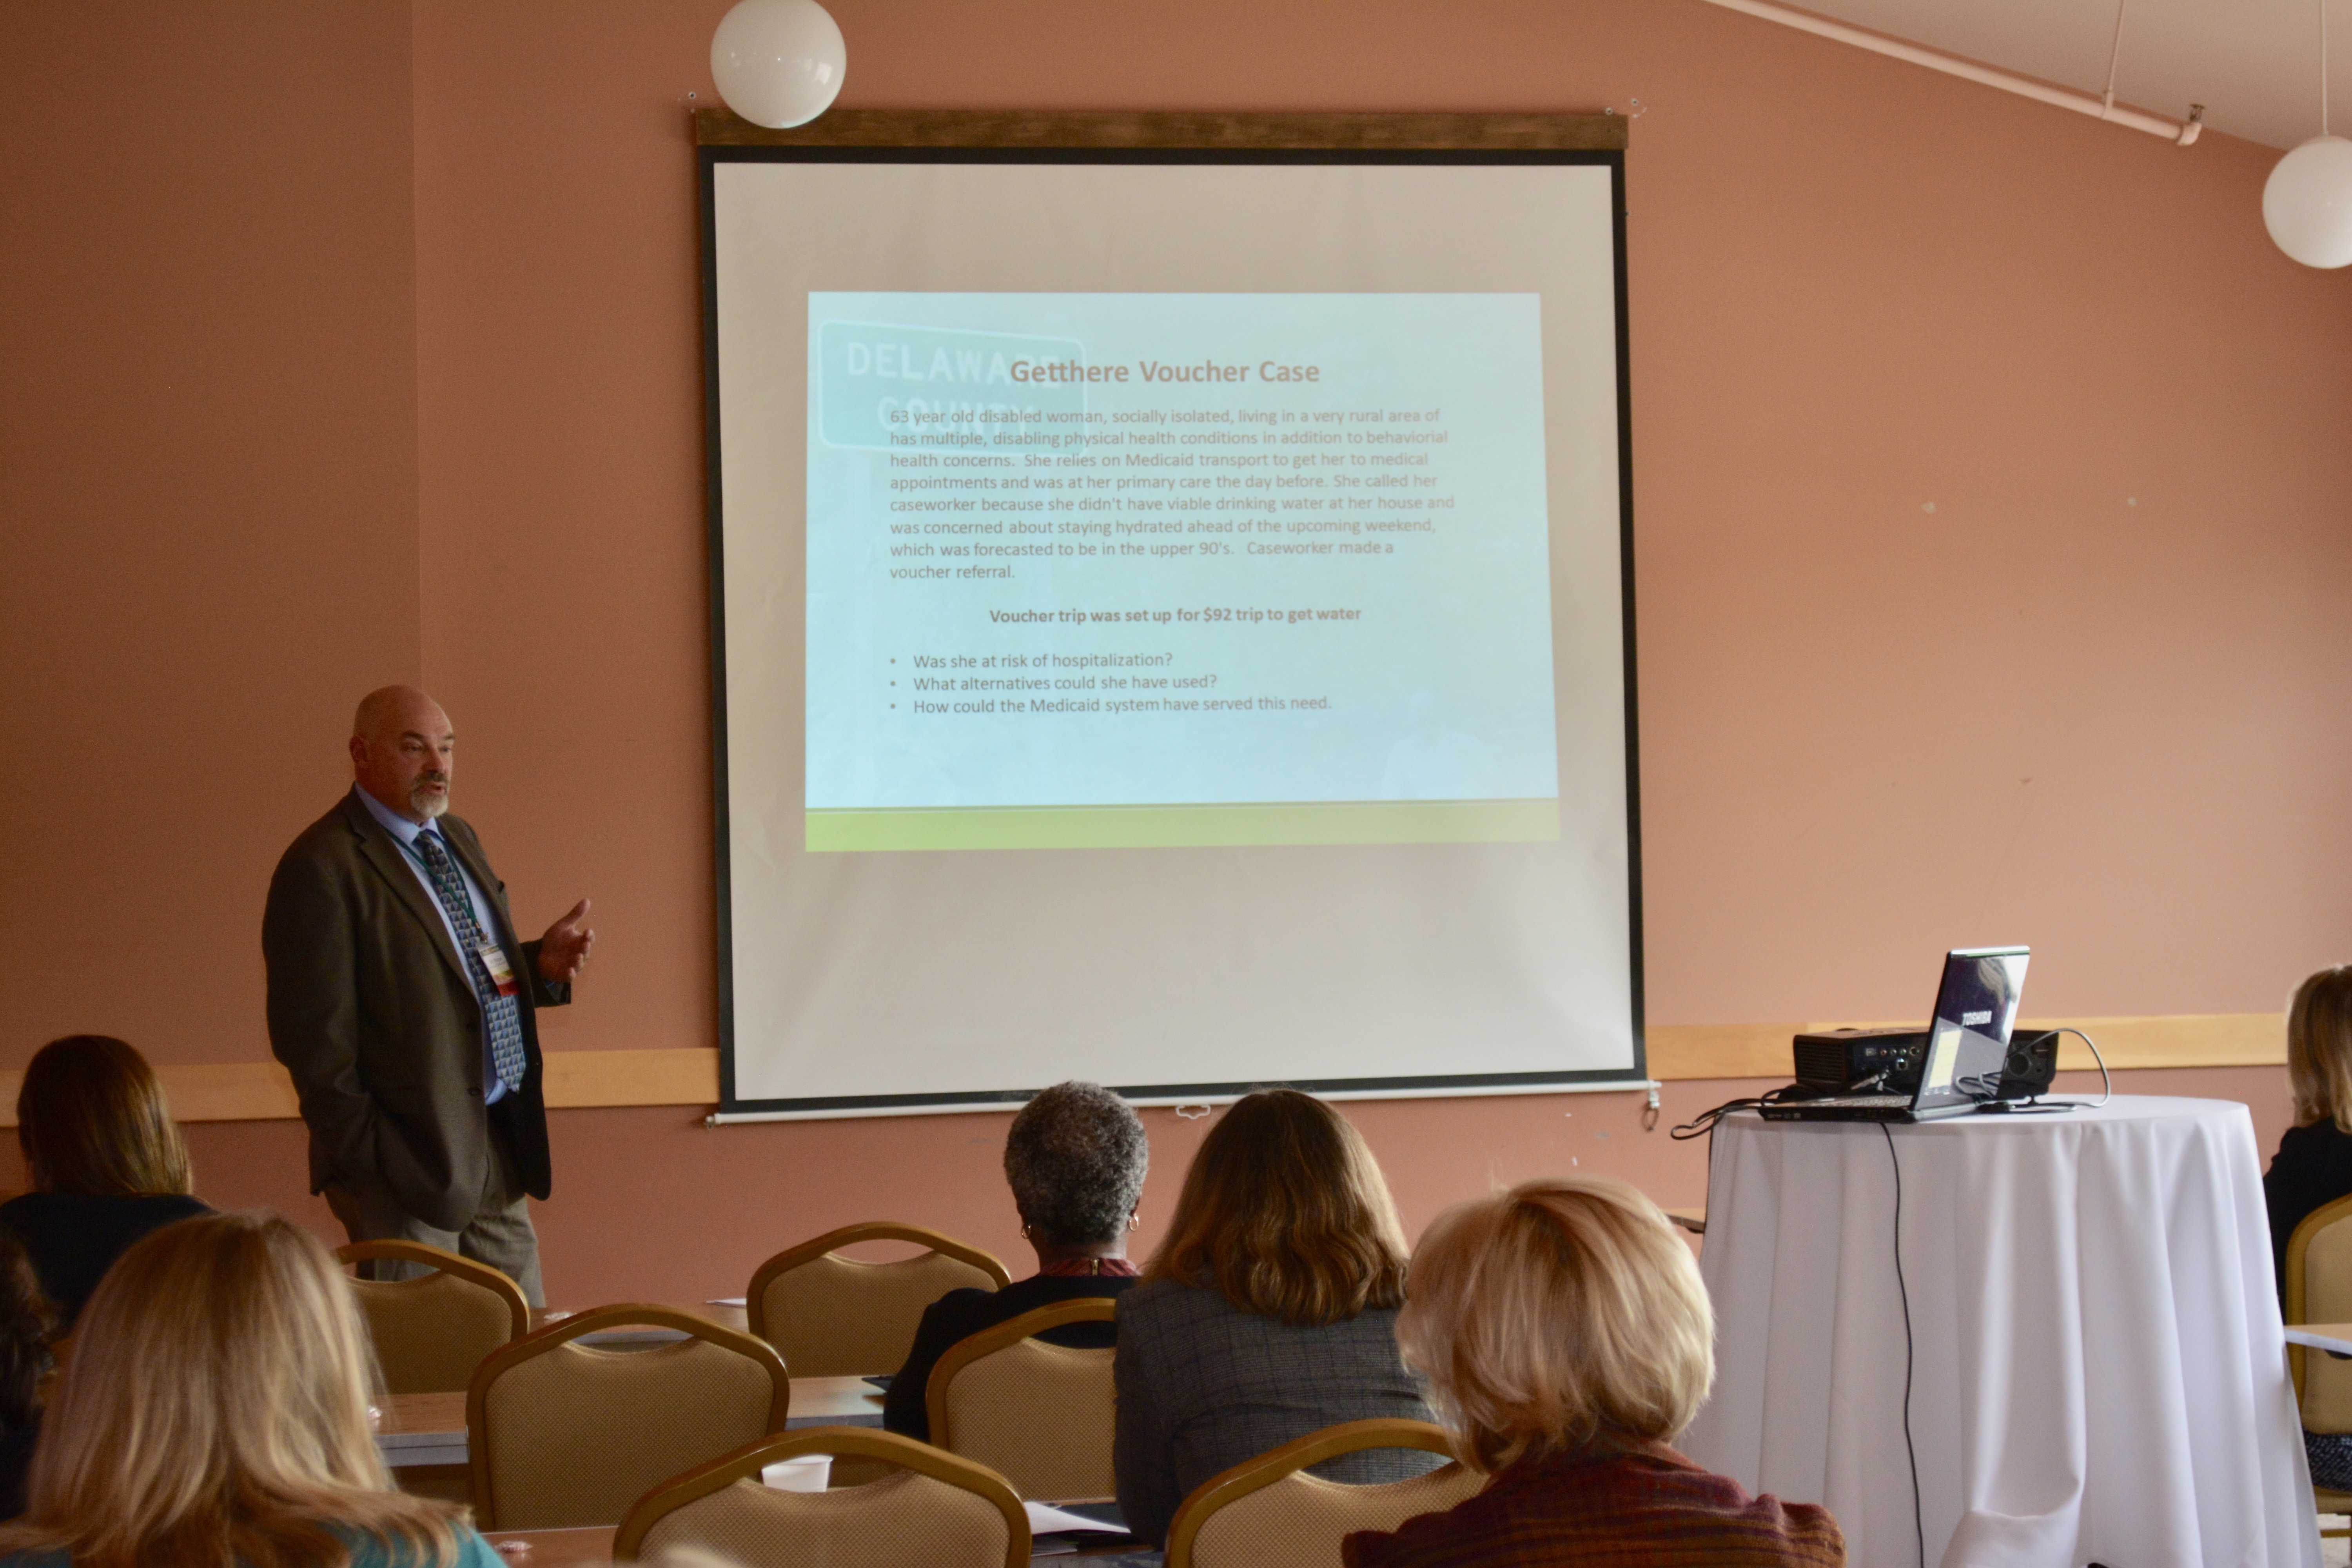
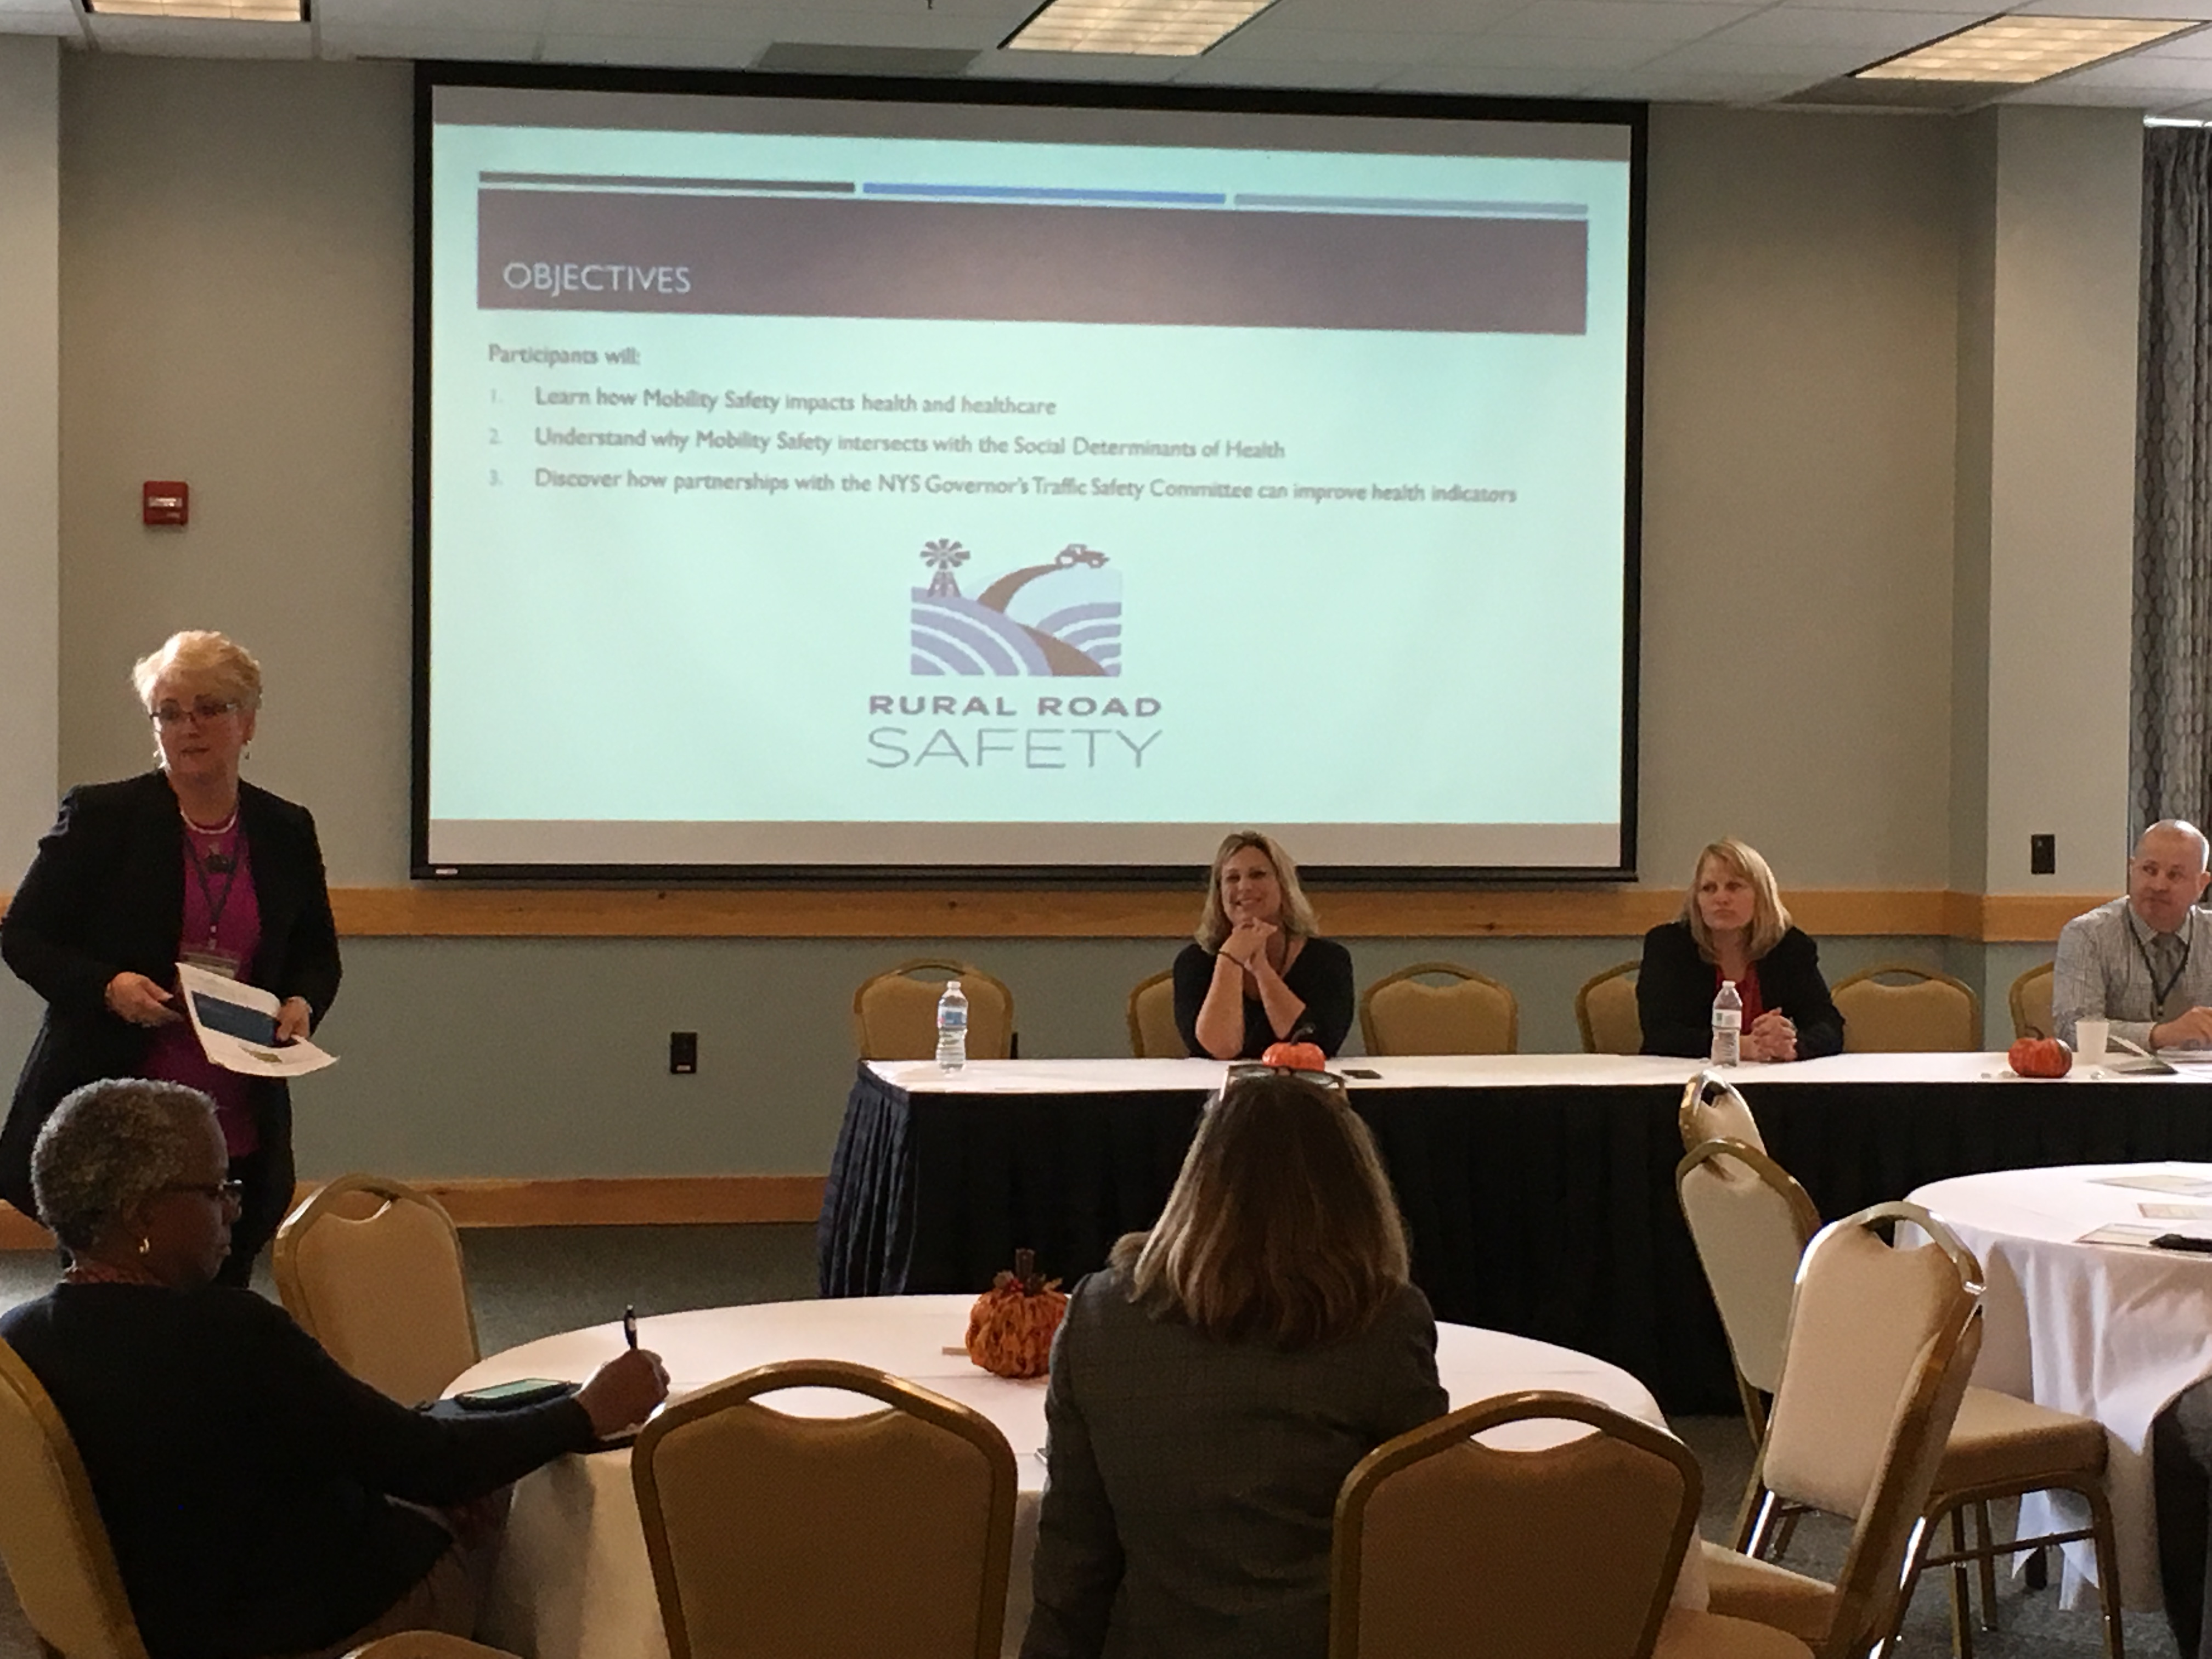
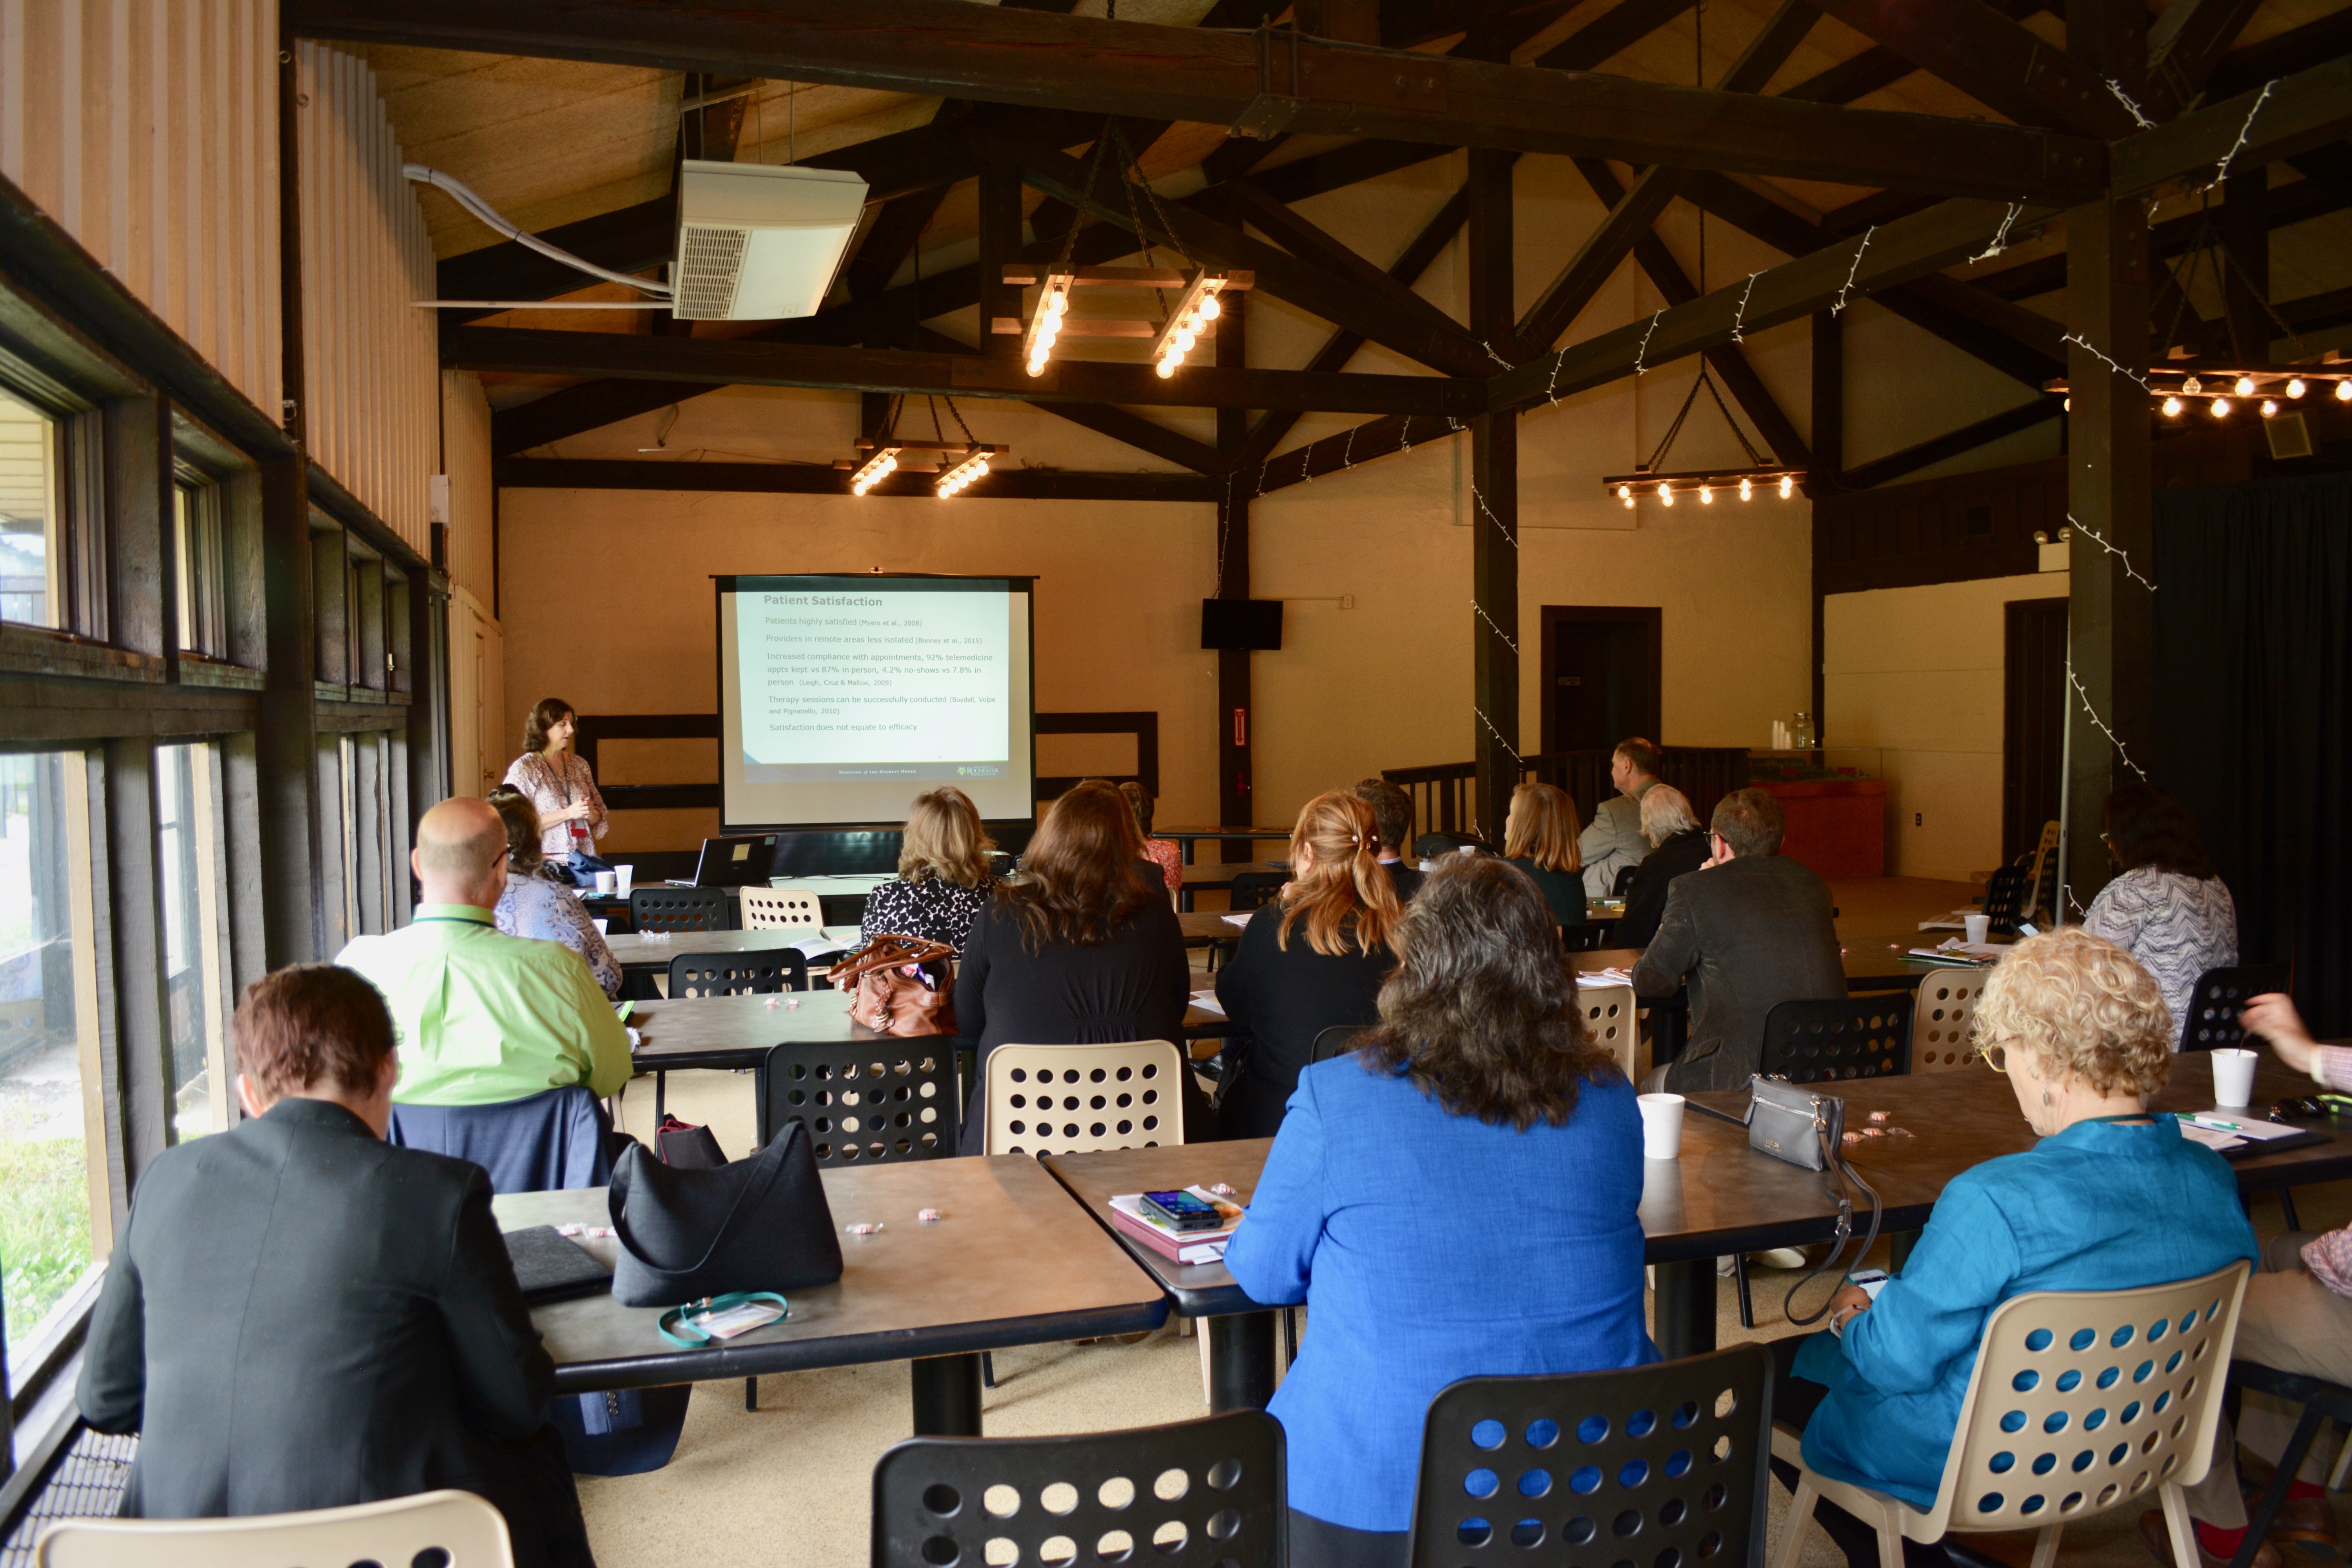
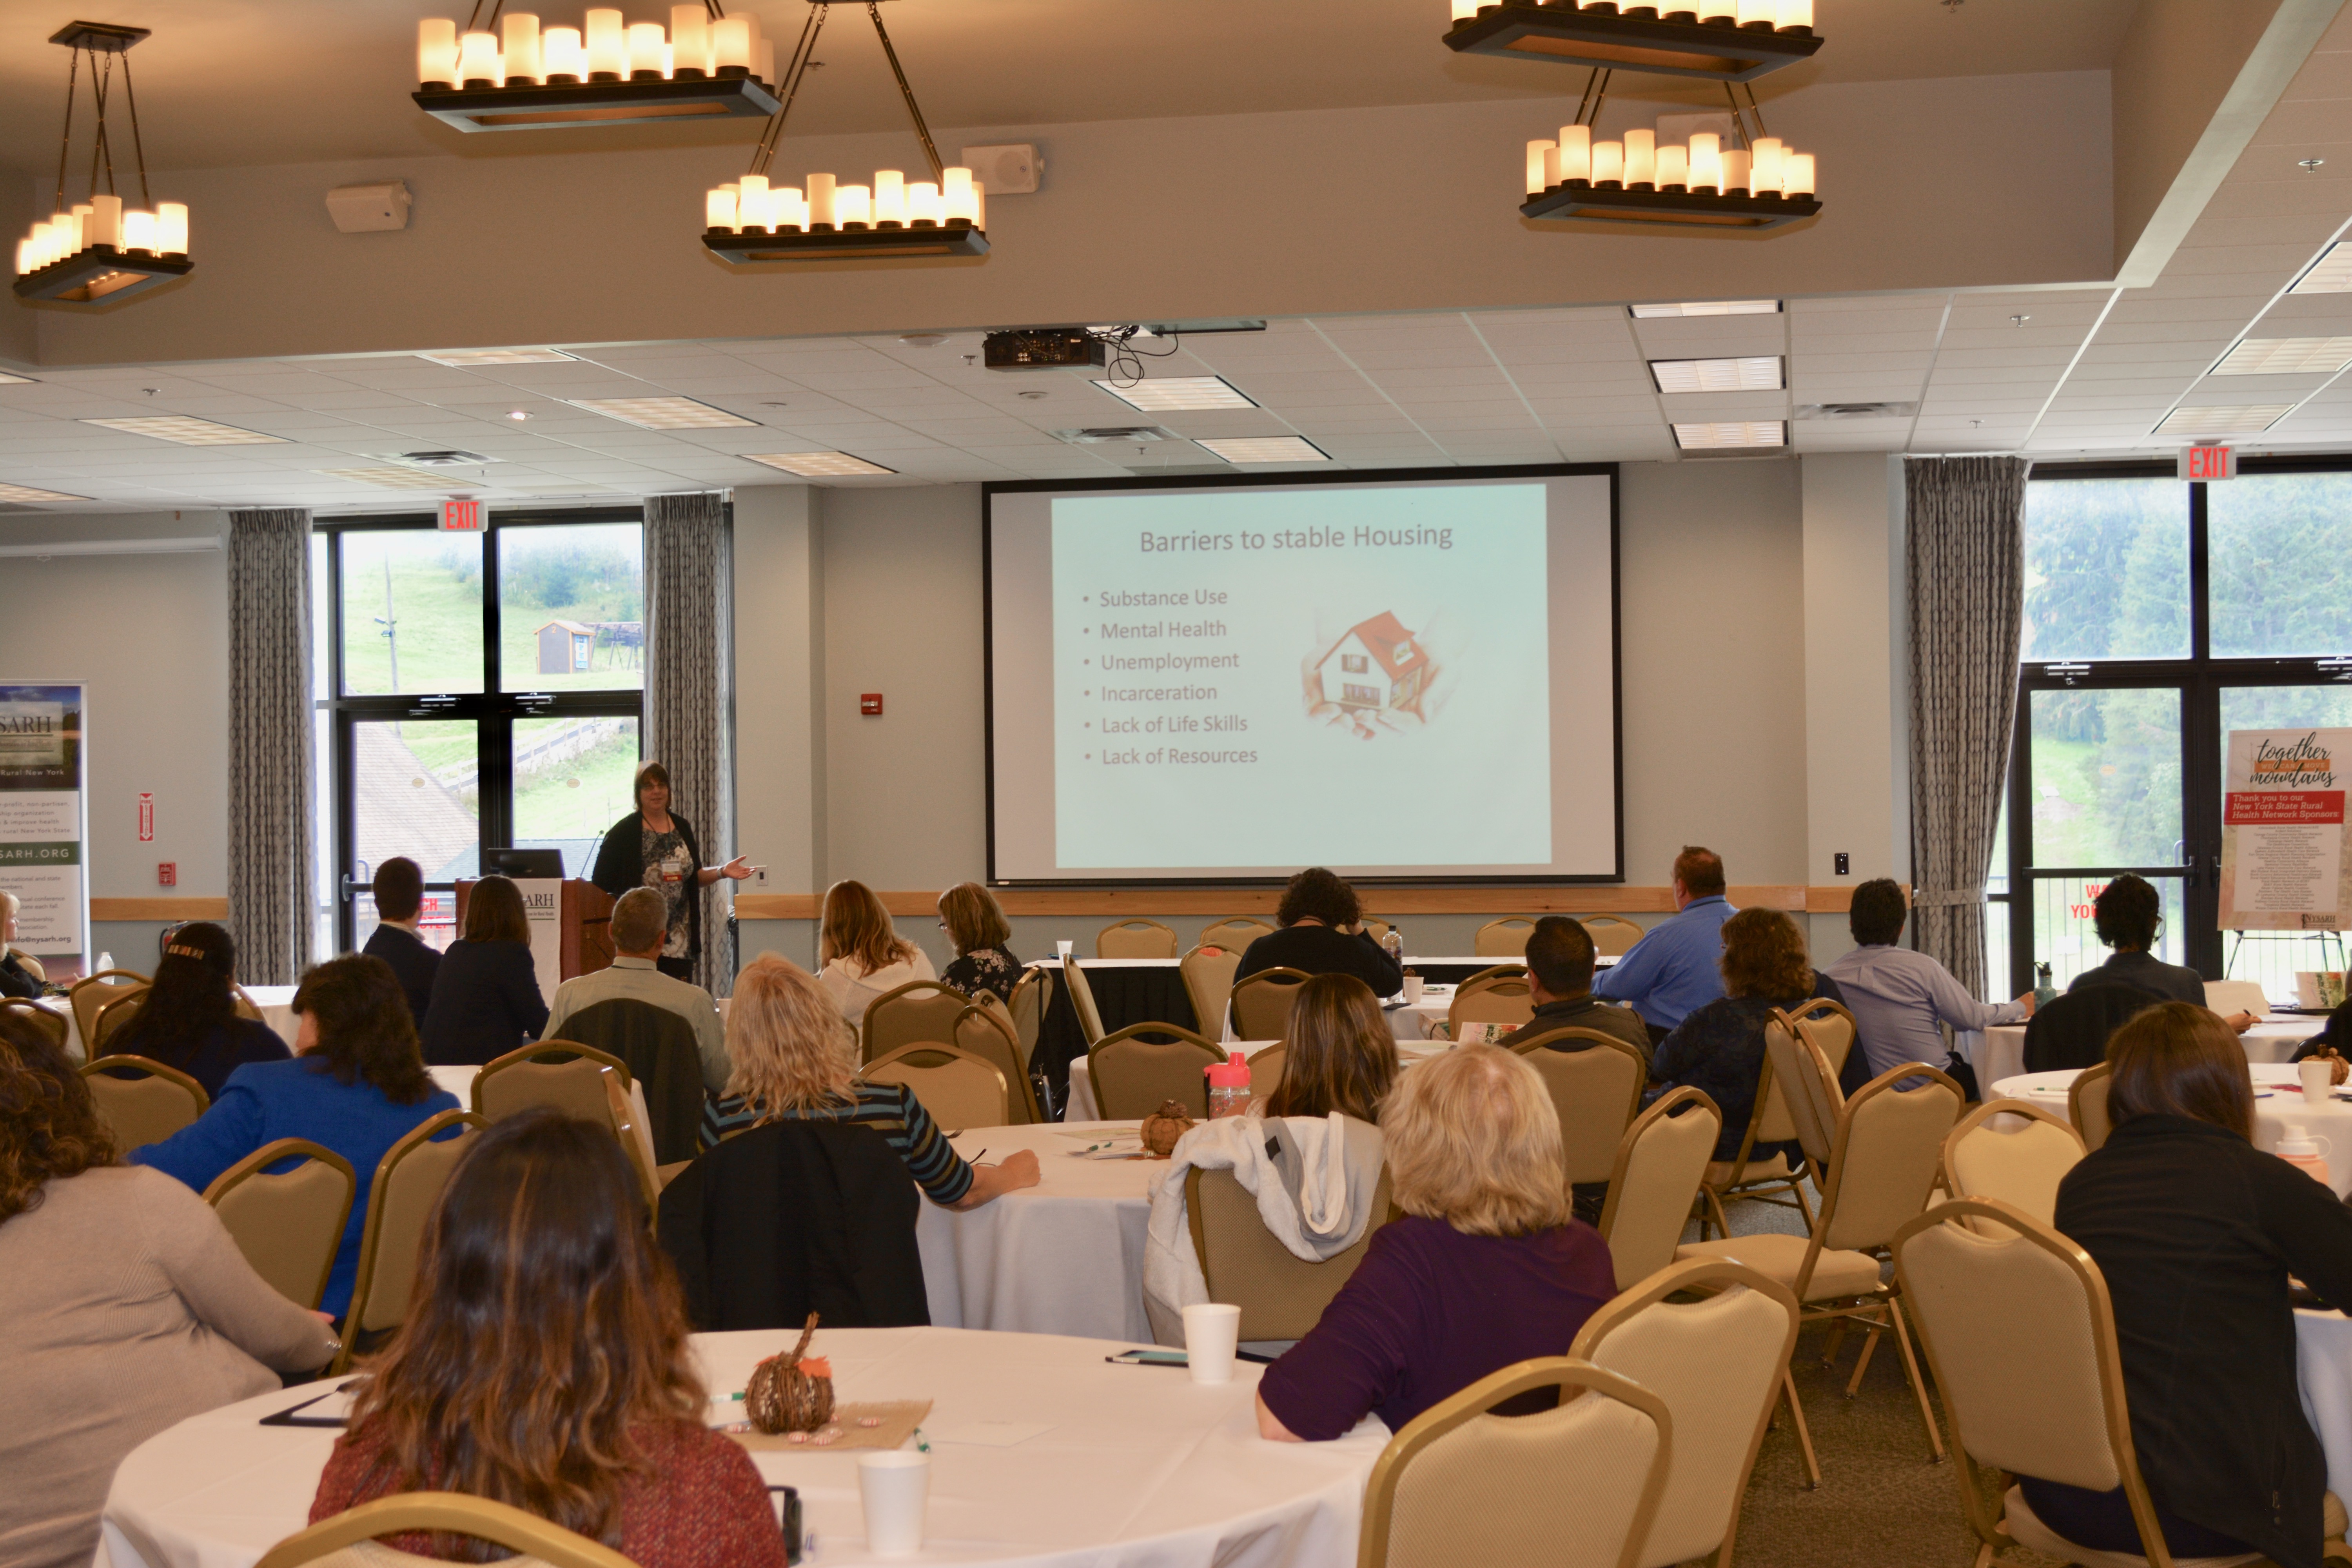
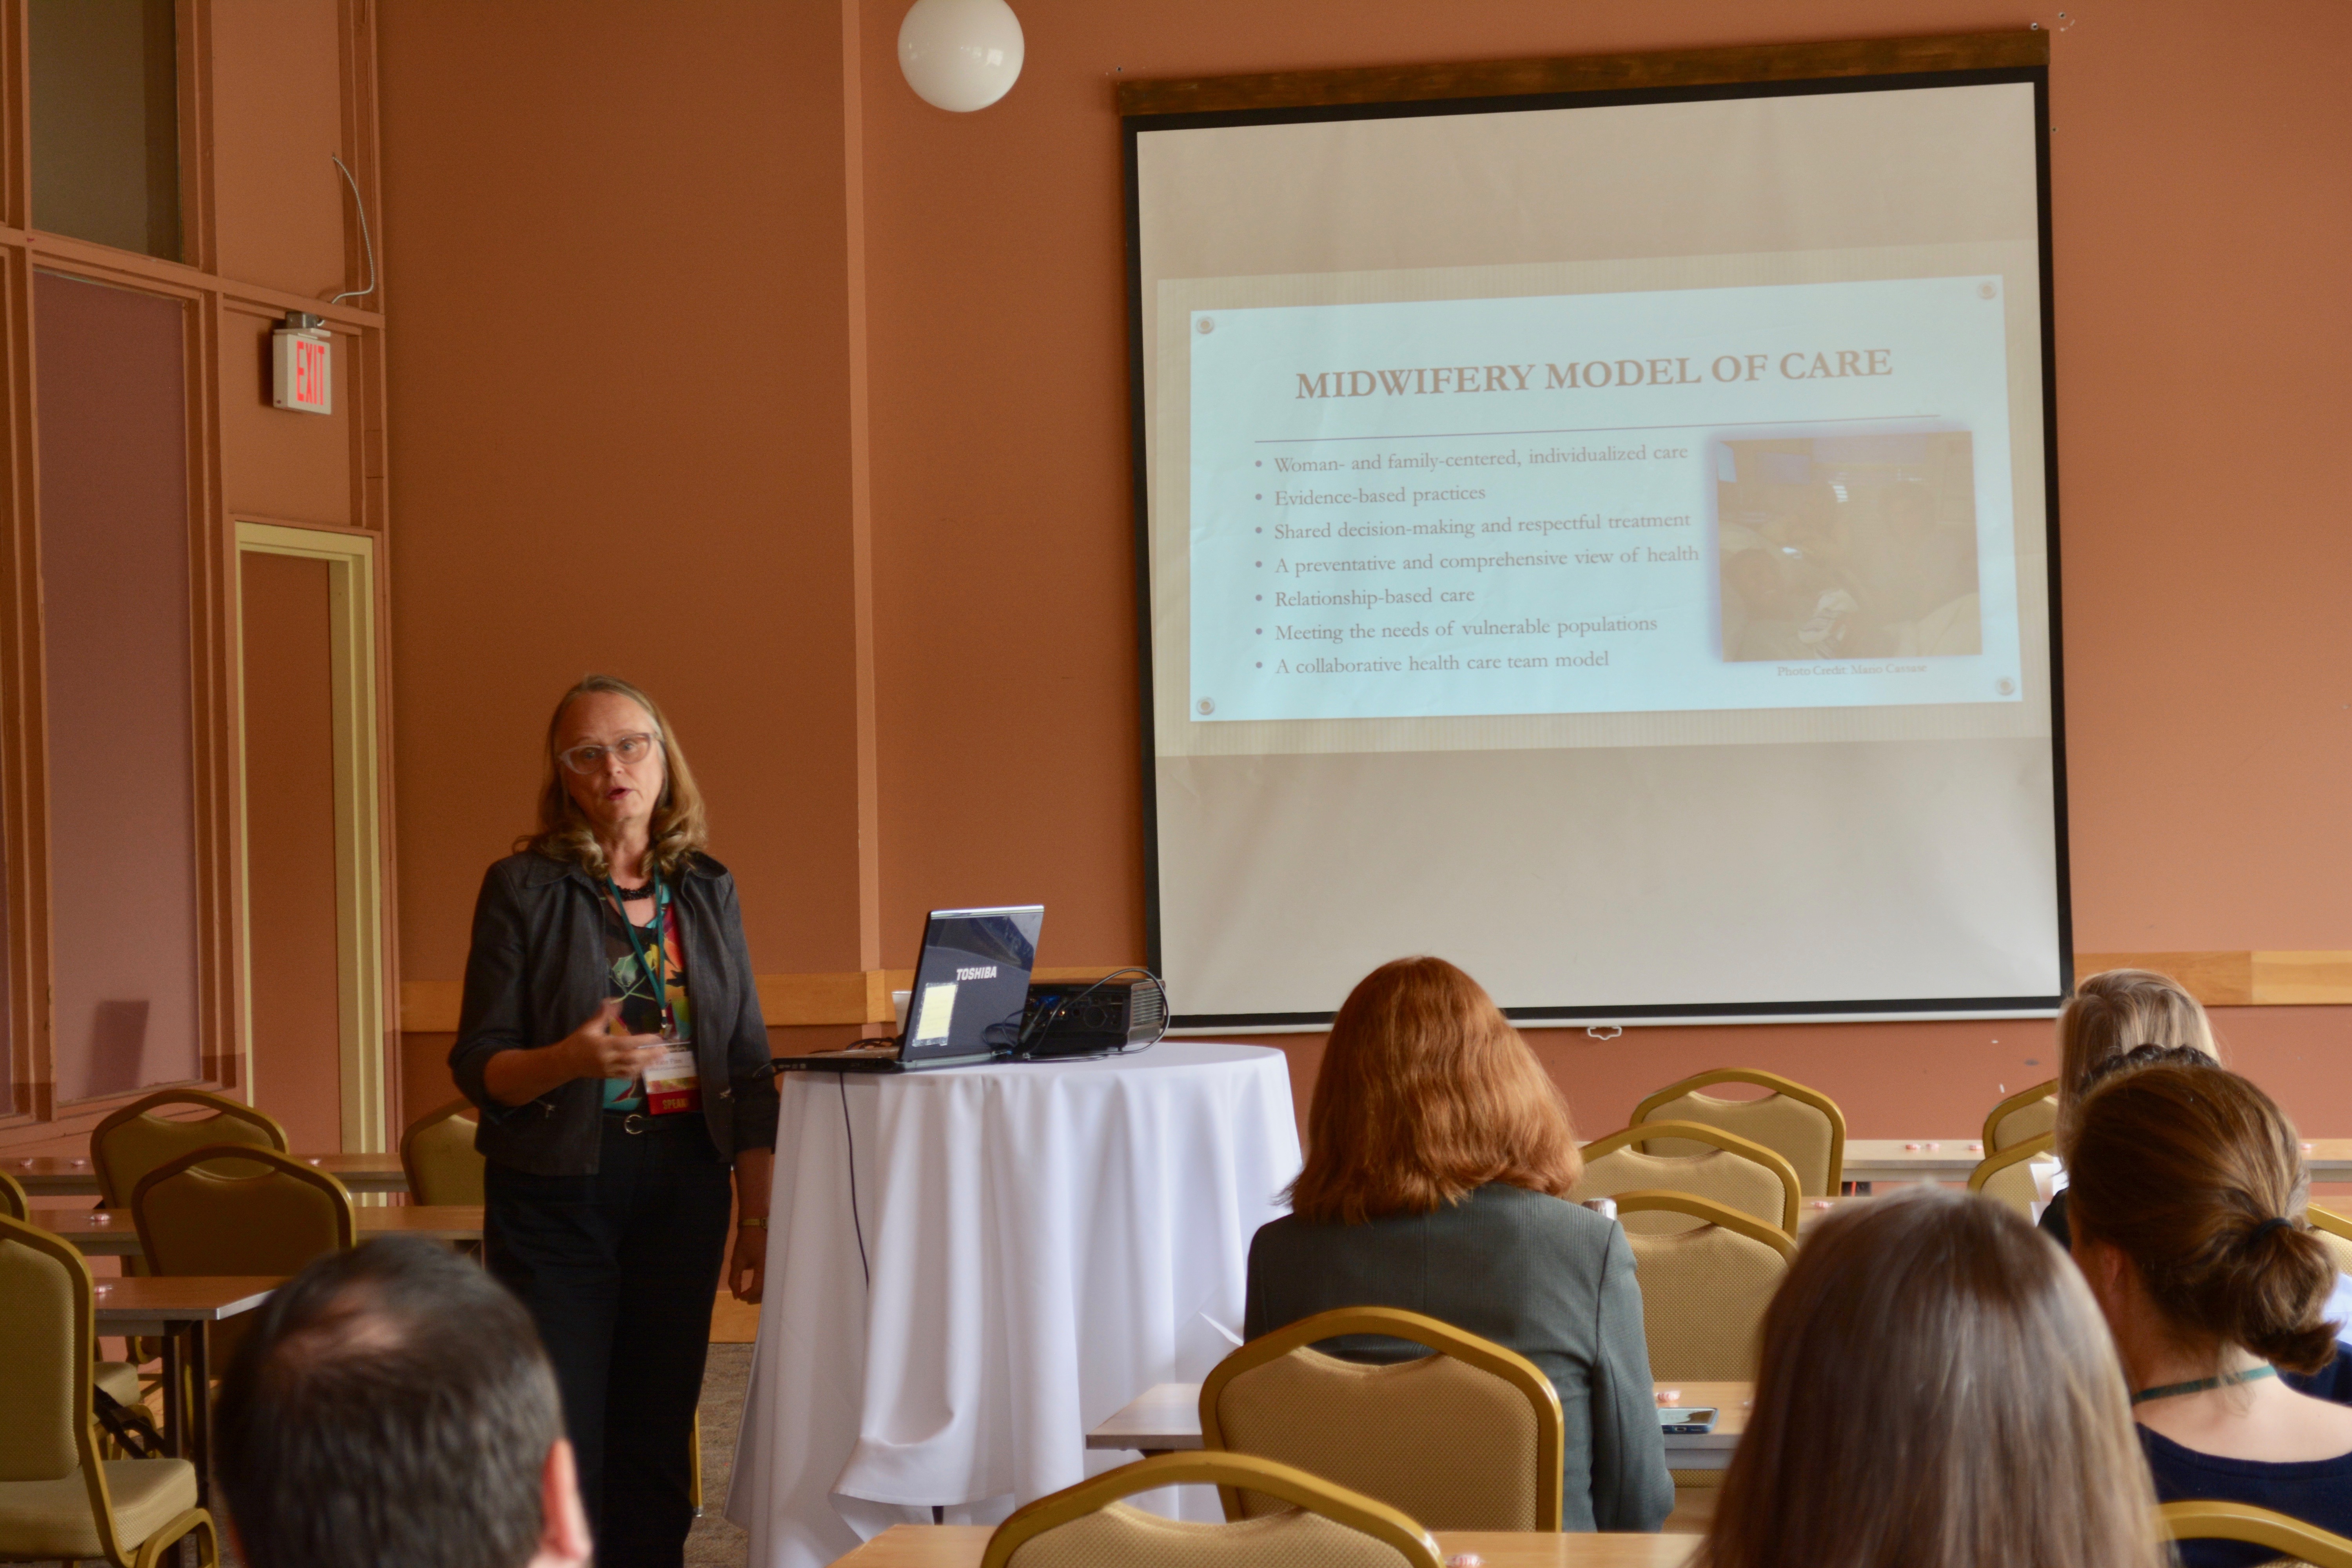
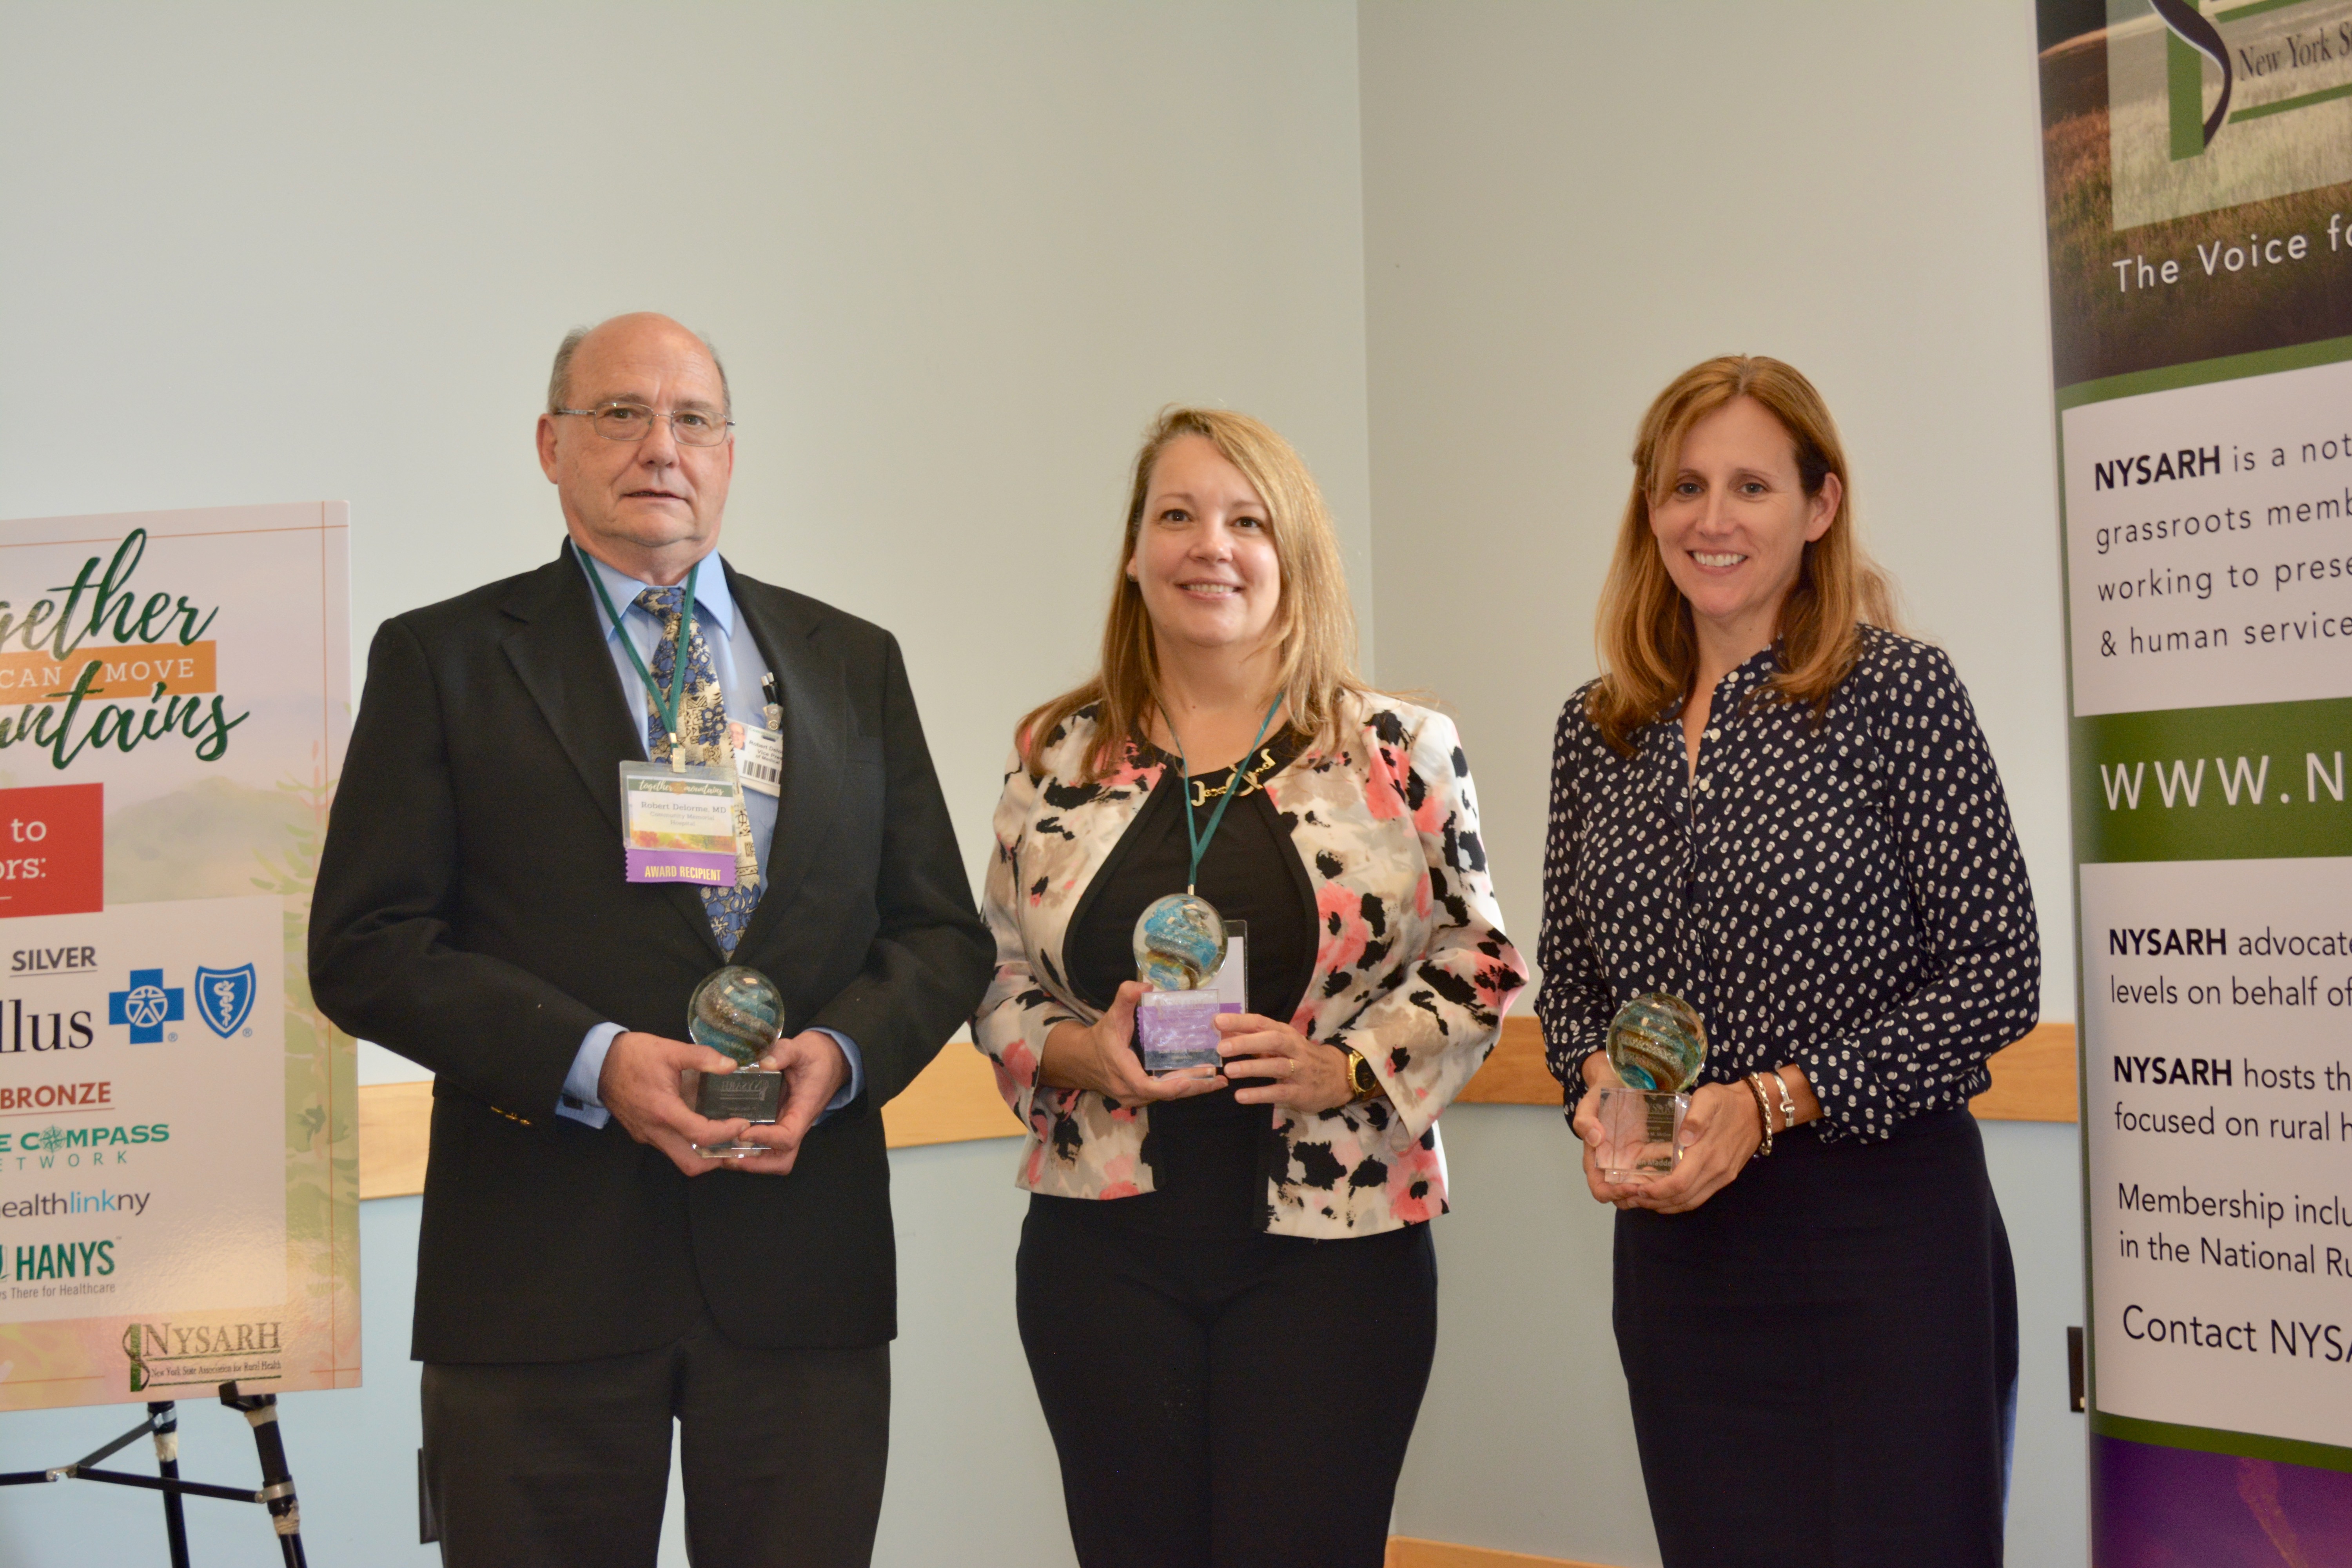
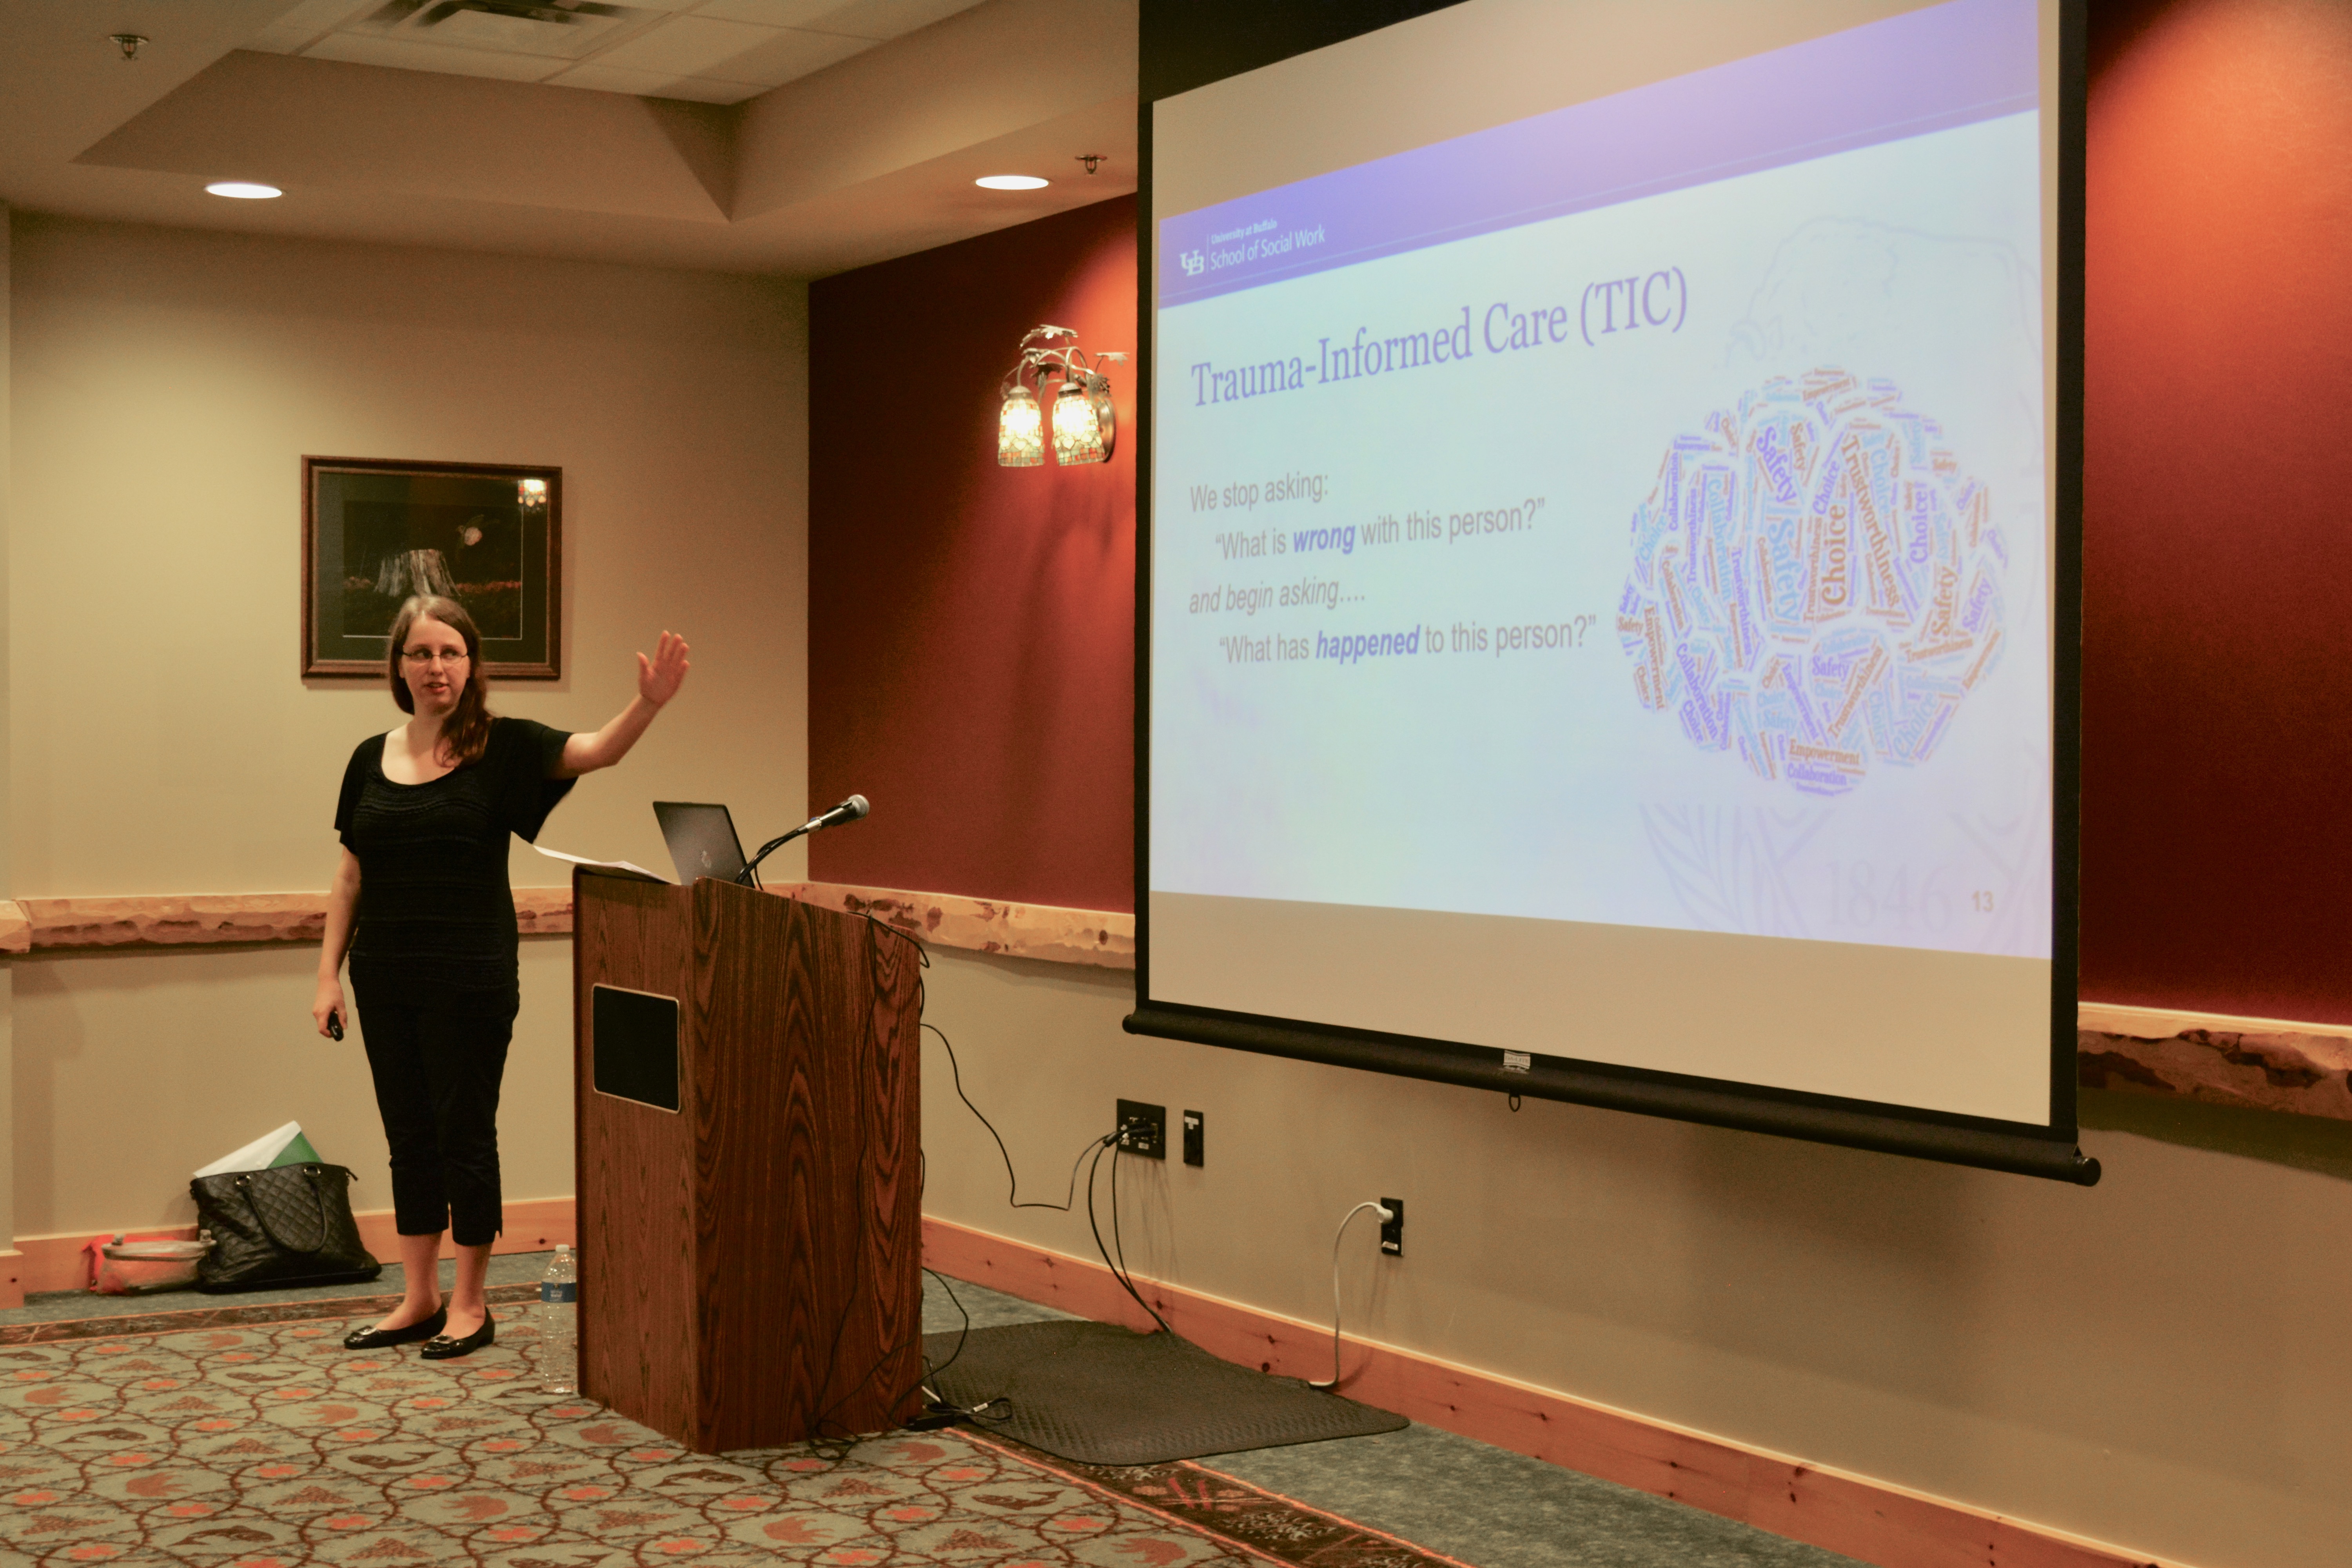
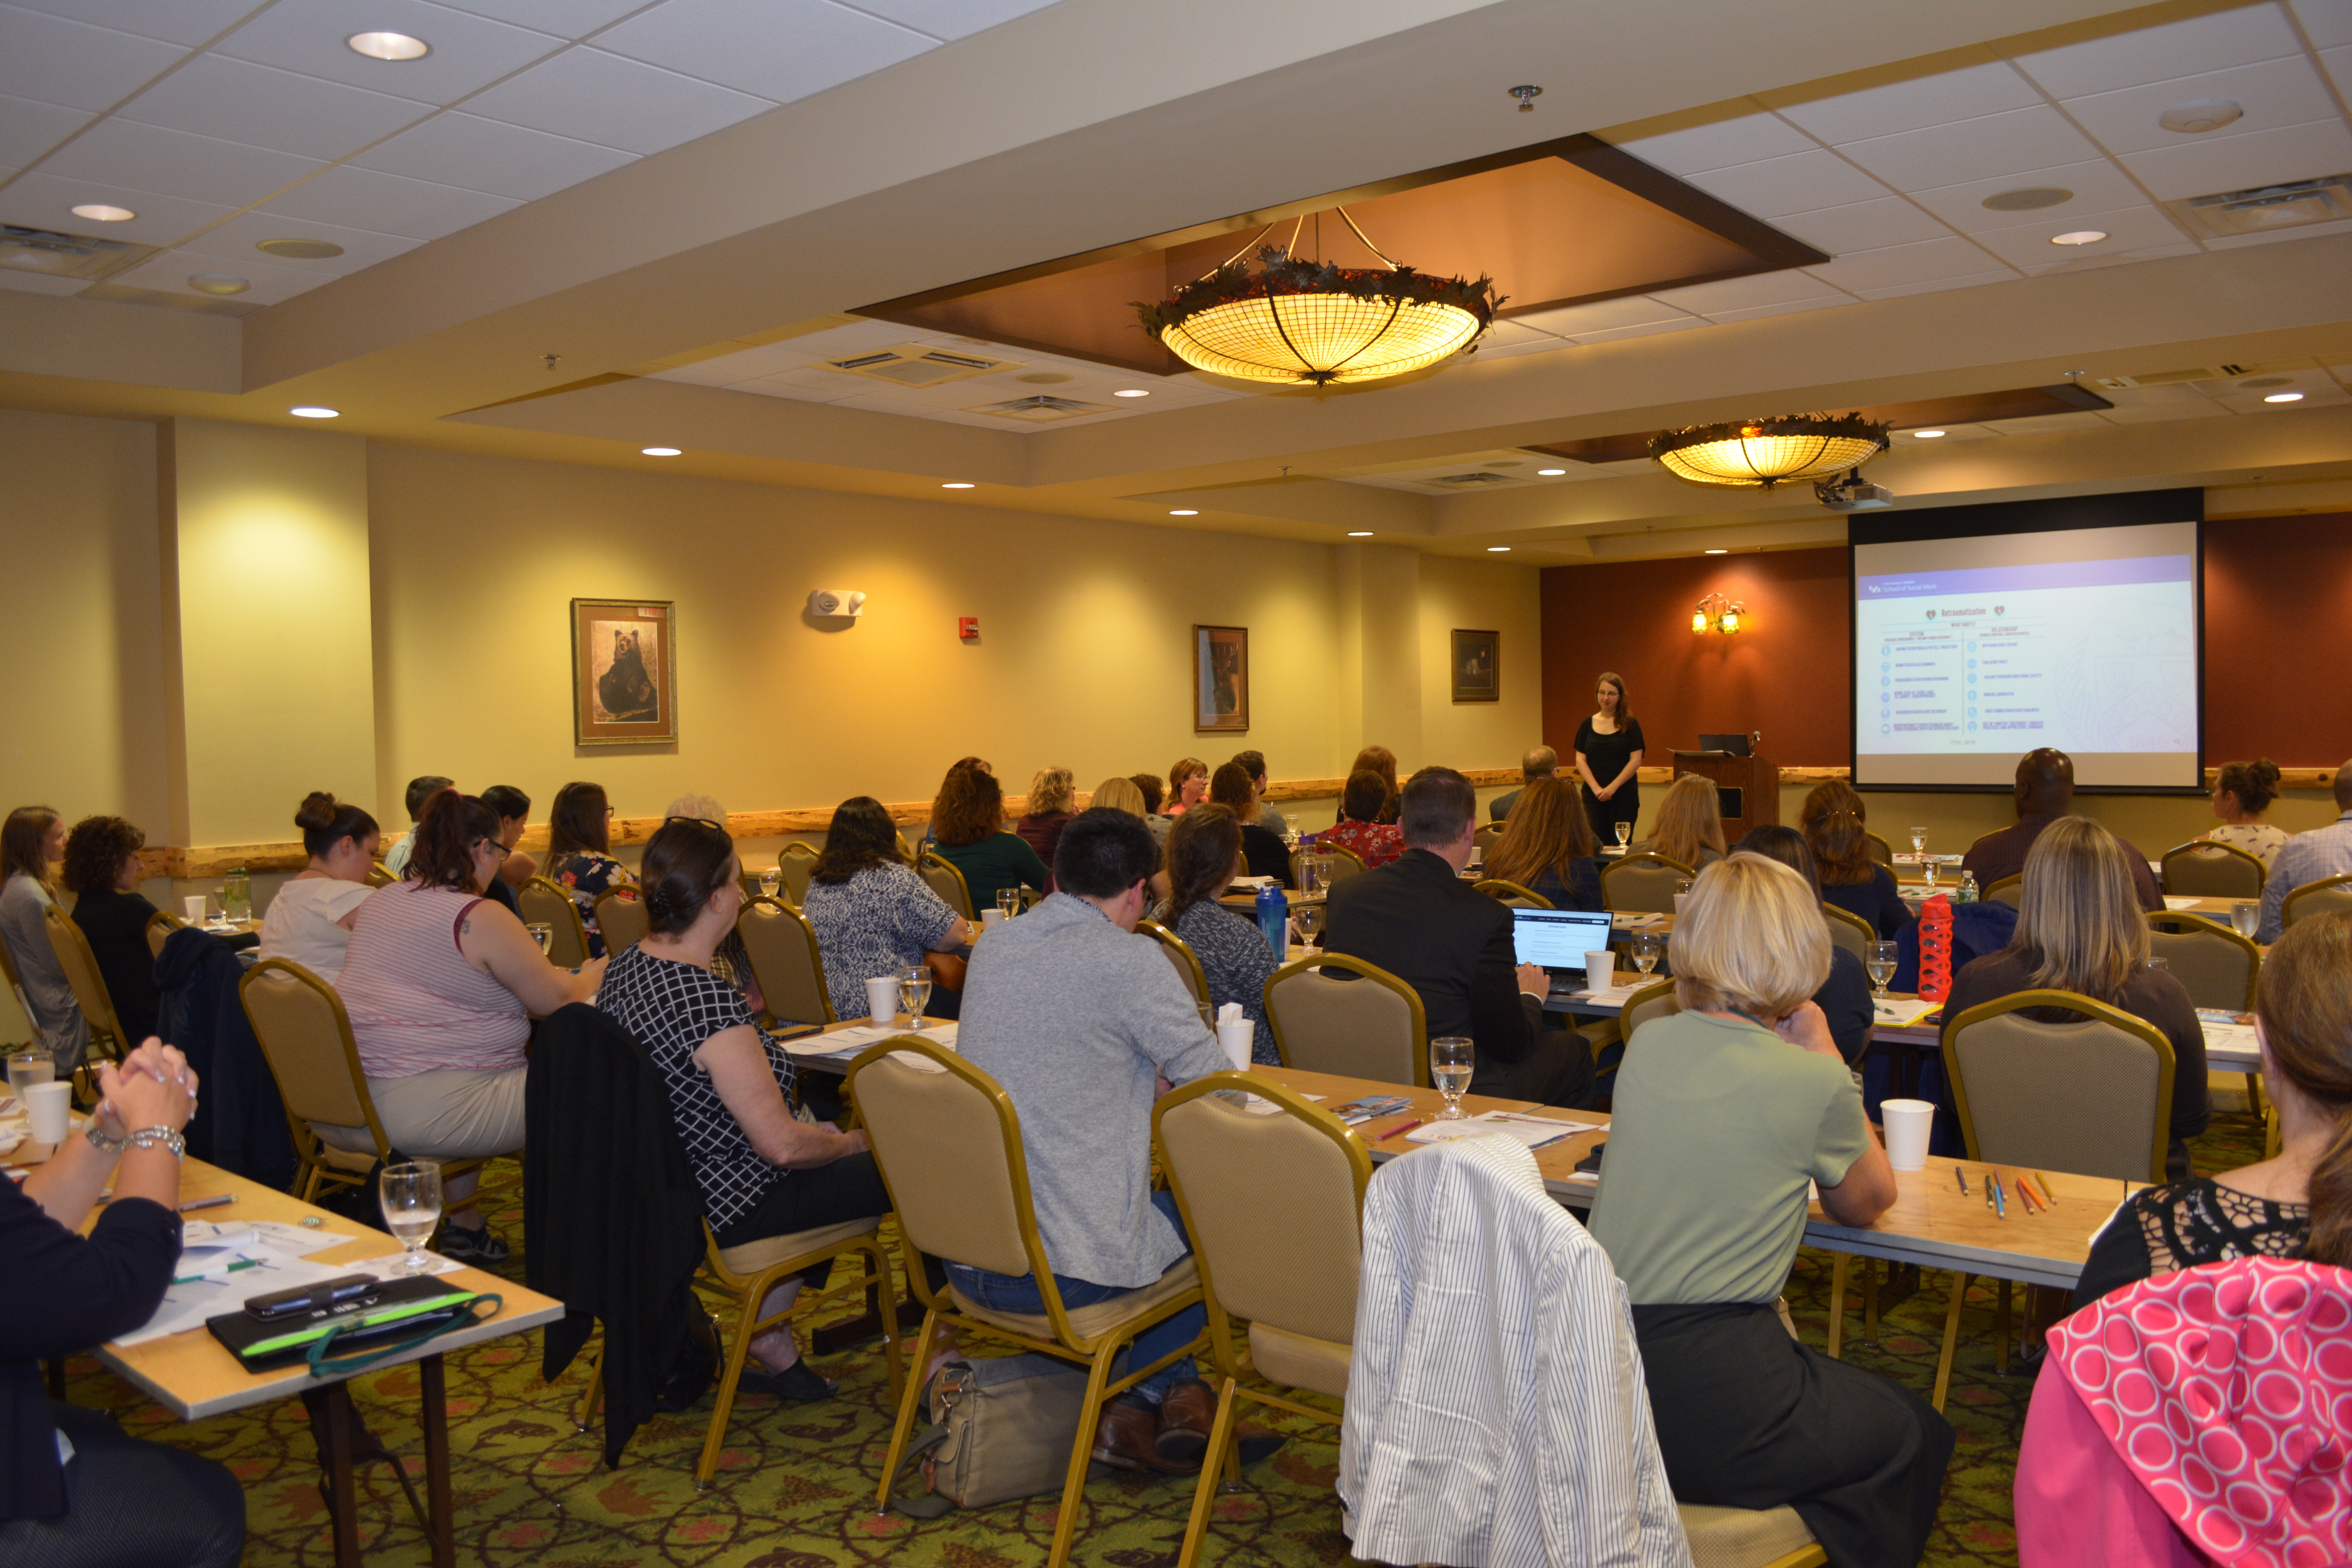
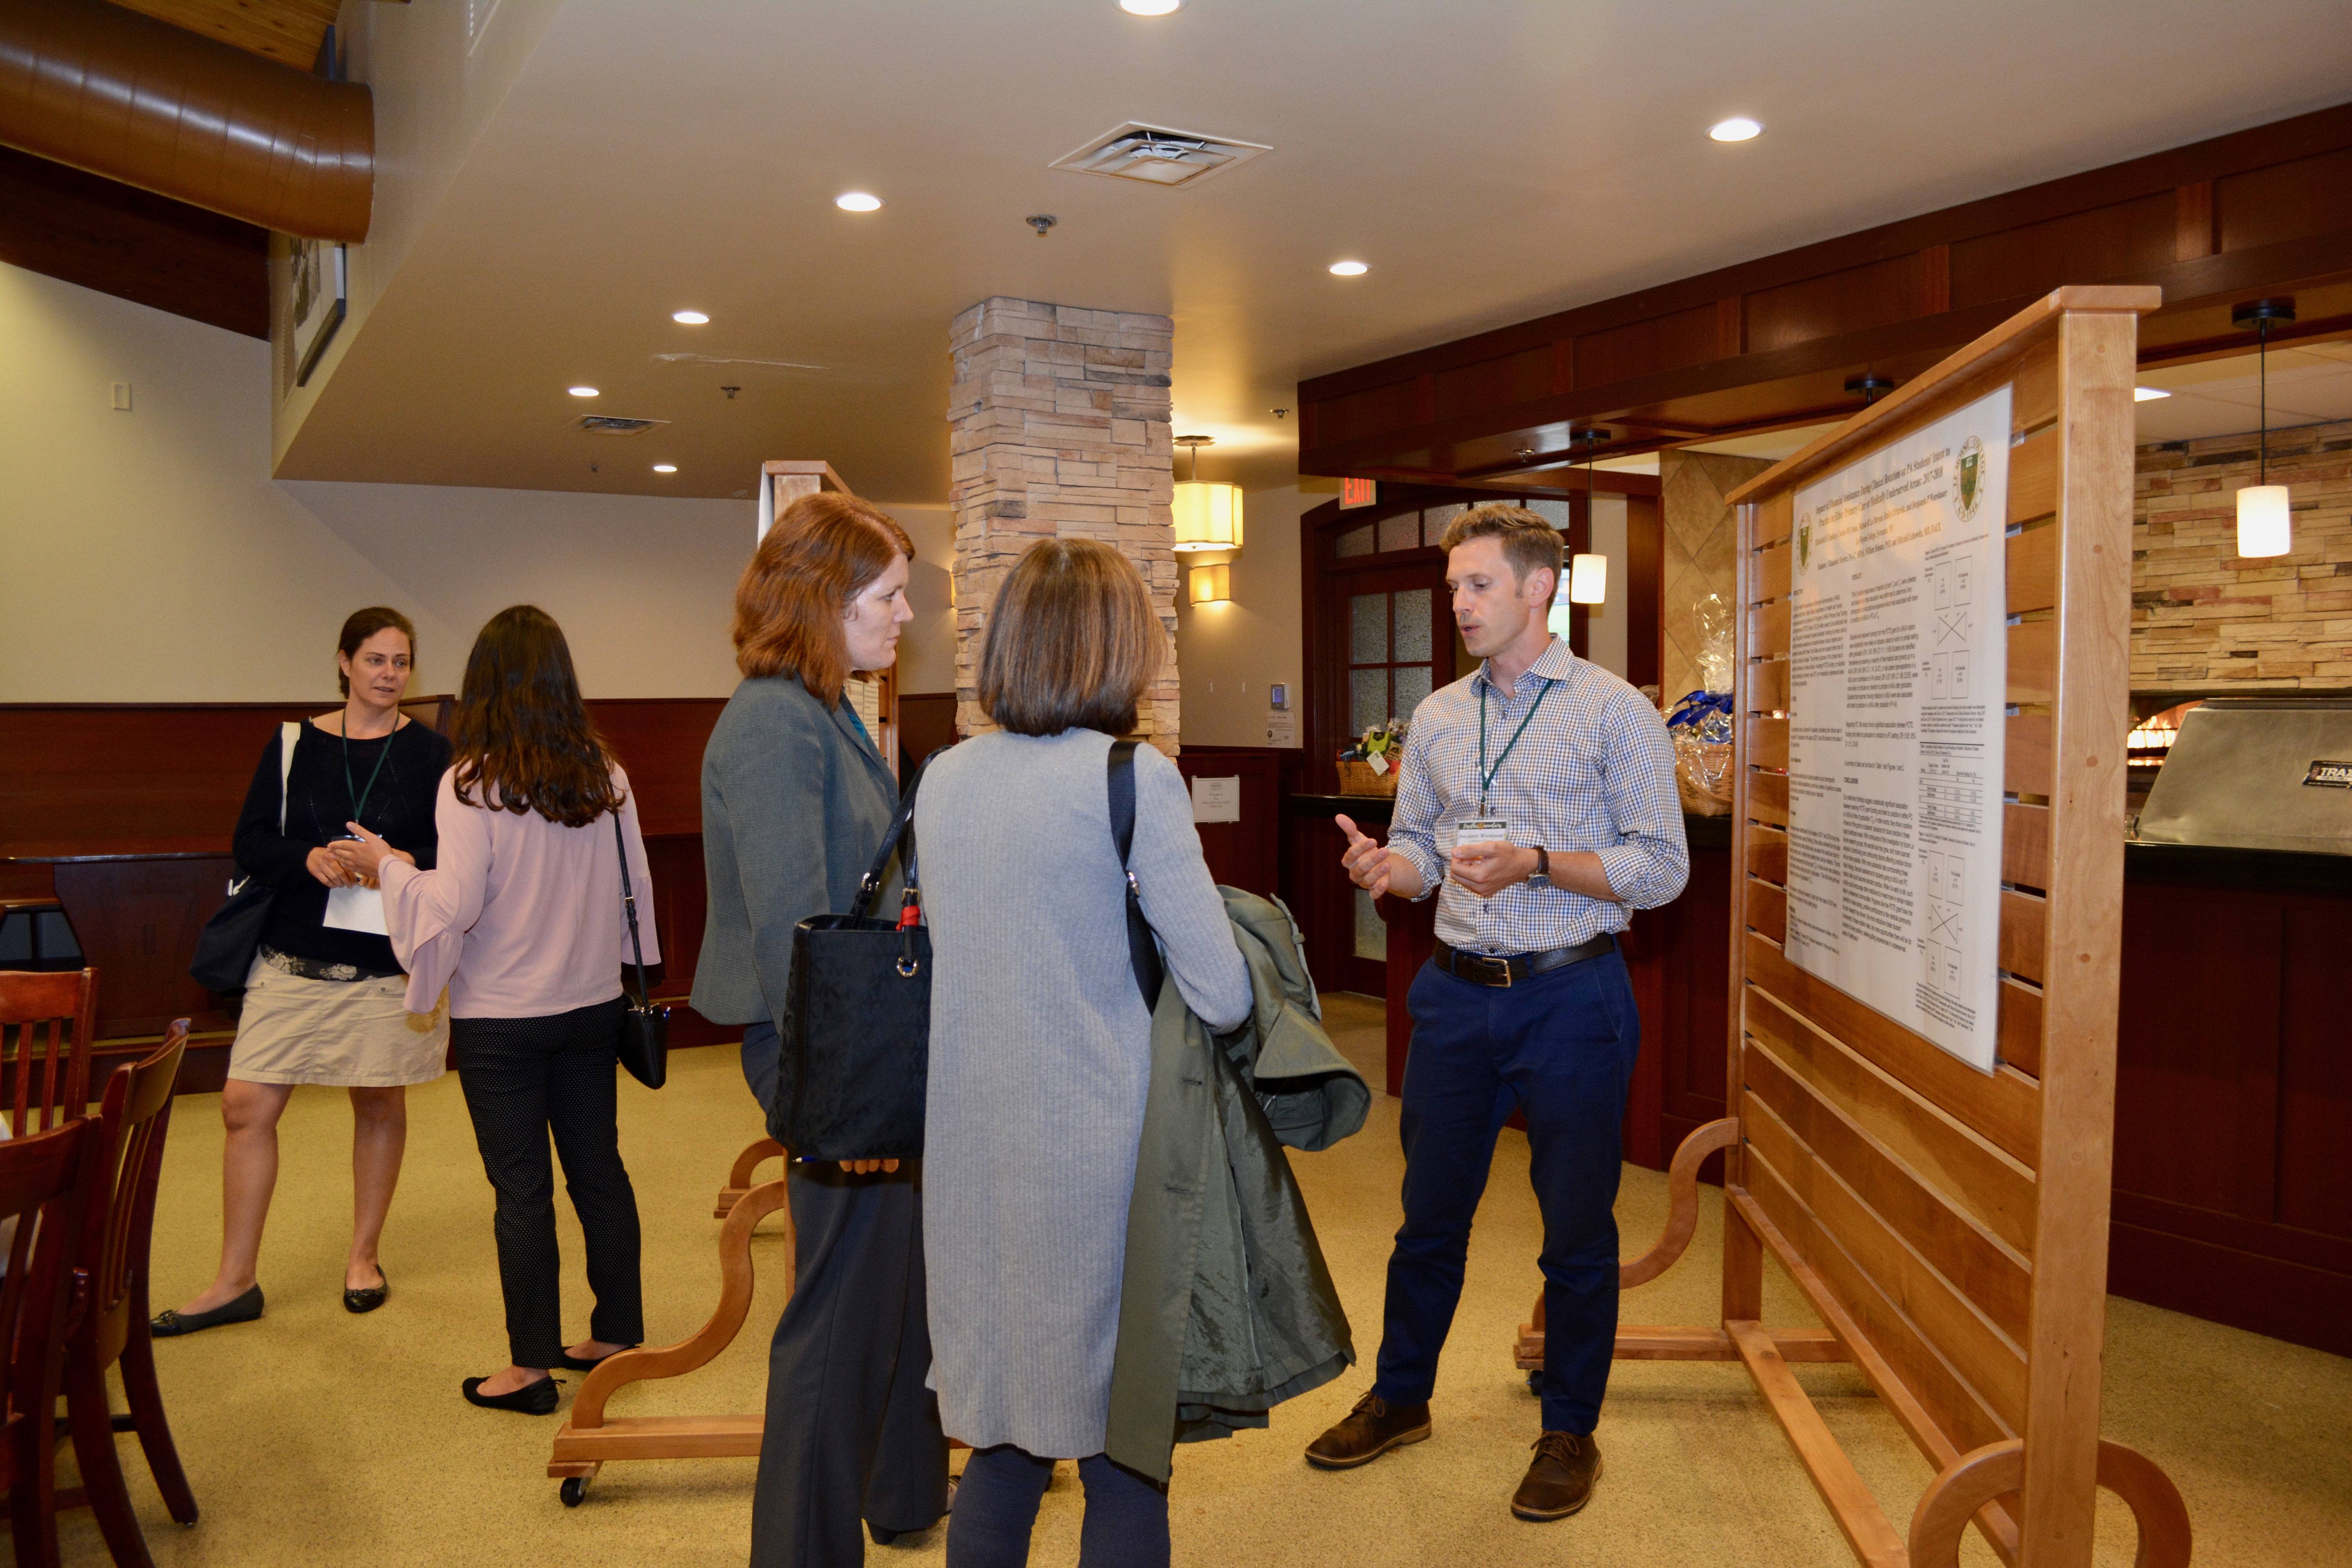
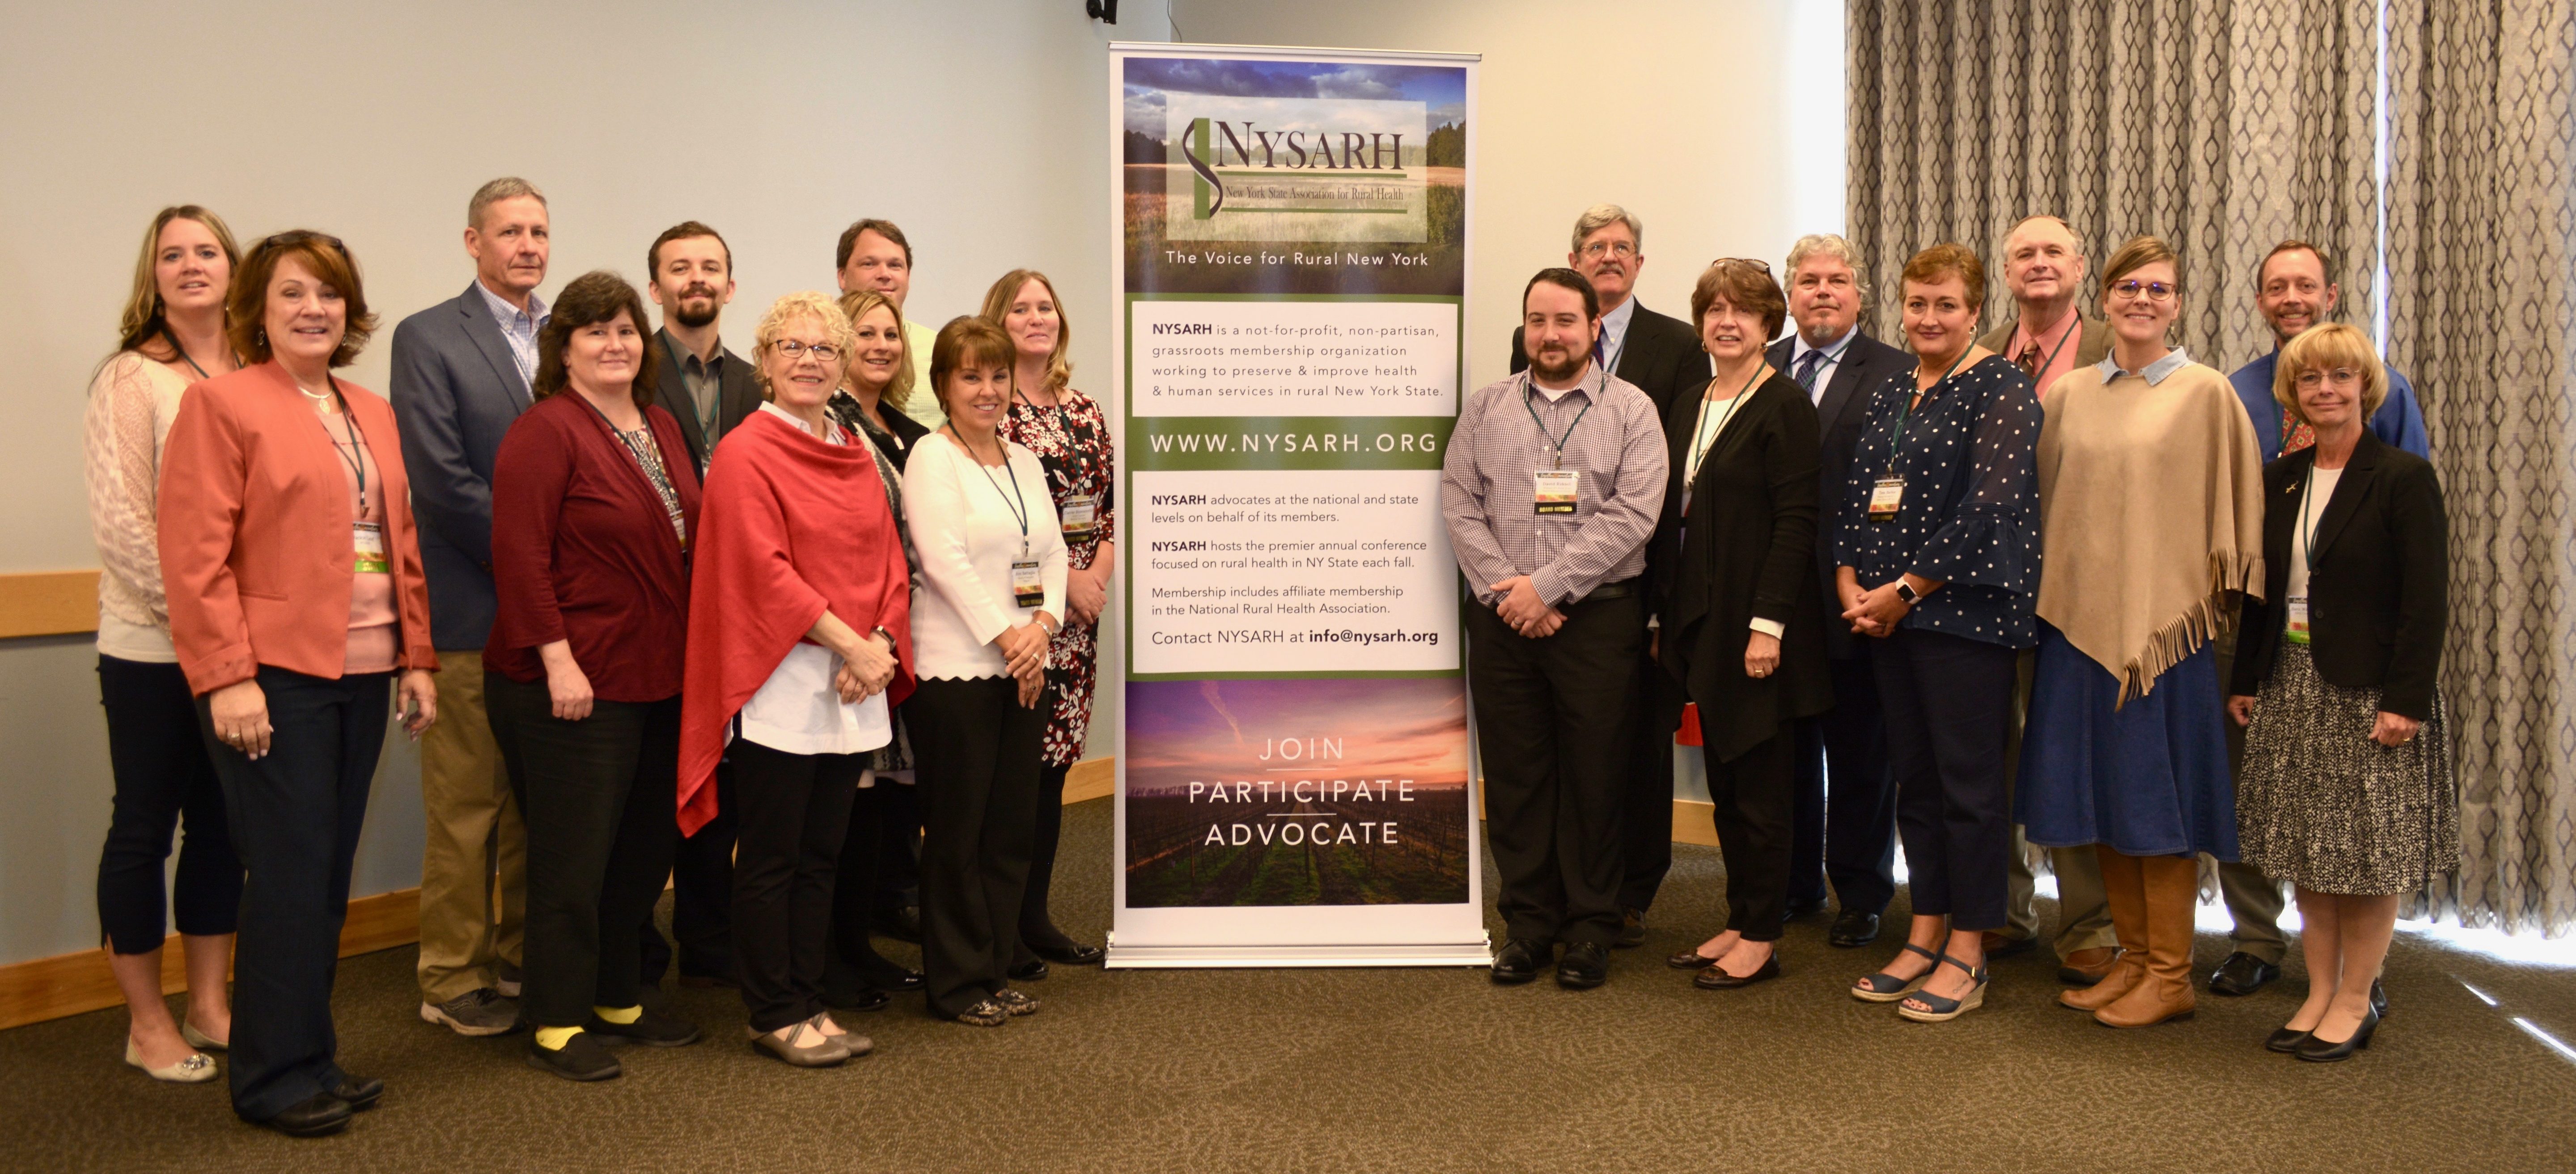
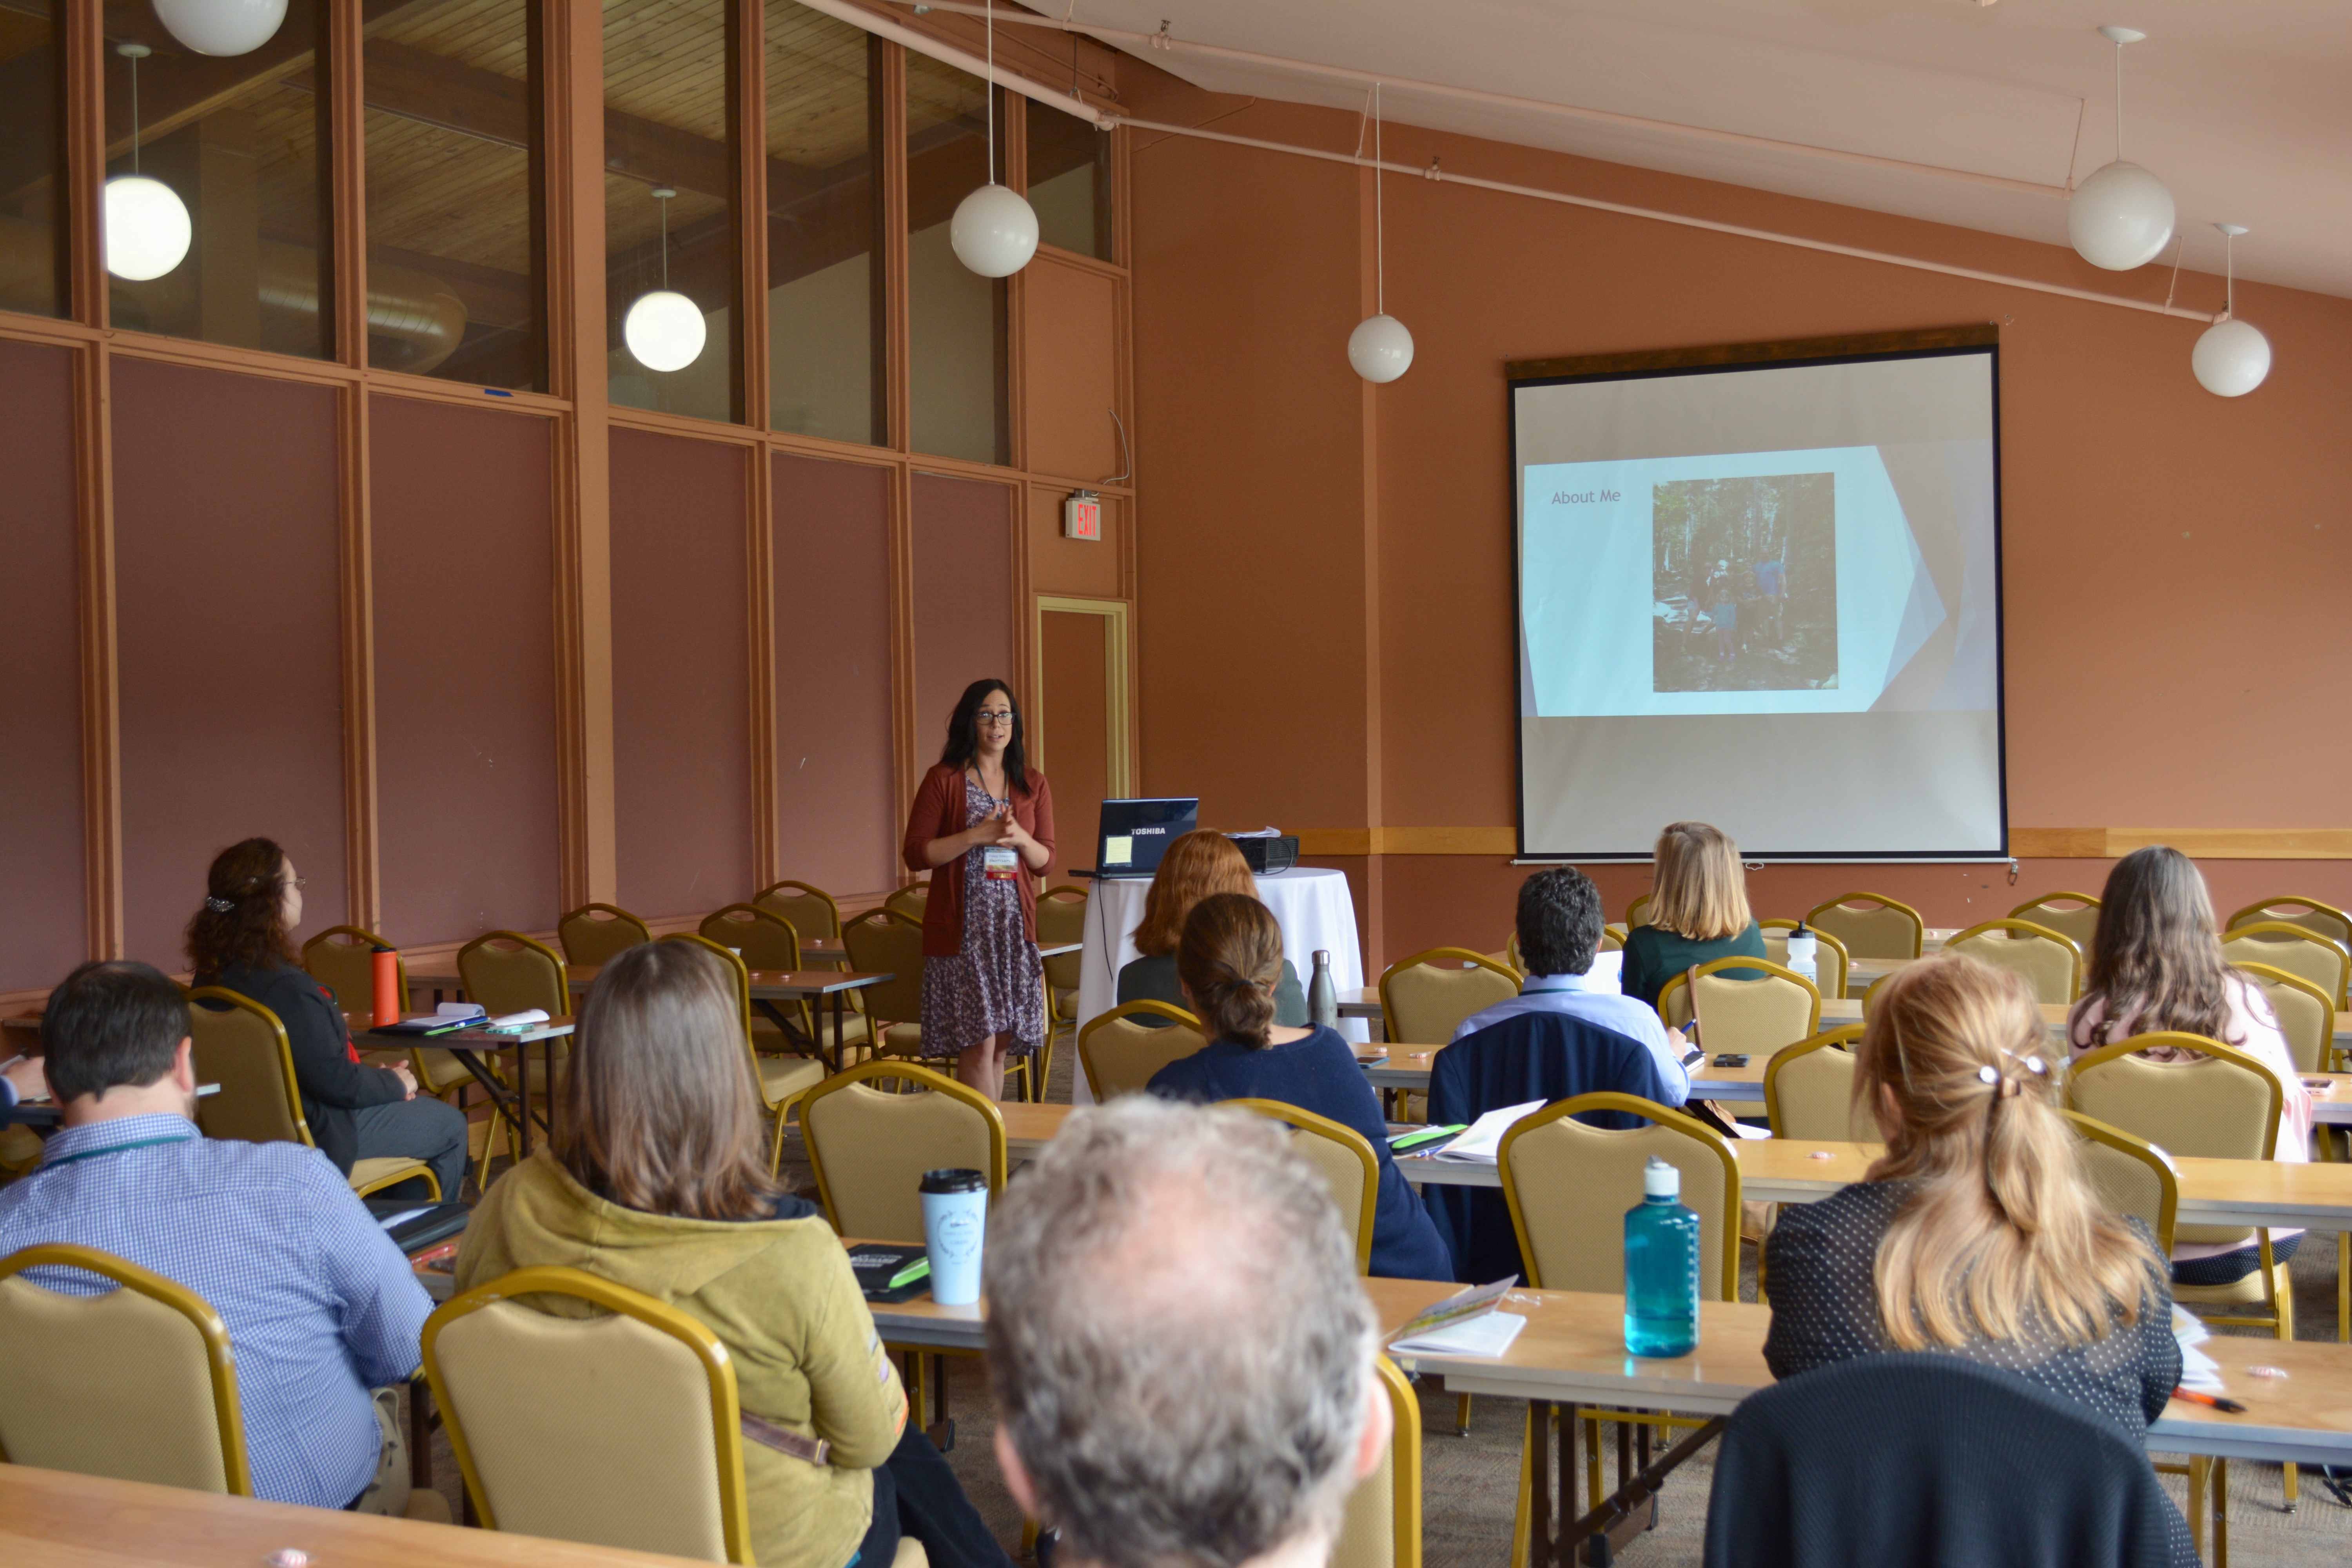
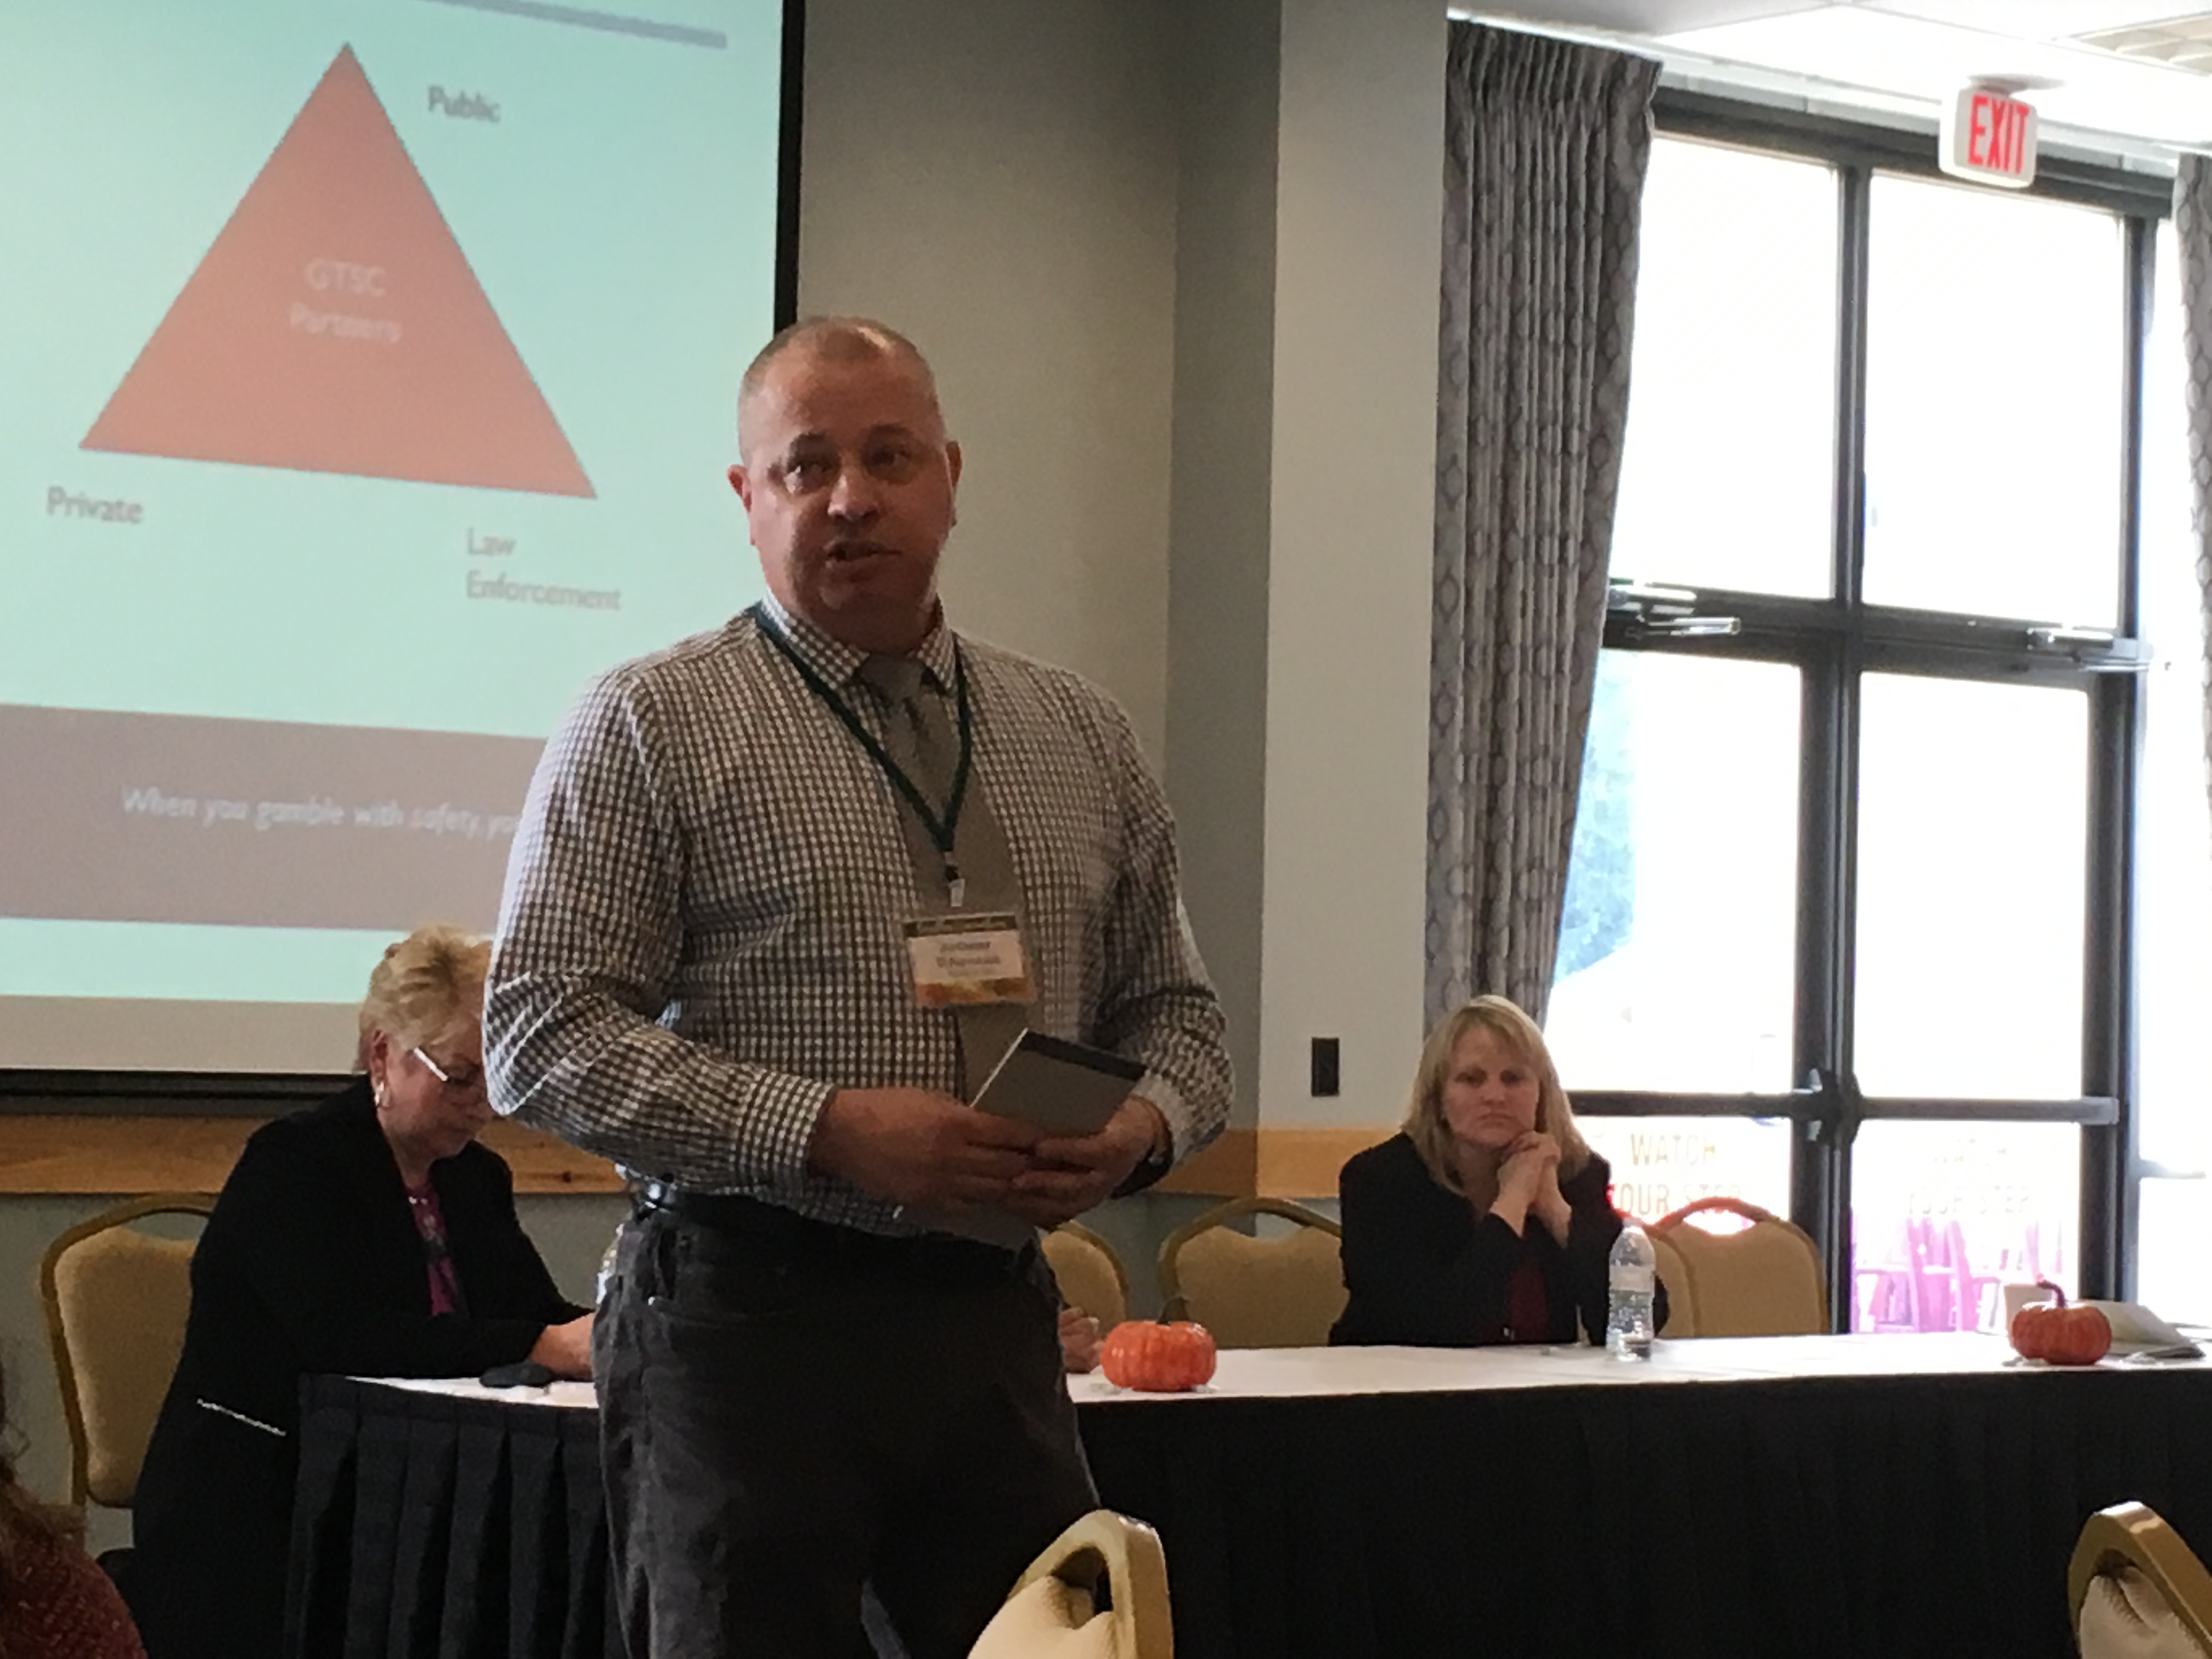
‘Together We Can Move Mountains’ Photo Gallery